Getting to Know Your Wireless Router
2
To prepare your router for installation:
1.
Carefully peel off any protective film covering the sides of your router.
2.
Place your router in a suitable area for installation (near an AC power outlet and accessible to
the Ethernet cables for your wired computers).
Hardware Features
Before you install and connect your router, take a moment to become familiar with the front and
back panels of the router—especially the status lights on the front panel.
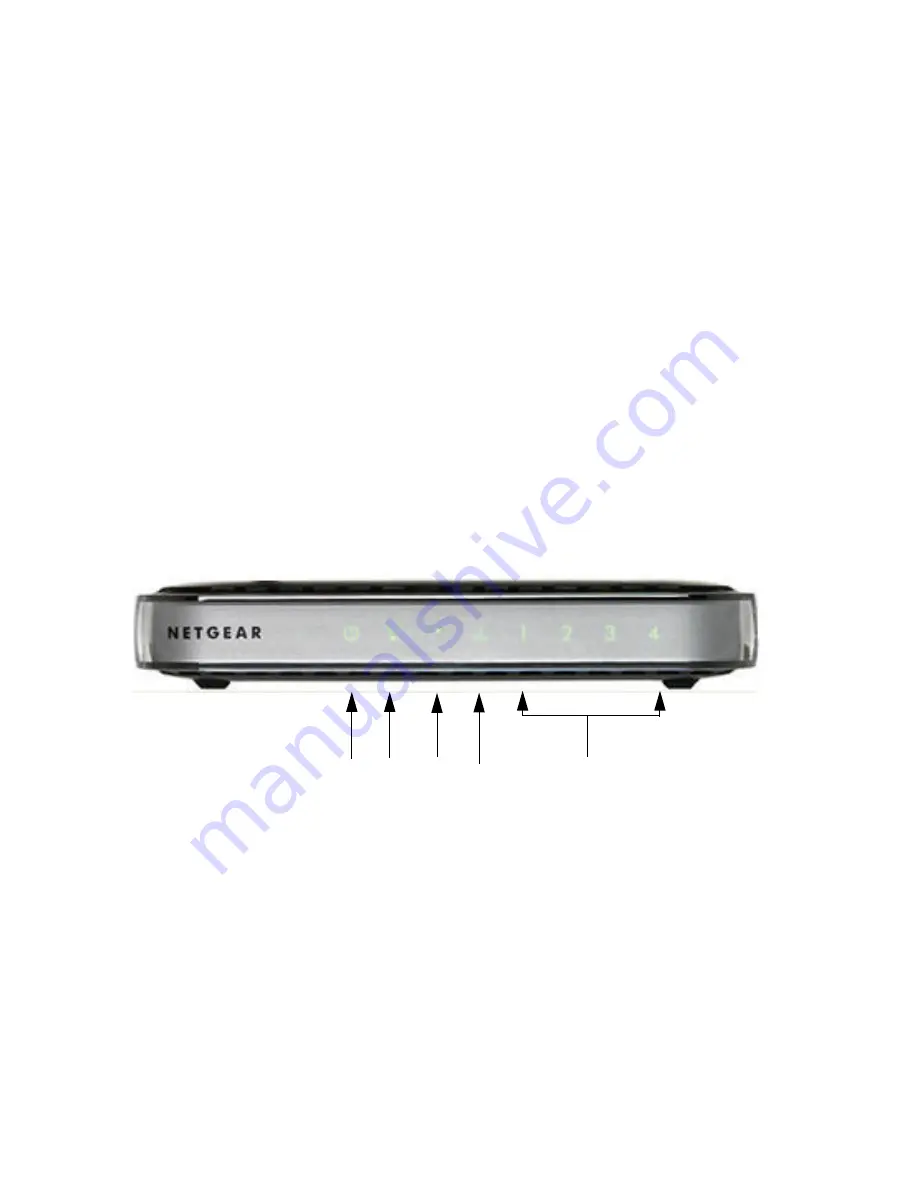
Front Panel
The router front panel, shown in
Figure 1
, contains status lights. (For more information on
interpreting the status lights, see
“Verifying Your Connection” on page 15
and
“Checking Basic
Router Functions” on page 28
.)
Figure 1
1
2
3
4
5
Summary of Contents for WNR1000v2 - Wireless- N Router
Page 43: ...Related Documents 39...


