


Disk Configuration
26
ReadyNAS for Home RAIDiator 5.3
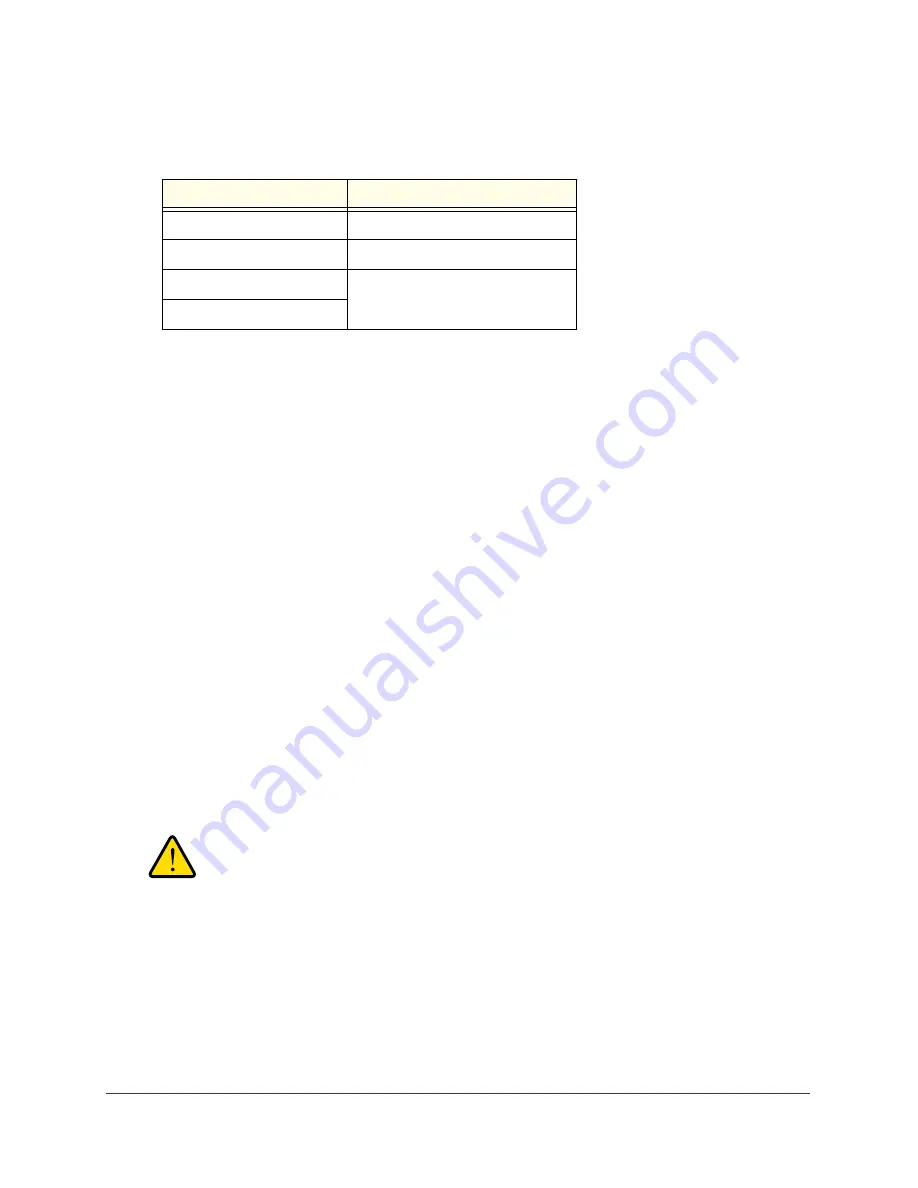
If you select Auto, your ReadyNAS system automatically chooses a RAID level based on
the number of disks that are installed in your system, as follows:
Number of installed disks
RAID level automatically chosen
1
RAID 0
2
RAID 1
3
RAID 5
4
7.
Click the
Next
button.
A dialog box displays prompting you to confirm the volume creation command.
8.
Click the
OK
button.
The volume is formatted. This can take quite a while, depending on the size of your hard
disk drives.
9.
(Optional) Restore any backed-up data to the reformatted disks.
For more information, see
Recover Data to Your ReadyNAS System
on page
84.
Change to a Different Flex-RAID Format
Flex-RAID offers you several different disk formats, depending on the number of disks
installed in your ReadyNAS storage system. For more information, see
Flex-RAID
on
page
20.
You can reconfigure your system to use a different Flex-RAID format.
To change Flex-RAID disk formatting:
1.
If any data is stored on your system, back up your data.
For more information, see the
Back Up Data Stored On Your ReadyNAS System
on
page
80.
2.
Perform a factory reset reboot.
WARNING!
Setting your ReadyNAS system to its factory defaults erases all
data and configuration settings.
The process for performing a factory reset reboot varies by storage system. For more
information about how to perform a factory reset reboot, see the
ReadyNAS Duo v2 and
NV+ v2 Hardware Manual
.


