20
6. WEB SERVER
Start the MultiPresenter
1. Connect the computer and the projector in a network.
2. Start the web browser on the computer and then access to the following URL:
URL=http://(Projector’s IP address)
• Projector’s IP address is indicated at the right bottom of the APPS menu.
The Web Sharing screen will be displayed on.
3. If [HTTP password] has been set for the MultiPresenter in NETWORK SETTING on the APPS menu, input
the password. The MultiPresenter screen will be displayed on after confirming the password.
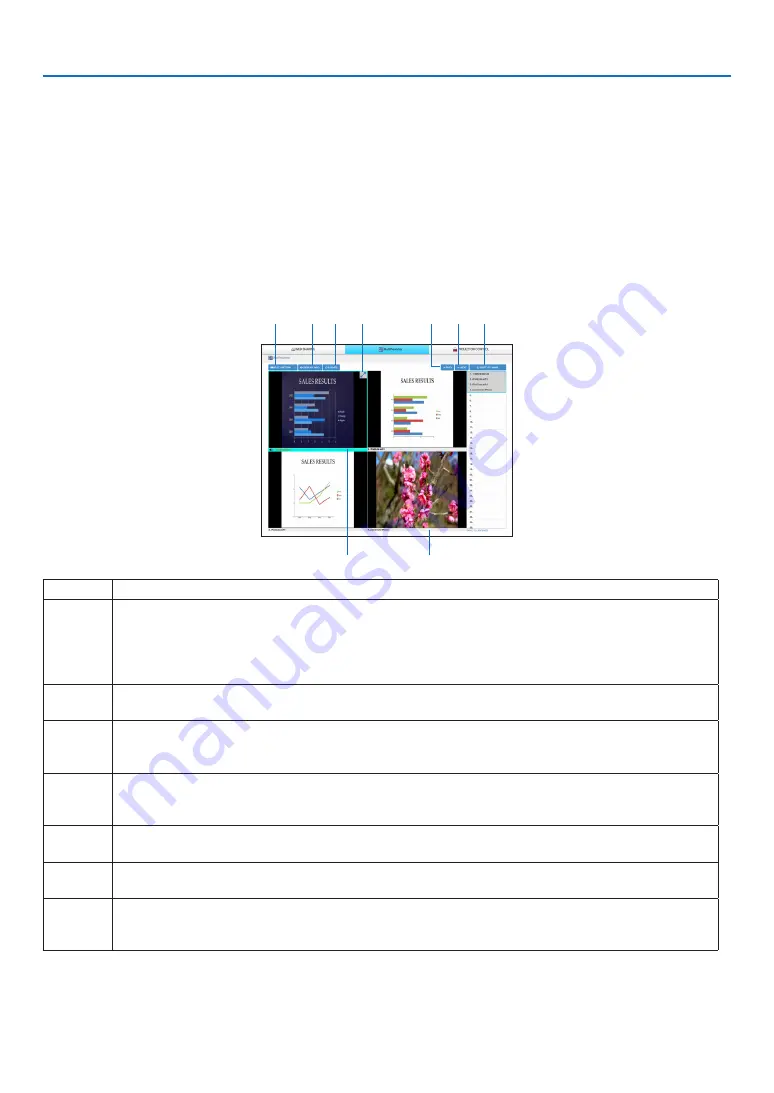
Control on the MultiPresenter screen
①
②
③
⑤ ⑥
④
⑦
⑧
⑨
Number Explanation
①
Thumbnail Gallery
• This is the thumbnail image of the screen being sent from Image Express Utility Lite or MultiPresenter
to the projector. It is displayed in black for screens for which there is no user and when “MultiPres-
enter” is not selected on the APPS menu.
• Enables to switch the thumbnail displayed position by the drag and drop
②
Focus
• Focus is displayed on with a light blue frame.
③
Changing screen split pattern
• Once the “ SPLIT PATTERN” button is clicked, it enables to change screen split pattern.
Based on meeting purposes, you can select one pattern among 2
×
1, 2
×
2, 3
×
3, 4
×
4, 1
×
12.
④
Maximize the projected image
• Focused image will be maximize by click. Click it again for displaying the image in the previously
projected size.
⑤
Selection to Indicate or Not to indicate terminal names on the projected screen.
• Enables to switch either to indicate or not to indicate terminals’ information on the projected screen
⑥
Update the thumbnail gallery
• Once the “UPDATE” button is pressed, it update and display the latest thumbnail gallery.
⑦ ⑧
Page change
• Change the page to display to the previous page by pressing the “PREV” button and to the next page
by pressing the ”NEXT” button.


