background image

18

ENGLISH

Other functions

Calling the programme list

You can check the programmes stored in the memory by
displaying the programme list.

Displaying programme list
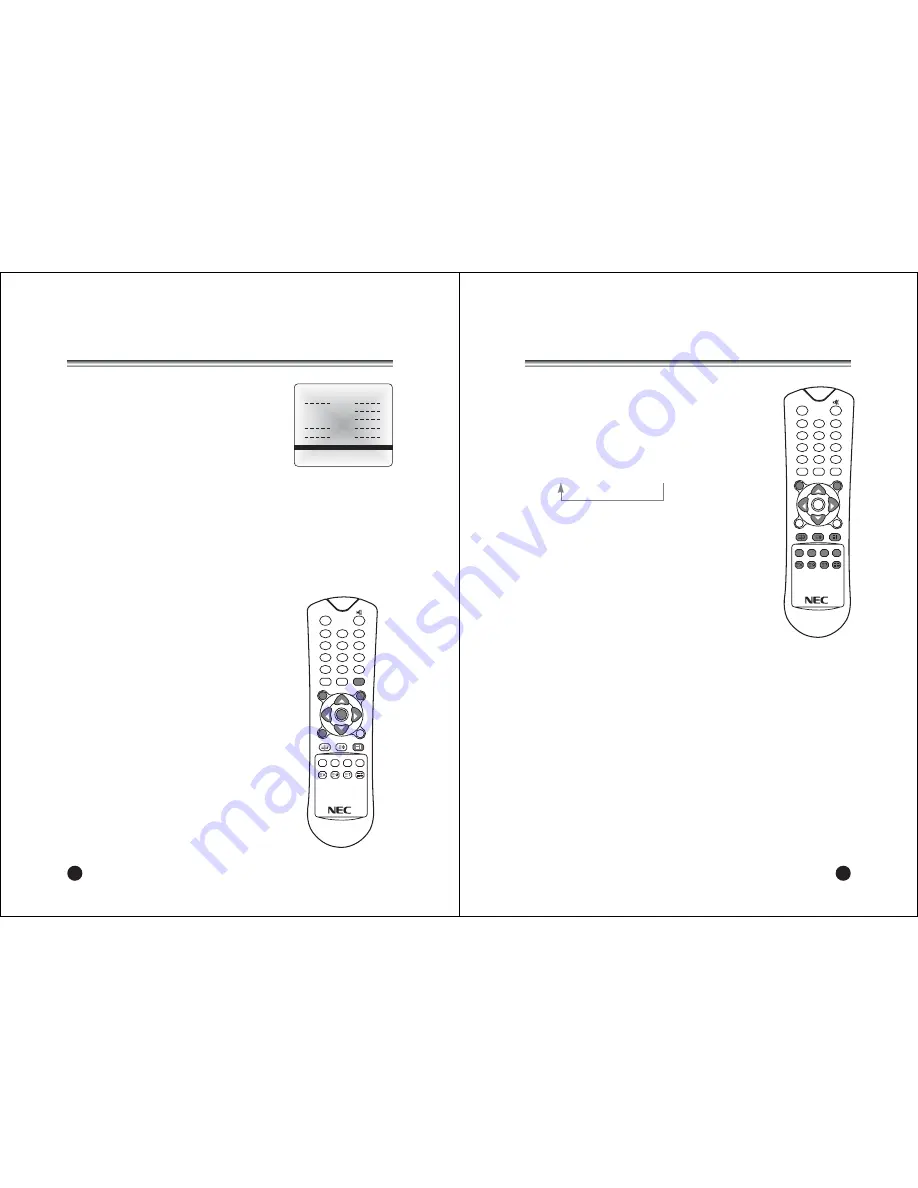
1. Press the 

LIST

button to display the 

Programme

list

menu. The programme list appears on the

screen. One programme list contains ten
programmes as right.

Note :

a. You may find some blue programmes. They have been set up to be skipped by

auto programming or in the programme edit mode.

b. Some programmes with the channel number shown in the programme list

indicate there is no station name assigned.

Selecting a programme in the programme list

Select a progranne with the 

PR

xy

or

VOL

Ïq

button.

Then press the 

OK

button.

The set switches to the chosen programme number.

Paging through a programme list

There are 10 programme table pages in which contain 100 programmes.
Pressing the 

PR

xy

or

VOL

Ïq

button repeatedly turns the pages.

Sleep timer

You don’t have to remember to switch the set off before
you go to sleep. The sleep timer automatically switches
the set to standby after the preset time elapses.
Press the 

SLEEP

button to select the number of minutes. 

The display will appear on the screen, followed by 

0

,

10

,

20

,

30

,

60

,

90

,

120

,

180

and

240

. The timer begins to

count down from the number of minutes selected.

Note

: a. To view the remaining sleep time, press the

SLEEP

button once.

b. To cancel the sleep time, repeatedly press the 

SLEEP

button until it displays “0”.

Sound output selection

In VIDEO mode, you can select output sound for the left
and right loud-speakers.
Repeatedly press the 

I/II

button to select the sound

output.

L+R

: Audio signal from audio L input is sent to left loud-

speaker and audio signal from audio R input is sent
to right loud-speaker.

L+L

: Audio signal from audio L input is sent to left and

right loud-speakers.

R+R

: Audio signal from audio R input is sent to left and

right loud-speakers.

POWER

MENU

TV/AV

PR

OK

PR

VOL

VOL

TV/PC

SLEEP

TEXT/MIX

UPDATE TIME REVEAL HOLD

Q.VIEW

LIST

PSM

SSM

I/II

1

2

3

4

5

6

7

8

9

*

*

0

NS-201

ƇƉ ȖȘ 735-6=<>)>

Programme list

0  

5  

1 0 0 0 0 0

6   

2 0 0 0 0 0

7   

3  

8  

4  

0

TEXT On/Off

1. Press 

TEXT/MIX

button once, displays the Teletext pages.

2. Press 

TEXT/MIX

button once more, displays the Teletext 

pages superimposed on the TV picture.

3. Press the 

TEXT/MIX

button to switch off Teletext. 

Text mode is off, and TV mode appears.

If you press 

TEXT/MIX

button repeatedly, displays are changed 

as below.

TEXT

؋

MIX

؋

TV mode

TOP text

The user guide displays four fields-red, green, yellow and blue 
at the bottom of the screen. The yellow field denotes the next 
group and the blue field indicates the next block.

Group/block/page selection

1. With the 

BLUE

button you can progress from block to block.

2. Use the 

YELLOW

button to proceed to the next group with 

automatic overflow to the next block.

3. With the 

GREEN

button you can proceed to the next 

existing page with automatic overflow to the next group. 
Alternatively the 

x

button can be used.

4. The 

RED

button permits to return to previous selection. 

Alternatively the

y

button can be used 

FLOF text

The Teletext pages are colour coded along the bottom of the screen and are 
selected by pressing the corresponding coloured button.

Page selection

1. Press the 

INDEX

button to select the index page.

2. You can select the pages, which are colour coded along the bottom line with

the same coloured buttons.

3. The 

VOL

Ïq

button can be used to select the preceding or following page.

19

Teletext

POWER

MENU

TV/AV

PR

OK

PR

VOL

VOL

TV/PC

SLEEP

TEXT/MIX

UPDATE TIME REVEAL HOLD

Q.VIEW

LIST

PSM

SSM

I/II

1

2

3

4

5

6

7

8

9

*

*

0

NS-201

Summary of Contents for NLT-20

Page 1: ... indicated on the label of the AC DC adaptor a Connect the DC plug of the AC DC adaptor to the 15V socket of the set b Connect the AC DC adaptor and it s power cord c Connect the power cord to an AC mains In the event of thunderstorms or power cuts please pull out the mains plug of the AC DC adaptor and the aerial plug Do not allow anything to rest upon or roll over the power cord and do not place...

Page 2: ...ence Avoid displaying fixed pattern on the monitor for long periods of time to avoid image persistence Warnings 5 Contents Warnings 3 4 Contents 5 Supplied Accessories 6 Controls 7 9 Controller of panel 7 Remote controller 8 9 Basic Operation 10 Turning ths TV On and off 10 Programme selection 10 Volume adjustment 10 Q View 10 Sound Mute function 10 On screen Language selection 10 On Screen Menus ...

Page 3: ... COMPONENT VIDEO S VIDEO or PC mode Clears the menu from the screen 6 POWER STANDBY INDICATOR Illuminates in red when the TV is in standby mode Illuminates in green when the TV is switched on 7 Remote control sensor Accepts the IR signal of remote controller 1 DC 15V IN 2 PC DTV INPUT 3 COMPONENT IN 4 H P Headphone out Connect a headphone to this socket 5 S VIDEO IN Connect the output of an S VIDE...

Page 4: ...rt the batteries with correct polarity to and to 3 Replace the battery compartment cover Install two high quality 1 5V AAA alkaline batteries Don t mix old batteries with new batteries Remove batteries when you won t use the remote controller for long time Liquid leakage from old batteries may cause operation failure uNotes for using remote controller Make sure there are no objects between the rem...

Page 5: ...elect your desired language 5 Press the TV AV button All the on screen displays will appear in the selected language Basic Operation ƇƉ 5 6 Language English Deutsch Français Italiano Español POWER MENU TV AV PR OK PR VOL VOL TV PC SLEEP TEXT MIX UPDATE TIME REVEAL HOLD Q VIEW LIST PSM SSM I II 1 2 3 4 5 6 7 8 9 0 NS 201 11 On Screen Menus and Displays 1 Press the MENU button to display main menu 2...

Page 6: ... order you desire Also you can assign a programme name with 5 characters to each programme number 1 Press the MENU button 2 Select the Setup menu Then press the VOLÏq button 3 Select Manual programme menu Then press the VOLÏq button 4 Press the PRxy button to select System 5 Select a TV system with the VOLÏq button BG Germany Asia M East Africa Australia I UK Hong Kong South Africa DK CIS China Ea...

Page 7: ...with the NUMBER buttons or select it in the programme edit or table menu 5 Press the TV AV button to return to normal TV viewing POWER MENU TV AV PR OK PR VOL VOL TV PC SLEEP TEXT MIX UPDATE TIME REVEAL HOLD Q VIEW LIST PSM SSM I II 1 2 3 4 5 6 7 8 9 0 NS 201 ƇƉ ȖȘ 5 6 Programme edit 0 5 1 0 0 0 0 0 6 2 0 0 0 0 0 7 3 8 4 9 Delete Copy Move Skip 15 Picture Control You can adjust picture Contrast Br...

Page 8: ...REVEAL HOLD Q VIEW LIST PSM SSM I II 1 2 3 4 5 6 7 8 9 0 NS 201 ƇƉ 5 6 Equalizer Flat Music Movie Speech User ƇƉ ȖȘ 5 6 Sound Equalizer Ș Balance 0 AVL Off Surround Off 3Pb 17 Other functions TV COMPONENT VIDEO and S VIDEO modes You can t set PC mode in this menu Use the TV AV or TV PC mode External equipment inputs VIDEO or S VIDEO mode are used for video devices like VCRs DVDs etc COMPONENT is u...

Page 9: ...io R input is sent to right loud speaker L L Audio signal from audio L input is sent to left and right loud speakers R R Audio signal from audio R input is sent to left and right loud speakers POWER MENU TV AV PR OK PR VOL VOL TV PC SLEEP TEXT MIX UPDATE TIME REVEAL HOLD Q VIEW LIST PSM SSM I II 1 2 3 4 5 6 7 8 9 0 NS 201 ƇƉ ȖȘ 73 5 6 Programme list 0 5 1 0 0 0 0 0 6 2 0 0 0 0 0 7 3 8 4 0 TEXT On ...

Page 10: ...ub page number This is displayed along the bottom of the screen Press this button again to exit this function TIME Press this button to display the concealed information such as solutions of riddles or puzzles Press this button again to remove the information from the display REVEAL 21 External Equipment Connection When connecting to external equipment please ensure you turn the main switch OFF to...

Page 11: ...isplayer Amplifier ANT PC DTV INPUT H P S VIDEO A V IN VIDEO L R A V OUT DC 15V VIDEO L R ANT PC DTV INPUT H P S VIDEO A V IN VIDEO L R A V OUT DC 15V VIDEO L R Headphone 23 Connecting PC as monitor VGA DTV INPUT 1 Connect the VGA IN cable D sub jack from the monitor output socket of the PC to the PC DTV input socket of the set 2 Connect the Audio cable from the PC to the A V IN L MONO R of the se...

Page 12: ...graphics boards may not function properly If the results are unsatisfactory adjust your monitor s position clock and clock phase manually Reset This function allows you to return to the good picture reproduction programmed at the factory and cannot be changed 5 Press the TV AV button to store the adjustment POWER MENU TV AV PR OK PR VOL VOL TV PC SLEEP TEXT MIX UPDATE TIME REVEAL HOLD Q VIEW LIST ...

Page 13: ...he right direction Make sure the outside antenna is not disconnected Make sure the antenna is facing the right direction There may be reflected electric waves from mountains or buildings Unplug the power cord of the adaptor from the AC outlet to turn off and reset the unit There may be interference from automobiles trains high voltage lines neon lights etc There may be interference between the ant...

Page 14: ...500 031104 ...

Reviews: