


1-7
English
English-5
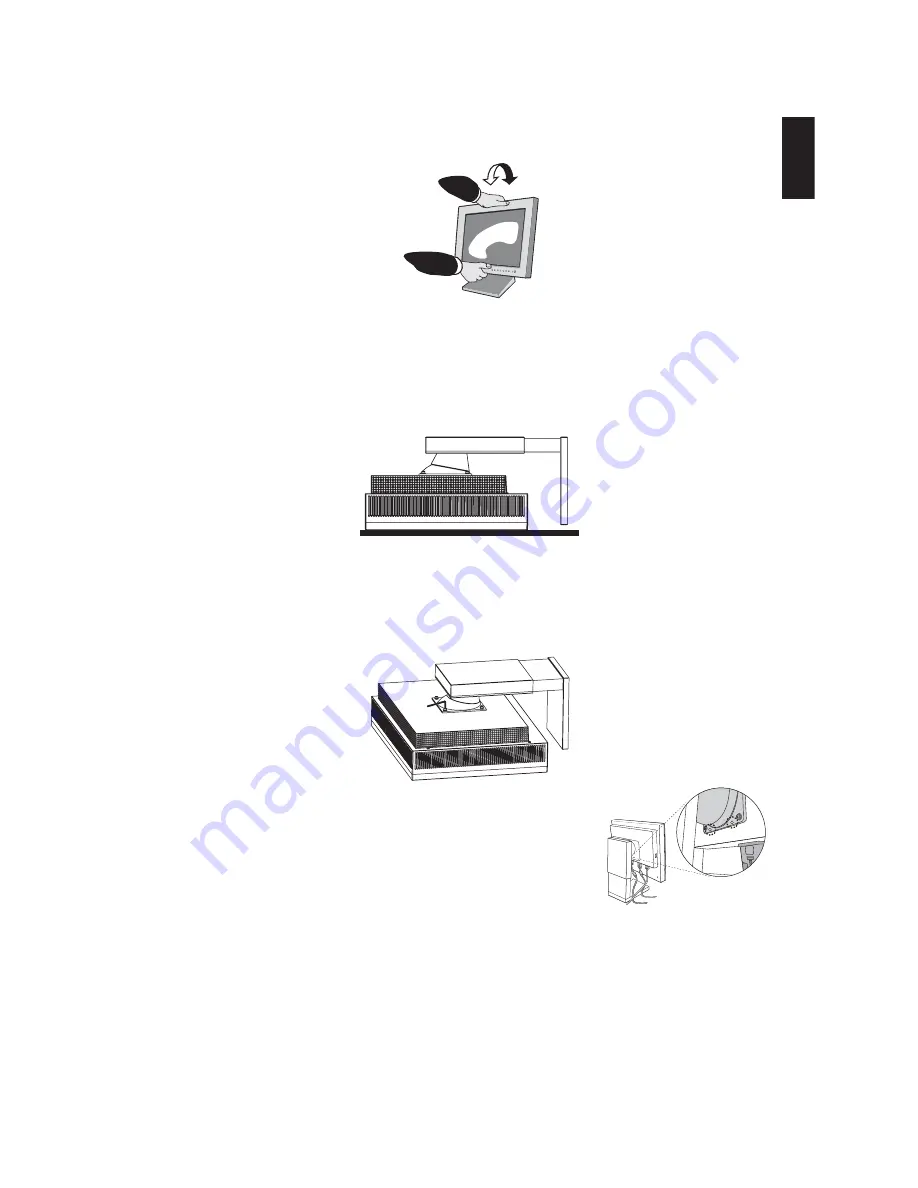
Tilt
Grasp top and bottom sides of the monitor screen with your hands and adjust the tilt as desired (
Figure TS.1
).
Figure TS.1
NOTE:
Handle with care when tilting the monitor screen.
Remove Monitor Stand for Mounting
To prepare the monitor for alternate mounting purposes:
1. Disconnect all cables.
2. Place monitor face down on a non-abrasive surface (
Figure S.1
).
3. Remove the four screws connecting the monitor to the stand using the Hexagon Socket Screw keys (
Figure S.2
).
Lift the stand of the monitor. The monitor is now ready for mounting in an alternate manner.
4. Reverse this process to reattach stand: tighten the four screws.
NOTE:
Use only VESA-compatible alternative mounting method (100 mm pitch).
NOTE:
Handle with care when removing monitor stand.
NOTE:
When using the original stand, be sure the two round indents are at the
bottom of the screen (
Figure S.3
).
Caution:
Use the original screws (4 pcs) when mounting to avoid damage to the
monitor and stand. To fulfil the safety requirements the monitor must be
mounted to an arm which guaranties the necessary stability under
consideration of the weight of the monitor. The LCD monitor should only be
used with an approved arm (e.g. GS mark).
Caution:
This monitor does not support the portrait mode. The brightness become dark
when using portrait mode to avoid damage when internal display temperature
exceed the limited temperature.
Figure S.3
Figure S.2
Figure S.1


