E-50
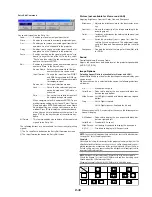
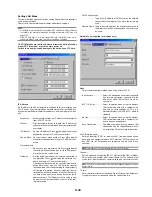
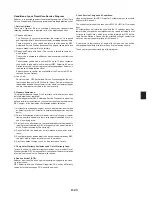
Status
Displays the status of the LAN settings.
IP Address ..... Indicates the IP address of the projector.
Subnet Mask .. Indicates the subnet mask of the projector.
MAC Address . Indicates the MAC address of the LAN card.
Setting a Password
A password can be set for your projector to avoid operation by an unau-
thorized person.
There are two password options: one for menu and the other for logo.
When a password is set, doing any one of the following four operations
will display the Password input screen.
For Menu:
*
Changing the menu to Advanced
*
Editing the custom menu
For Logo:
*
Changing the background
*
Changing the logo data in PC Card Files
Procedures for Password setting apply to both Menu and Logo.
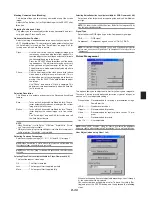
Entry
To assign your password:
NOTE:
Up to 15 alphanumeric characters can be assigned.
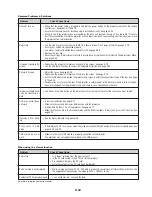
1. Type a password.
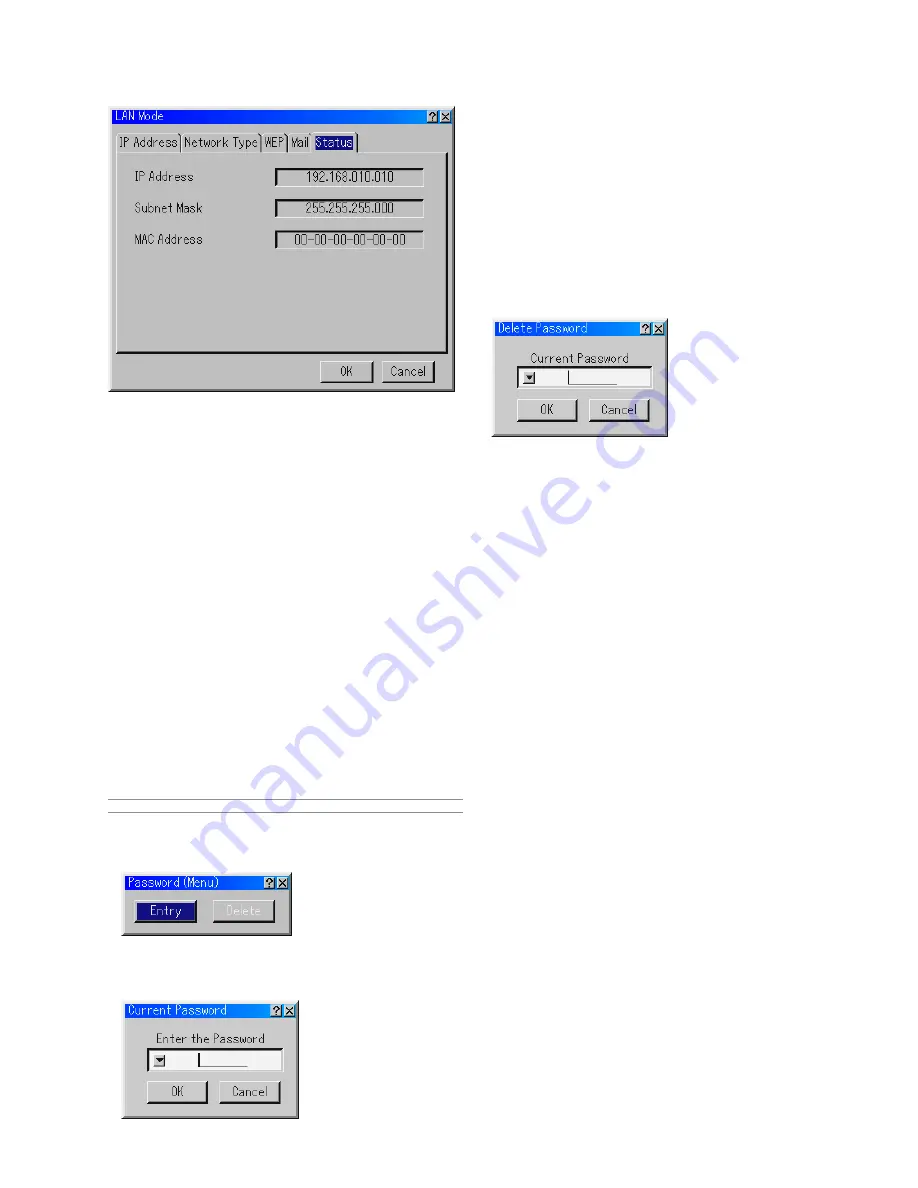
Highlight "Entry" and press the ENTER button.
The "Enter the Password screen" will be displayed.
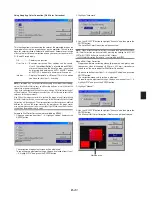
Make sure that "
" is highlighted and then press the ENTER button.
The Software keyboard appears. Use the Software keyboard to type
a password and then highlight "OK" on the “Enter the Password”
screen and press the ENTER button.
The [Confirm Password] screen will be displayed.
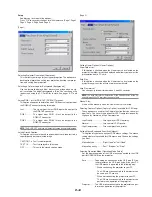
2. Type the same password again. Highlight "OK" on the “Enter the Pass-
word” screen and press the ENTER button.
Your password will be assigned.
Delete
To delete your password:
1. Highlight [Delete] and press the ENTER button. The "Current Pass-
word" screen will be displayed.
2. Use the Software keyboard to type your password. Highlight "OK" on
the “Current Password” screen and then press the ENTER button.
Your password will be deleted.
In case you forget your password, follow the steps below to delete it.
1. Select the Advanced menu from the Basic menu. The "Password"
entry screen will be displayed.
2. Use the Software keyboard to type "1111".
Highlight "OK" on the “Password” entry screen and then press the
ENTER button.
The "Password Warning!!" message will be displayed.
3. Use the Software keyboard to type "3333".
Highlight "OK" on the “Password” entry screen and then press the
ENTER button.
The "Password Warning!!" message will be displayed.
4. Use the Software keyboard to type "5555".
Highlight "OK" on the “Password” entry screen and then press the
ENTER button.
The "Delete Password. Are you sure? Yes/No" dialog box will be dis-
played.
5. Use the SELECT
or
button to highlight "Yes" and press the EN-
TER button.
Your password will be deleted.


