background image

Installing the M-Nav 900/950

Refer to the Garmin manual for instructions on assembling the
docking cradle and windscreen mount, and installing the unit in
the vehicle.

Attaching the Docking Cradle to the Windshield

NOTE

Some windshields contain areas of tinted glass that may inter-
fere with the GPS signal. Do not mount the M-Nav 900/950 in
these areas.

1. Connect the magnetic mount to the suction cup by firmly

pressing the socket on the mount of the ball on the suc-
tion cup arm.

2. Decide where to locate the suction mount on the wind-

shield. Use an alcohol swab to thoroughly clean that area
of the windshield, then dry the area with a soft, lint-free
cloth.

3. Press the suction cup firmly against the windshield for 3

seconds.

4. Push the lever down to vacuum-seal the suction cup to

the windshield.

Now you are ready to add the M-Nav 900/950 to the docking
cradle.

Adding the M-Nav 900/950 to the Docking Cradle

IMPORTANT

The M-Nav 900/950 must be in the docking cradle and con-
nected to the Qube tracking device in order for you to report
your driver status, send and receive messages, and oth-
erwise communicate with your fleet administrator through
the OnlineAVL2 application. The start-up screen will display
automatically.

The M-Nav 900/950 attaches magnetically to the cradle. Simply
align the unit with the cradle in the center of the back face and
when the M-Nav and cradle are close enough, the magnets will
snap the two together. The magnets are positioned to prevent
the M-Nav being attached in the wrong position. If you feel res-
istance, check that the cradle is correctly oriented (the word
“Garmin” should appear the right way up) and the M-Nav is in
landscape orientation (also with the word “Garmin” should
appear the right way up).

M-Nav 900/950 | User Guide

NOTE

The M-Nav 900/950 will charge only when connected to a
Qube tracking device in a standard vehicle installation, or
when using an AC adaptor supply. It will not charge effect-
ively when connected to a standard USB connection through
a PC or similar and powered on.

Getting Started

Disclaimer and Warning Screens

After a factory reset, you will be asked to accept the Garmin and
associated software end user license agreements. It is necessary
to scroll down to the bottom of the page before pressing

Accept

All

.

The "Warning" screen is displayed automatically. If you accept
the warnings, select

Agree

.

If your device is an M-Nav 950 (Garmin 670) you will be warned
about the navigation mode (truck vs. car) and offered the oppor-
tunity to switch mode. If you wish to use the truck-specific rout-
ing features, press

Switch Mode

and then select

Truck/Lorry

.

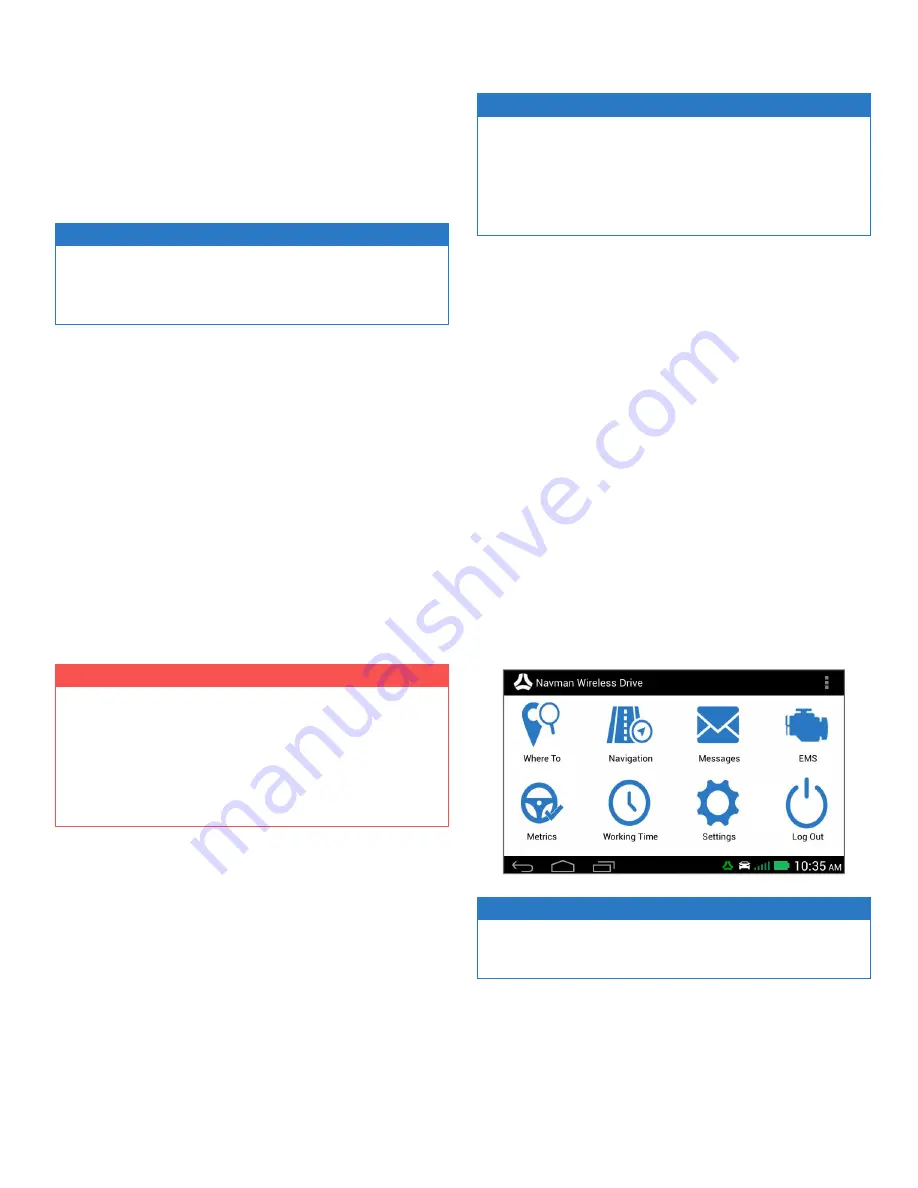
If the main menu is displayed, your M-Nav is ready to use. The
number of icons displayed in the main menu depends on the fea-
tures that have been enabled by your fleet administrator.

NOTE

If a different screen is displayed instead of the main menu,
see the next section.

Driver Log In & Status

The following screens will only be displayed if your fleet admin-
istrator has set up the Driver Login and Driver Status functions in

4

Summary of Contents for M-Nav 900

Page 1: ...GPS Tracking and Management Solutions M Nav 900 950 User Guide...

Page 2: ...right 2015 Navman Wireless Holdings LP Navman Wireless is a registered trademark of Navman Wireless Holdings LP All rights reserved All other trademarks and registrations are the property of their res...

Page 3: ...for the installation and use of this product in a way that contributes to injuries death property damage or violation of the law The user of this product is solely responsible for observing safe driv...

Page 4: ...rms 8 Form Fields 9 Date 9 Time 9 Numeric 9 Alphanumeric 9 Address 9 Drop Down Menu 10 Checkbox 10 Signature 10 Receiving a New Message 11 Reading a Received Message 11 M Nav 900 950 User Guide Replyi...

Page 5: ...information worldwide The GPS receiver in your M Nav 900 950 picks up signals from any satellites in view and uses the information to determine your location accurate to within 15 ft 5 m Usually only...

Page 6: ...rating Range 0 90 Storage Range 0 90 Voltage 5V via Qube M Nav 900 950 Overview Component Description 1 Micro SD card slot Use this slot for installing updates via SD 2 Audio Jack For headphones or ex...

Page 7: ...p the two together The magnets are positioned to prevent the M Nav being attached in the wrong position If you feel res istance check that the cradle is correctly oriented the word Garmin should appea...

Page 8: ...Other Work Rest Break etc The check shows the current status Setting Truck Attributes NOTE The M Nav 950 can store multiple truck profiles that define the dimensions and cargo of your truck The Garmin...

Page 9: ...Nav 900 950 User Guide Checking the Qube Tracking Device Status Your M Nav is connected to a Qube tracking device that com municates information about your vehicle to the OnlineAVL2 application The Qu...

Page 10: ...unc tions in the OnlineAVL2 application 1 From the main menu select Log Out A confirmation message is displayed 2 Select OK The Select Driver Log Out Status screen is displayed 3 Select the descriptio...

Page 11: ...line of the message The M Nav 900 950 can navigate you to that address automatically M Nav 900 950 User Guide From this screen you can select l Back to close the message without sending a reply l Repl...

Page 12: ...e desired date and select OK Time You can enter the time by selecting Set the Time Enter the desired time and select OK Numeric When a field is set up as numeric field by your fleet admin istrator you...

Page 13: ...d allows you to select one or more item from a given list or choices You can tap the item to select it A blue check appears next to an item when it has been selected Signature When a form contains a S...

Page 14: ...mark Select a message to read it It will be displayed along with any previous replies If you cannot see all of the message swipe and scroll down the screen The following icons show the type of receive...

Page 15: ...ar coverage is re established Showing a Route To Location When you receive a message that includes an address you have the option to show the location on the map 1 Open the message or form containing...

Page 16: ...Select EMS Settings 3 You can select the following l Update Period to change the rate that updates are displayed the default is one second l Trip Report to toggle between On Off the default is On l E...

Page 17: ...that applies to you Your status will be updated M Nav 900 950 User Guide Harsh Events The main purpose of the Harsh Events feature is to help you improve your driving behavior by notifying you when y...

Page 18: ...n this section Setting the Locale Your locale is set via the Garmin interface when the device is started or after restoring the factory defaults The locale sets the default language for the user inter...

Page 19: ...2113 AUSTRALIA Website www navmanwireless com au Navman Wireless NZ Navman New Zealand 7 11 Kawana Street Northcote PO Box 340 184 Birkenhead 0746 Auckland NEW ZEALAND Website www navmanwireless co nz...

Reviews: