82 –83
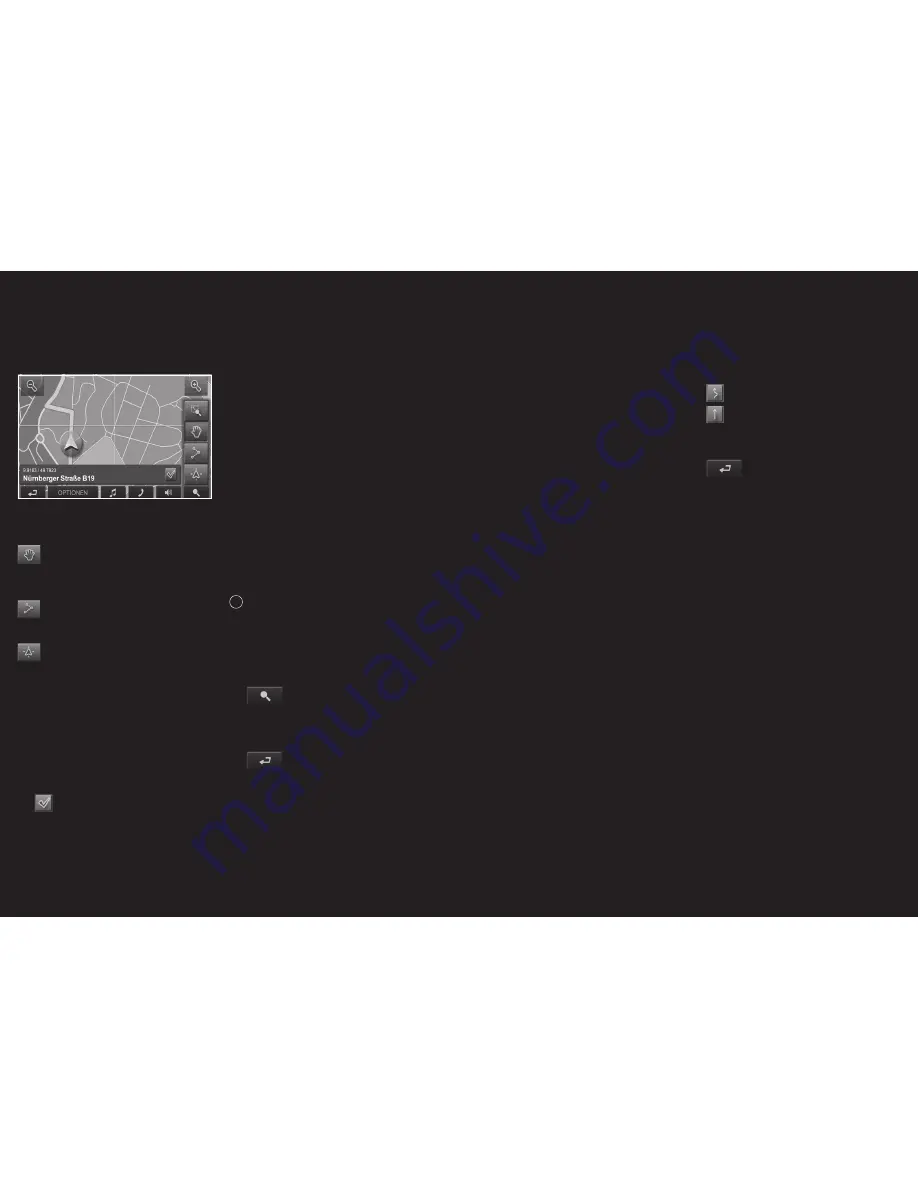
PAN MODE: If this button is active, the map
section can be moved in the desired direction with a
finger or the pen.
ENTIRE ROUTE: Zooms the map so that the
entire route is visible.
CURRENT POSITION: Selects the map
section shown, so that the current location is
centered.
8.4.1 Working in Destination search mode
1.
Touch the point to which you want to navigate.
The destination that you have selected appears
under the crosshairs.
The geographical coordinates of the destination
and the corresponding address are shown in
the field in the bottom third of the screen.
2.
Touch the
OK button.
Buttons with various functions will appear.
TAKE ME THERE: Begins the navigation to the
selected point. Current navigation will be aborted.
INTERIM DESTINATION: Sets the current
destination as a way point. The navigation system
will then guide you to this way point first. Afterwards,
you can continue your journey to your original
destination. This function is only active when you
are currently navigating.
SET AS DESTINATION: Adds the selected point as
the last point in the route plan. If no route plan has
been opened, the selected point will become the
first point in a new route plan.
SAVE: Opens the SAVE DESTINATION AS …
window. A name can be entered here which will be
used to save the given point in the FAVORITES list.
i
For detailed information, please refer to chapter
“Saving a destination” on page 73.
NEIGHBORHOOD SEARCH: Opens the POI
NEARBY window. Destinations in the vicinity can be
searched for from here.
–
Touch the
DESTINATION SEARCH button in
order to quit the DESTINATION SEARCH mode.
You will be returned to the window from which
you started this mode.
–
Touch
BACK in order to return to the main
window. If you are currently navigating, you will
be prompted to confirm quitting navigation.
08 Working with the map
Fig. 11
09 Useful functions
9.1 GPS status, store current location
In the GPS STATUS screen, you will find an overview
of the data the navigation system calculates from
the received GPS signals.
GPS status is available from the options of many
windows.
1. Touch
OPTIONS.
2.
Select GPS STATUS.
The current location can be stored in the
FAVORITES list.
3.
Touch the SAVE POSITION button. The SAVE
DESTINATION AS ... dialog opens up. The
cursor blinks in the NAME field.
4.
Enter a name for the destination.
5.
If necessary, define the current position as the
home address.
6.
Touch the SAVE button.
9.2 TMC [
Traffic information ]
Your device has an integrated TMC receiver. The
navigation system will only receive the latest traffic
reports once you have connected your cable to the
car charger. It can dynamically change the route in
order to avoid traffic jams, for example.
The current valid traffic reports are available via the
options of many windows.
1.
Touch the OPTIONS button.
2.
Select TRAFFIC. The TRAFFIC INFORMATION
window opens.
Via the list, the DISPLAYED INFORMATION
button shows which kind of traffic messaging
is listed and the number of messages received.
3.
Touch the DISPLAYED INFORMATION button
to select which traffic messages should be
displayed.
For each traffic message, information about the
location and type of congestion will be shown.
4.
Touch a message in order to show more
detailed information.
The navigation system can
AVOID or
IGNORE
congestion on the route. The button AVOID /
IGNORE shows the corresponding status.
Touch the
BACK button to close the TRAFFIC
INFORMATION window.
9.3 TMC Settings
In the TMC SETTINGS window, you can set and
configure the TMC sender, this will determine the
effect that the reception of a message concerning
your route will have on its calculation. Proceed as
follows:
1.
Touch the OPTIONS button in the TRAFFIC
INFORMATION window.
2. Select
TMC
SETTINGS.
Tuning
Touch the TUNING button to determine which
sender should be set, from which you want to
receive traffic information.
AUTOMATIC: The arrow buttons near the sender
can be used to set a different sender. The system
will search for another sender if reception is weak.
HOLD STATION: The arrow buttons near the sender
can be used to set a different sender. The system
will search for the same sender on a different
frequency if the signal is weak.
HOLD FREQUENCY: The arrow buttons near the
sender can be used to set a different sender. The
system will not search for another sender if the
reception is weak.


