background image


USER MANUAL

      NAVWATCH-S10


9 | 

P a g e


Manual updating 

1. 

The first step here is the same as the first step with setting 


the time zone; press and hold the MODE button until the 


Day / Time zone (abbreviation) digits starts flashing 


between T1 (Time Zone 1 abbreviation) and UTC.  


(or a + / - number. Eg. +3 or -10) 

 
2. 

Then press the FUNCTION button. The year number will start flashing. Then use 


the LIGHT button to either increase or the REC button to decrease this figure.  

3. 

Press the FUNCTION button again to move to the next field, MONTHS, and use 


the same LIGHT and REC buttons to either increase or decrease this figure. 

4. 

Repeat again to the sections DAYHOURSMINUTESECOND, then finally you 


have the option to turn ON or OFF DST (Day Light Savings time) accordingly. 

5. 

Press the MODE button until you return back to the main time menu screen.  

Note:  Only the time for T1 can be set manually. There is an option to adjust for daylight 
savings for T2 only. This can be done by pressing the MODE after point 4 above. The T1 
sign will then change to T2. Then press function to start to toggle to the DST field. Then 
use the LIGHT and REC buttons to adjust, then finally the MODE button to confirm and 
exit.      

Scheduled GPS time updating / ARC (Automatic Regional Calibration) 

1. 

To ensure you have accurate time for each day and in any time zone, simply set 


your watch to automatically update itself at a given time each day.  

2. 

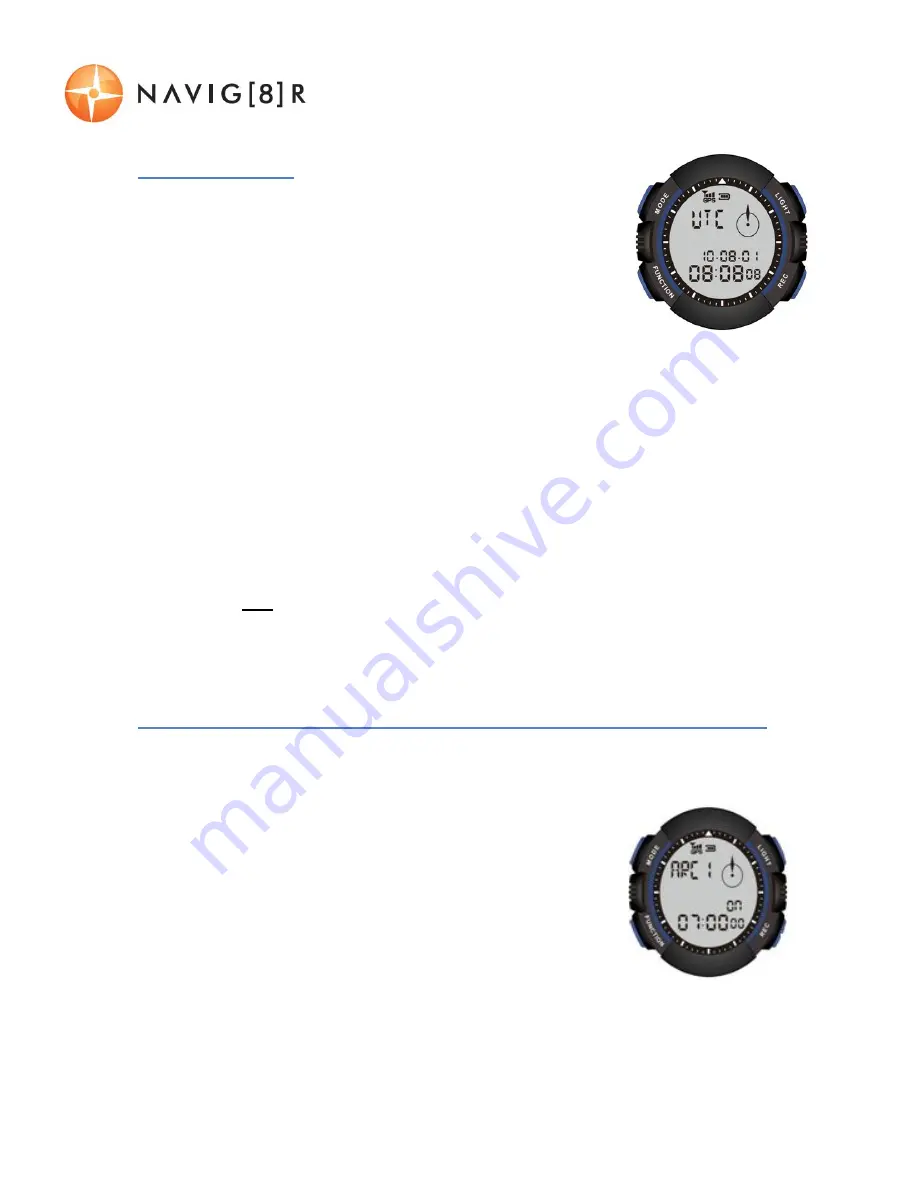
Press the NAVIGATION button once and use the LIGHT 


and REC buttons to toggle to ARC. Press the FUNCTION 


button to enter this feature.  ARC1 will then begin to 


flash.  

3. 

Press the FUNCTION button to begin setting up the 


details for ARC1 (T1 Time Zone) 

Summary of Contents for Navwatch-S10

Page 1: ...R MANUAL NAVWATCH S10 1 P a g e Please read carefully before use Note This is a generic user manual which covers more than one model You may notice slightly different screen shots throughout this manu...

Page 2: ...10 Setting a memo 12 Setting an hourly chime 12 Navigation 13 Saving favourite position locations PL to memory manually 13 Navigating to a saved position location PL 13 Designation free based tracking...

Page 3: ...ecome warm It is ideal to avoid continually running the battery flat before charging There are no user serviceable parts in this product Un authorized attempts to dismantle or repair this product will...

Page 4: ...rom the GPS screen c Press and hold for stopwatch from the time screen d Press or press and hold this button to select next option or to increase values of selected item from the menu screen FUNCTION...

Page 5: ...to the specification table below for the correct Nokia battery model number 1 Slide one the battery compartment door 2 Visually inspect the battery lead and plug carefully before connecting then conne...

Page 6: ...appear when the battery requires charging 5 When charging is completed the indicator lamp will change to green 6 While removing the watch be mindful to hold the cradle firmly while pressing the left...

Page 7: ...ing between T1 Time Zone 1 abbreviation and UTC or a number Eg 3 or 10 2 At this stage you need to input your current time zone UTC Coordinated Universal Time number Refer to the UTC time zone list la...

Page 8: ...ros The screen will display the letters GET The device has now started searching for GPS satellite signals 3 As contact is made with each satellite this number 00 will start to increase to as much as...

Page 9: ...ht Savings time accordingly 5 Press the MODE button until you return back to the main time menu screen Note Only the time for T1 can be set manually There is an option to adjust for daylight savings f...

Page 10: ...lling 2 Once a lap time has finished press the LIGHT button again The timer result will then move to the above smaller timer digit readout while the larger timer read out resets to 0 zero and begins r...

Page 11: ...e screen press the MODE button SETTING THE ALARM 1 From the time screen press the FUNCTION button 2 Use the LIGHT scroll up or the REC scroll down buttons until you see the letters ALM Alarm appear on...

Page 12: ...ombination of the FUNCTION button to move you through the memo fields and the LIGHT scroll up or the REC scroll down buttons to adjust the memo time values Finally choose whether to have this memo tur...

Page 13: ...will also be recorded Note PL data can further be viewed and edited using the supplied software Navigating to a saved position location PL 1 From the main timer screen press the FUNCTION button twice...

Page 14: ...ates have been calculated the navigation screen will be displayed This screen displays a the direction of the designation and the distance between the two points b your current speed when you start mo...

Page 15: ...acquired TR XX where XX are numbers generated by default from 01 to 99 and START will appear Press the FUNCTION button to begin exercising tracking 4 You can use the LIGHT and REC buttons to scroll t...

Page 16: ...ation Hardware 1 Connect your watch to the charging cradle noting not to force the watch and to observe for correct orientation Connect the USB cable to the cradle and then to your computer Your compu...

Page 17: ...mended that the default track names are not changed to avoid naming conflicts when using applications like Google Earth and potentially replacing files accidentally Selecting a track a data file 1 The...

Page 18: ...simultaneously in this way Note 2 Highlighting a track allows you to choose only one track at a time which can be used to carry out actions like data diagram view track and edit track Exporting a trac...

Page 19: ...s with overlapping times can not be merged Edit a track 1 Select the required track and click the EDIT button 2 Adjust the file name and rename and re categorise if required as above then click OK Del...

Page 20: ...n then either delete the tag or add information via the edit option Note The tag can also be deleted by selecting it in the co ordinates list on the left hand side of the screen 6 The finished file ca...

Page 21: ...left hand file explorer 2 Select the DATA DIAGRAM tab This screen is split into an upper and lower section 2 1 The upper data section has a further 5 individual overview tabs to show Profile Time Dis...

Page 22: ...to Zoom in or Out of the map 5 Use the EDIT feature to adjust the track colour and sport type icon Track Photos Advanced Users 1 This feature matches dates and times of photos and plots them along you...

Page 23: ...to insert other images such as designs or archived images etc 6 Once complete a confirmation screen will be shown showing how many files were successfully updated and how many were not These can be re...

Page 24: ...ss the button for either Picasa or Flicker and select the images you wish to upload the click OK Note Use the select all or select none buttons at the bottom of the pop up window to help with your sel...

Page 25: ...mode for all images on the selected track recording Press the ESC button to end the slide show Sports Diagram 1 This tab displays a column graph of accrued values for total distance travelled time tak...

Page 26: ...en users SETTINGS 1 Click the drop down arrow at the top right of screen As well as settings options there are other shortcuts to previously discussed options Select Settings 2 From this screen change...

Page 27: ...ted States 1 Seattle Tacoma United States 1 7 Edmonton Canada 1 Denver United States 1 Phoenix United States 1 6 Winnipeg Canada 1 San Jose Costa Rica Guatemala City Guatemala Mexico City Mexico 1 Chi...

Page 28: ...1 2 South Georgia Islands 1 Praia Cape Verde 0 Las Palmas Canary Islands 1 Spanish Territory Dublin Ireland 1 Casablanca Morocco Lisbon Portugal 1 Dakar Senegal London England 1 Edinburgh U K Scotland...

Page 29: ...Bahrain Bahrain Addis Ababa Ethiopia Baghdad Iraq 1 Nairobi Kenya Kuwait Kuwait Doha Qatar Moscow Russian Federation 1 Jeddah Saudi Arabia 3 5 Teheran Iran 4 Muscat Oman Samara Russian Federation 1 4...

Page 30: ...ration 1 Singapore Singapore 9 Tokyo Japan Fukuoka Japan Osaka Japan Sapporo Japan Seoul Republic of Korea Yakutsk Russian Federation 1 9 5 Adelaide Australia 1 10 Melbourne Australia 1 Sydney Austral...

Page 31: ...oint every 3 6 seconds Positioning accuracy 25m radius Antenna Embedded Power Rechargeable lithium battery 300mAh Dimensions 51 x 18 8mm Weight 78 grams Operating temperature Between 10 C and 45 C Cha...

Page 32: ...of time and allowed to discharge the expected life span does reduce It is also recommended that to ensure maximum battery life that the battery is not continuously run flat before charging Q Is there...

Page 33: ...the nature of the fault and refund or replace the product as per their store refund or warranty policy Step 2b If your place of purchase cannot be contacted then you can contact Laser Customer Service...

Reviews: