9 |
P a g e
8.4” Monitor
Adjusting the rearview camera settings
PRIOR TO ADJUSTING ANY SETTING AFTER THE INITIAL INSTALLATION, TURN THE VEHICLE OFF, CLOSE ALL
DOORS, THE HOOD AND TRUNK AND LOCK THE VEHICLE WITH THE FACTORY KEY FOB OR LOCK IT WITH THE KEY.
WAIT ONE MINUTE AND THEN UNLOCK THE VEHICLE AND PROCEED WITH THE FOLLOWING STEPS
.
EVEN IF YOU
ARE NOT INSTALLING A CAMERA YOU MUST PERFORM THESE STEPS.
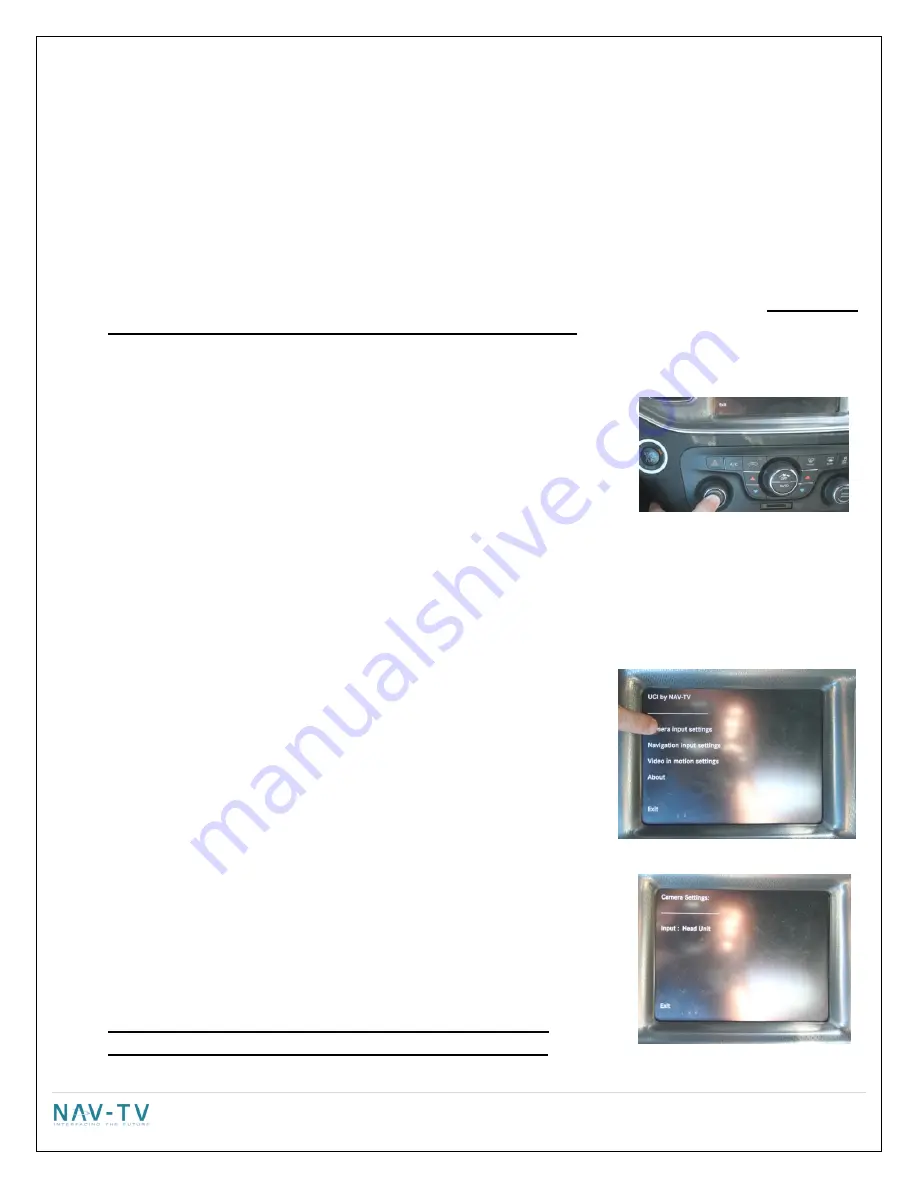
To access the settings screen, press and hold the “Power” button on the HVAC controller for 5 seconds. A menu
will appear on the monitor after 5 seconds.
On the touch screen, press “Camera Input Settings” to select it..
Adjusting the input:
o
Touch the “Input” soft key
o
Every press of the icon will change the input; OFF, Head Unit
(factory camera), Video 1, Video 2, Video 3. The input image
WILL
NOT
be displayed in the back ground during the camera selection.
o
NOTE: The differential input at the UCI IS NOT USED WITH THE 8.4" monitor.
o
IF NO CAMERA IS BEING INSTALLED SELECT OFF AND THEN EXIT
o
IF THE VEHICLE HAS A FACTORY CAMERA YOU MUST SELECT HEAD UNIT OR THE CAMERA WILL NOT
FUNCTION AFTER INSTALLATION AND YOU WILL BE REQUIRED TO FOLLOW THESE STEPS AGAIN.
o
If installing the Charger-Cam also select Head Unit. The Charger-Cam installs at the back of the radio,
not the UCI. Please follow the included Charger-cam instructions.
Adjusting brightness:
o
Touch the “Brightness” soft key.
o
Press the “-“or “+” soft key to adjust the image in 10%
increments.
o
Press the “Exit” soft key.
Adjusting Contrast:
o
Touch the “Contrast” soft key.
o
Press the “-“or “+” soft key to adjust the image in 10%
increments.
o
Press the “Exit” soft key.
Adjusting the Saturation:
o
Touch the “Saturation” soft key.
o
Press the “-“or “+” soft key to adjust the image in 10% increments.
o
Press the “Exit” soft key.
To exit the Camera Input Setting, press the “Exit” soft key.
NOTE: THE UCI IS NOT INTENDED AS JUST A REAR VIEW CAMERA
INTEGRATION MODULE FOR THE 8.4" SYSTEM. IF YOU ARE ONLY


