


Quick Start Guide
Phase Matrix PXI-1430B RF Downconverter Module
5
Step 2. Perform Hardware Installation/Configuration
Step 2-1. Unpack Hardware
Each PXI-1430B ships in an antistatic package to prevent damage from
electrostatic discharge (ESD). Because ESD can damage several
components of a hardware module, store all modules in antistatic
envelopes when not in use.
C A U T I O N
PXI hardware does not support “hot-swap” capabilities!
Before installing the PXI-1430B RF Downconverter Module, the PXI chassis must be
powered off and unplugged to prevent damage to PXI modules.
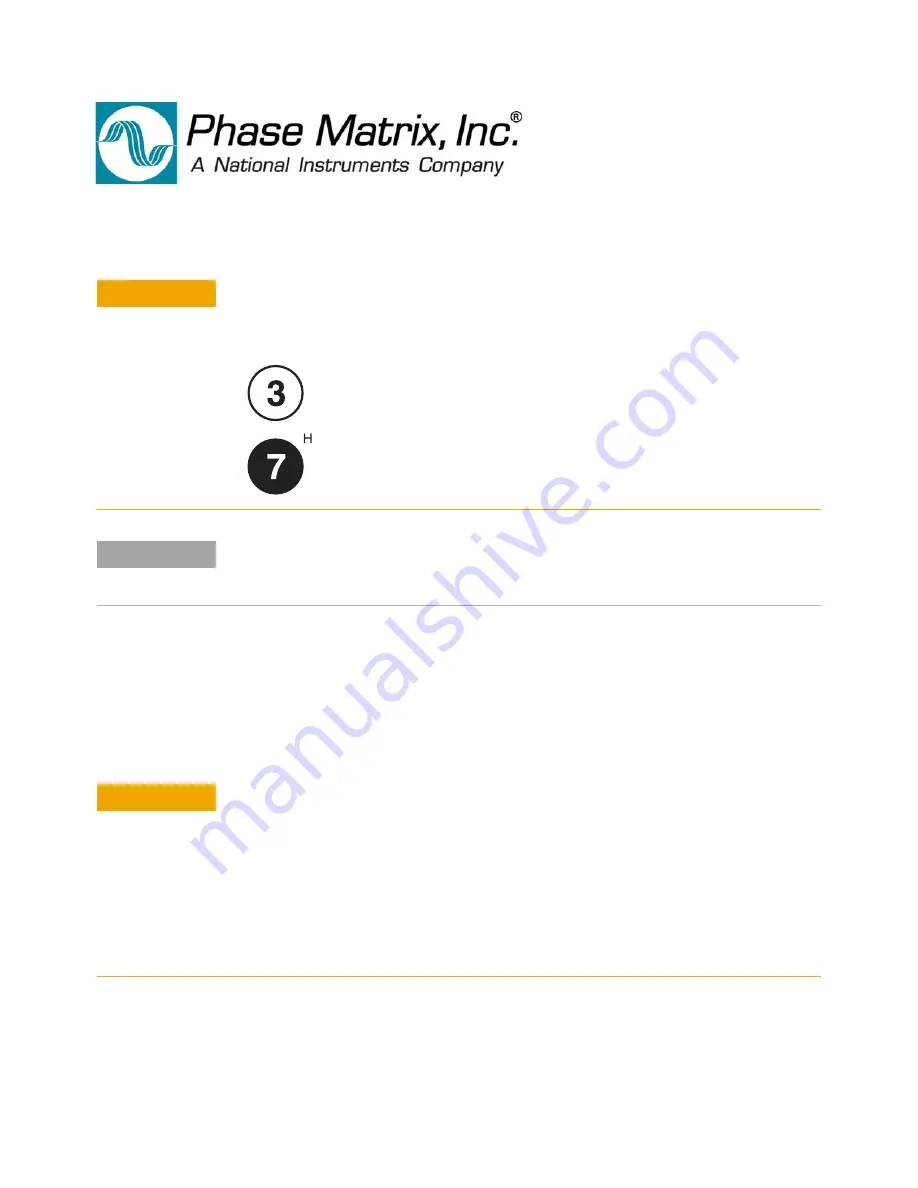
The PXI-1430B can be installed in any standard-PXI slot marked with a
peripheral slot compatibility image (a circle containing the slot number).
The PXI-1430B can also be installed in any hybrid-PXI slot marked with a
peripheral slot compatibility image (the letter “H” and a solid circle
containing the slot number).
Do not install
the PXI-1430B into a slot for PXI Express (PXIe) modules.
N O T E
A PXI-1430B can be used in a PXI or PXIe chassis, with either a PXI or PXIe remote
controller, but the PXI-1430B must only be installed into a standard-PXI slot or a
hybrid-PXI slot.
C A U T I O N
•
To avoid damage when handling a module, do not touch exposed connector pins.
•
Before touching or handling a module, use a grounding strap or touch a grounded
object to ground yourself.
•
Before touching or removing a module from its package, touch the antistatic package
to a metal part of your computer chassis.
•
Remove each module from its package and inspect it for loose components or any
signs of damage. Notify Phase Matrix if any module appears damaged in any way.
•
Do not install damaged modules into a system.


