


11
A D D Z - W A V E D E V I C E S
Devices should be powered and in their final location prior to inclusion. To add new Z-Wave device:
1.
Tap
Add Device
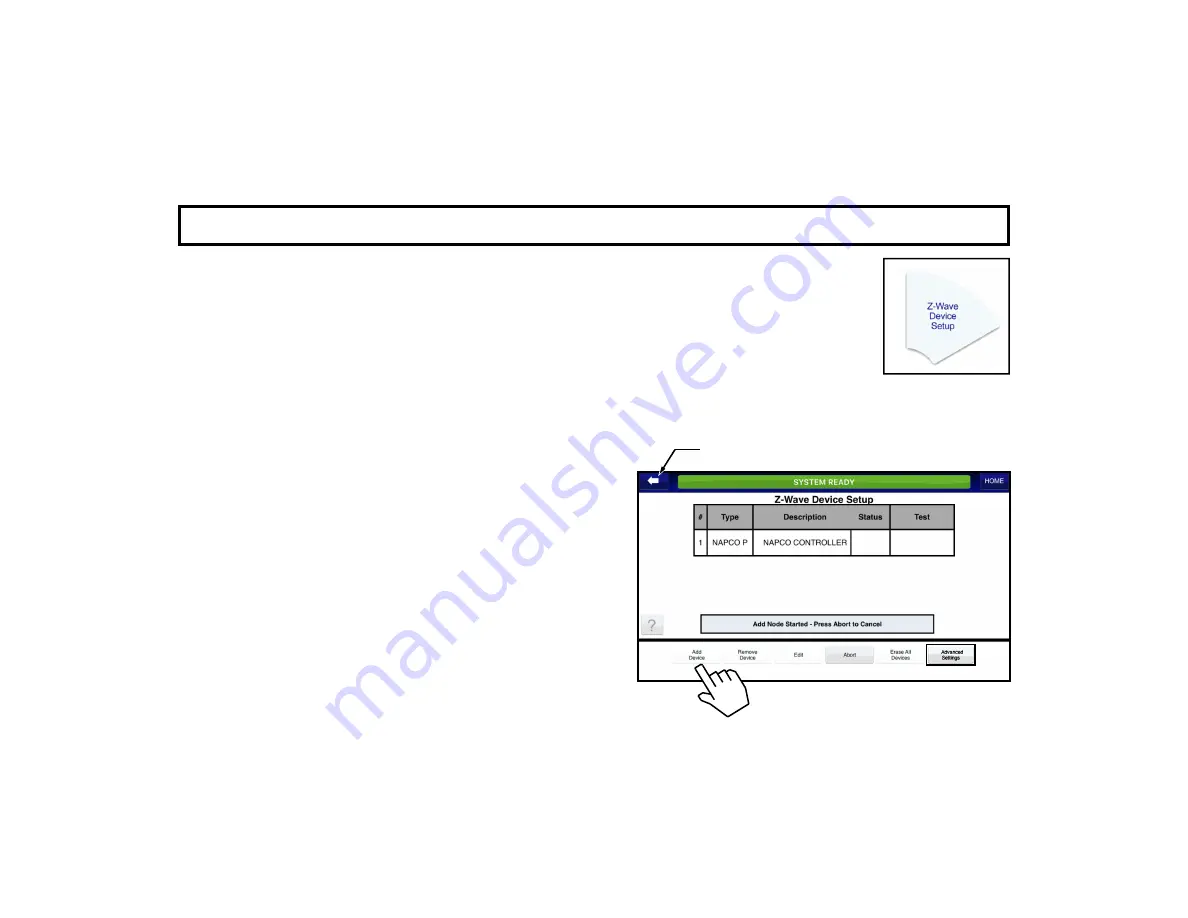
. Wait for the status message field to indicate "
Add Node Started - Press Abort
to Cancel
" . If you wish to terminate the Add Device action, tap the
Abort
button.
Note:
Depending on the app firmware version, the device list may include an entry with the Description
"
Napco Controller
" (also includes the
NodeType
"
Napco P
" ; see image below). This entry
is the StarLink Connect module, with its integral Z-Wave primary controller.
2.
Press the "Learn" button on the device.
Note:
Z-Wave device designs can vary, including the
name, location and operation of its "Learn" button (some require one button press, others require two); see the docu-
mentation for the specific device you wish to add to ensure correct operation.
3.
Wait for the
NodeType
,
Description
and
Status
of the
device to appear in the table.
For example, adding a light switch may indicate "
Switch
" as
the
NodeType
, "
Switch1
" as the
Description
, and
"
Active
" as the
Status
.
Test the new device:
In the
Test
column, tap the but-
ton (or "arrows" for a dimmer) as required. For example,
the
Test
column for a switch device will toggle "
ON
" and
"
OFF
" buttons.
Once all devices have been added, tap the "back" arrow (at
the top left) to return to the
Automation Management
screen.
Note:
Devices that are being re-enrolled in the
same network (or were previously installed in another net-
work) must be "Removed" prior to performing this "Add"
procedure. Therefore, perform the "Remove" procedure on
the device even if it does not appear in the table.
(Above screen displays appearance before adding devices)
"Back" Arrow


