11
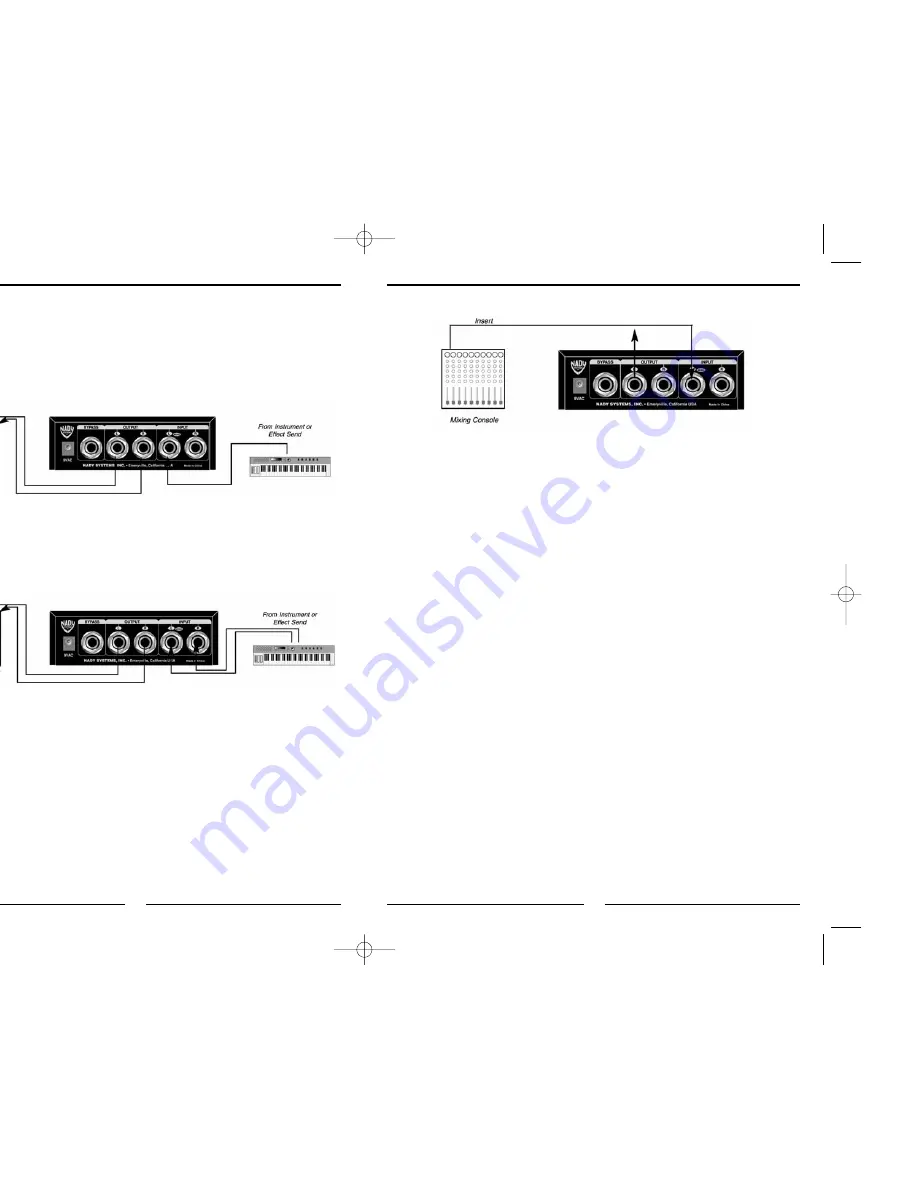
Insert jacks on the back of a mixer provide a way of "inserting" external processing
equipment into the signal path. The insert occurs after the input amplifier, and before the
channel fader; essentially it is the same as connecting the source (instrument or mic)
into the DigiComp 16 before the mixer's channel input. Usually, insert connections
require a special, stereo-splitting Y-cord. This Y-cord has a stereo 1/4” TRS jack that
plugs into the mixer's channel insert socket, and two mono 1/4” TRS jacks (input and
output) that will plug into the DigiComp 16. This kind of adapter cord will virtually insert
the compression processing into one mixer's channel. Carefully adjust the DigiComp 16
input and output levels in order to satisfy the dynamic requirements of both the
processed channels. If you don't hear anything, try to swap the Input and Output ends of
the TRS cable plugged into the DigiComp 16. Do not use the effects send/return
connections found on most mixers for effect modules, as this could result in heavy
frequency response alterations.
Mono In
If you only want to use the DigiComp 16 for a mono input signal and to connect both of
its outputs back to the mixer, you will need three audio cables. Connect a channel insert
from the console to the LEFT mono input of the DigiComp 16 via TRS, and another
audio cable from the LEFT or RIGHT output of the DigiComp 16 to an adjacent mixer
input.
Stereo In - Stereo Out
This connection is similar to the one described above. However, by utilizing two TRS
cables and the console channel inserts, you can process two signals or a stereo signal
(e.g., from a keyboard). This operational mode is the one used with the algorithms (1 to
8), designed to process audio stereo sources such as CD’s. Improper level setting when
using a dynamic processor is the most common cause of noise and distortion problems,
so always be careful to ensure optimum audio.
10
Interfacing to a Mixing Console — The DigiComp 16 can accept mono or stereo sends
at all system levels. The input circuitry of the DigiComp 16 can easily accept
profes8/9 dBu levels while having enough input and output gain to interface with
the low signal levels of home recording systems. The DigiComp 16 may be connected to
a mixing console connecting the unit directly to the channel insert socket of a single
channel that is to be processed. Another way of interfacing the DigiComp 16 to a mixer
or recording console would be in-line between the output of the mixing console and the
input of a tape deck or power amplifier. This last setup would be used only if you wanted
to process the entire mix.
Using Inserts — In the figure below, the situation is described in which the DigiComp 16
applies the desired dynamic process to single instrument signals; in this case, you must
use a mixer that features individual channel inserts.
• Stereo
Connect two audio cables to the LEFT (12) and RIGHT INPUTS (13) of the DigiComp 16
from a stereo source, and two other audio cables from the LEFT (10) and RIGHT (11)
OUPUTS of the DigiComp 16 to a stereo amplification system or two mixer inputs.
• Mono In, Stereo Out
While still using the LEFT (12) mono input, connect two audio cables from the LEFT (10)
and RIGHT (11) OUPUTS of the DigiComp 16 to a stereo amplification system or two
mixer inputs.
DigiComp16booklet 1/23/03 12:01 PM Page 20


