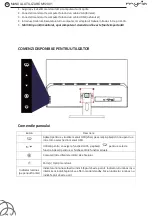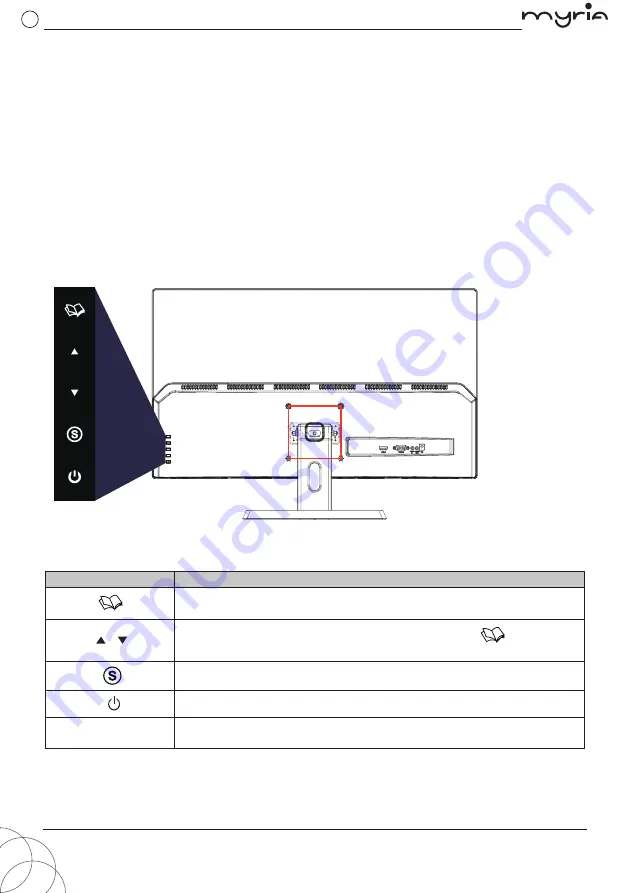
USERS CONTROLS
1.
Make sure both the monitor and computer are switched off.
2.
Connect the supplied
VGA
cable from the monitor to the computer.
3.
Connect the HDMI cable (not supplied) from the monitor to the computer.
4.
Plug one end of the supplied power adapter to the computer and plug the other end of the
power adapter into an AC outlet.
5.
Turn on the monitor first, then the computer. This sequence is very important.
EN-3
B
utton
Description
Press to view the
O
SD (on-screen display) menu. Press it again to
enter a selection in the
O
SD menu.
/
Used to navigate to the desired function, and press
to select
the function. Press to change the settings of the current function.
Switch between the different inputs of the display.
Turn the monitor on
/
off.
Indicator light
(on the front panel)
B
lue indicator light indicates power on. Red indicator light flickering
indicates standby mode. No light indicates power off.
Panel controls
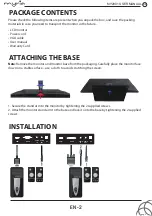
Please check the following items are present when you unpack the box, and save the packing
materials in case you need to transport the monitor in the future.
EN-2
PACKAGE CONTENTS
ATTACHING THE BASE
INSTALLATION
• LCD monitor
• Power cord
• VGA cable
• User manual
• Warranty Card
Note:
Remove the monitor and monitor base from the packaging. Carefully place the monitor face
down on a stable surface – use a cloth to avoid scratching the screen.
1. Secure the stand arm to the monitor by tightening the 2 supplied screws.
2. Attach the monitor stand arm to the base and lock it onto the base by tightening the 2 supplied
screws.
HDMI
D-SUB
AUDIO
IN
AUDIO
OUT
DC
HDMI
D-SUB
AUDIO
IN
AUDIO
OUT
DC
MY2901 USER MANUAL
pag. 3
pag. 2
GB


