


Chapter 6: FaxFinder Client Software Operation
Multi-Tech Systems, Inc. FF200 FaxFinder Fax Server Admin User Guide
107
3. When the
FaxFinder Send Fax
screen appears, it will list the document we want to fax in its
“Documents” pane. Next we must specify a recipient.
The recipient could either be chosen from the Address Book or specified directly in the Name and Phone
Number fields using the
Add Recipient
command in the
FaxFinder Send Fax
screen.
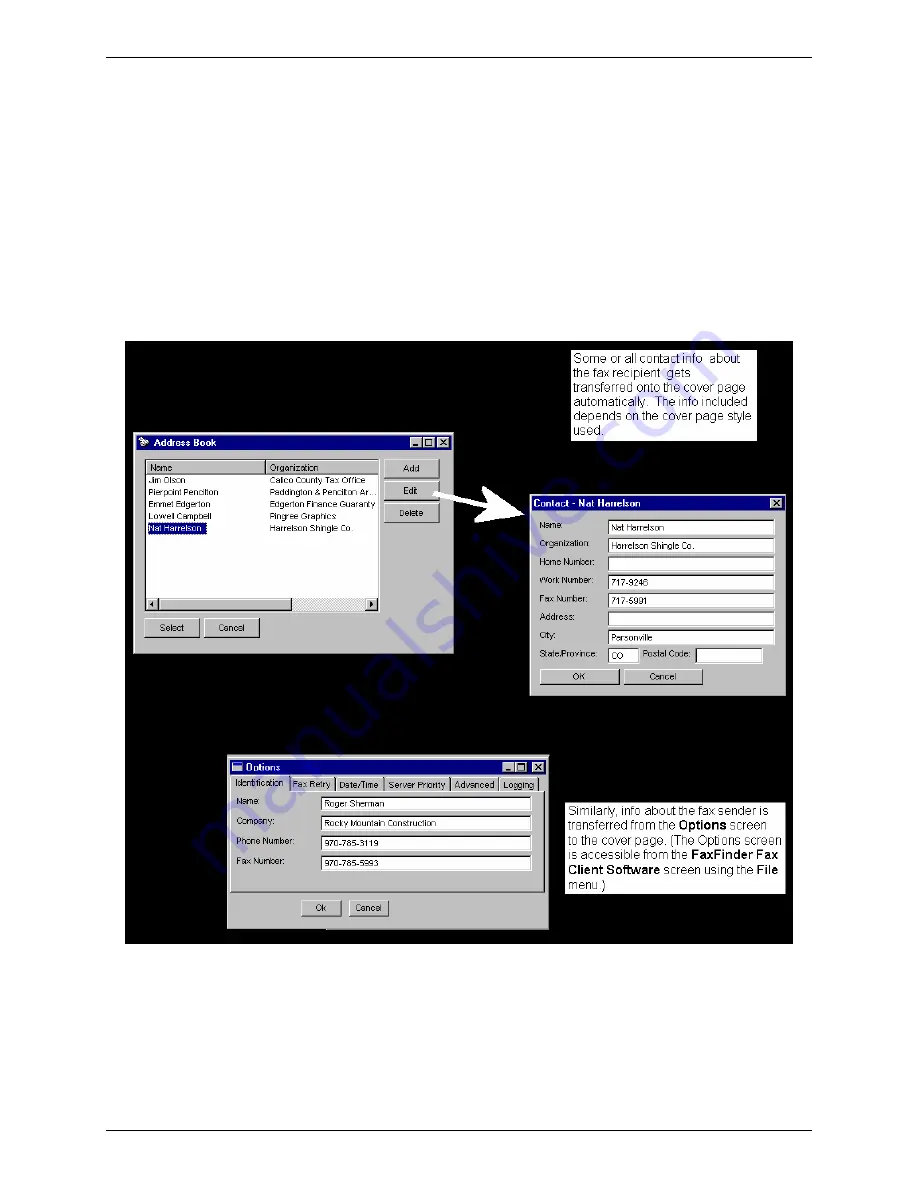
In this example, we will choose the recipient from the Address Book by highlighting the entry and clicking
Select
. Note the detailed address information about the recipient that had been stored when this party
was entered into the
Address Book
(you can view the details on any Address Book entry by clicking
Edit
from the
Address Book
screen). Recipient contact info from the Address Book entry will appear later in
the automated fields of the cover page. Sender contact info from the Options menu will also appear on
the cover page. Which details are included in the cover page depends on the cover page style used.
The “fax stamp” at the top of each sheet of the fax (which includes sender, recipient, and time info) is
inserted automatically based on information from the FaxFinder server software and from the recipient fax
machine.