


MultiQ Digital Signage – DSMS 3 User’s Manual Ver. 2, 2010-06-08
18
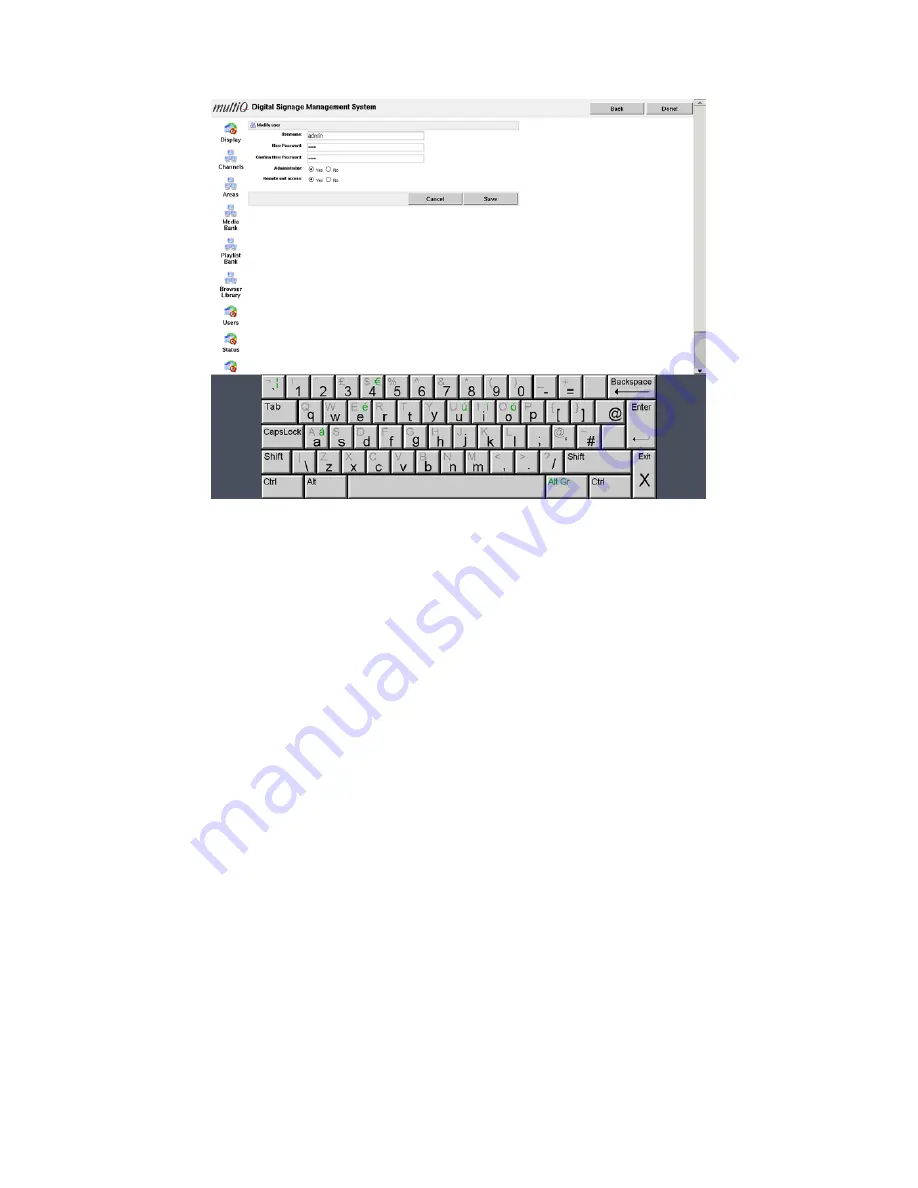
Figure 15. The administrator password can be changed by ticking the “Administrator“ checkbox and then
clicking the “Modify” button.
By connecting your PC to the same subnet as the media monitor it is now possible to log in to the
server from your PC or MAC. Just put the IP address of your media monitor on the address line of your
web browser and log in to the media monitor web server using the password that you have chosen.
Using your web browser you can now manage the content that is to be used in the media monitor.
A more detailed manual on how to manage content in standalone mode is included in appendix 1. If you
intend to use your unit in standalone mode, please go there now.
The remaining part of this manual describes how to handle a centrally managed system.
Centrally managed network setup
If the media monitor is to be used in a centrally managed digital signage network you should choose
“Managed” in the configuration menu. Add the media monitor ID and the URL of the server (Account
URL) along with the username and the password that have been provided by the network administrator.
Then click the “Test connection” button to verify that a script file is received from the management
server. In order to get a successful connection test the media player or media monitor needs to be
defined in the central management system. How this is done is described in the “Testing the web client
and defining your first media player” section.


