BULLDOG 65 Hydraulic Steelworker
9
4.2
4.2
4.2
4.2
P
P
P
P
UNCH
UNCH
UNCH
UNCH
T
T
T
T
OOLING
OOLING
OOLING
OOLING
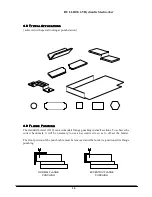
The Punch and Die should be checked for alignment, prior to punching any material.
4.2.1 Tooling Changes
Punch: With quick-change device. No need of additional devices.
Die:
To change die, slacken set screw in side of bolster, remove die and replace with new
die, retighten set screw.
After replacing punches and dies, it is important that they are correctly aligned. See page 6 for
alignment procedure under the heading ‘Safety Points’. Extra care must be taken when fitting
square or shaped punches that they are correctly aligned before operating machine.
4.3
4.3
4.3
4.3
P
P
P
P
UNCH
UNCH
UNCH
UNCH
T
T
T
T
OOLING
OOLING
OOLING
OOLING
----
G
G
G
G
ENERAL
ENERAL
ENERAL
ENERAL
G
G
G
G
UIDE
UIDE
UIDE
UIDES
S
S
S
1.
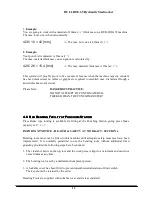
The punch stripper plate must be adjusted correctly with sufficient clearance to allow
positioning and removal of the material being punched.
2.
Punch holes with sufficient material around the hole so contact is made on both sides of the
stripper plate. Stripping forces can be severe. Unbalanced stripping forces may cause punch
breakage.
3.
Liberal oiling of the punch will considerably lengthen the life of the punch and die and also
help reduce the stripping forces.
4.
The quality of the hole (or blank) is an immediate indication of the condition of the punch
and die.
5.
Do not punch material thicker than the punch diameter, this overloads the punch and can
result in breakage.
6.
Punch full and complete holes, do not punch partial holes unless tooling is specifically
designed to do so.
7.
When punching small items (i.e. small pieces of plate, bar etc) these items MUST be places
and extracted with suitable handling aids, extra guarding may be required too ensure
operator safety.
8.
Stay within the rated capacity of the machine.


