


2-14
Getting Started
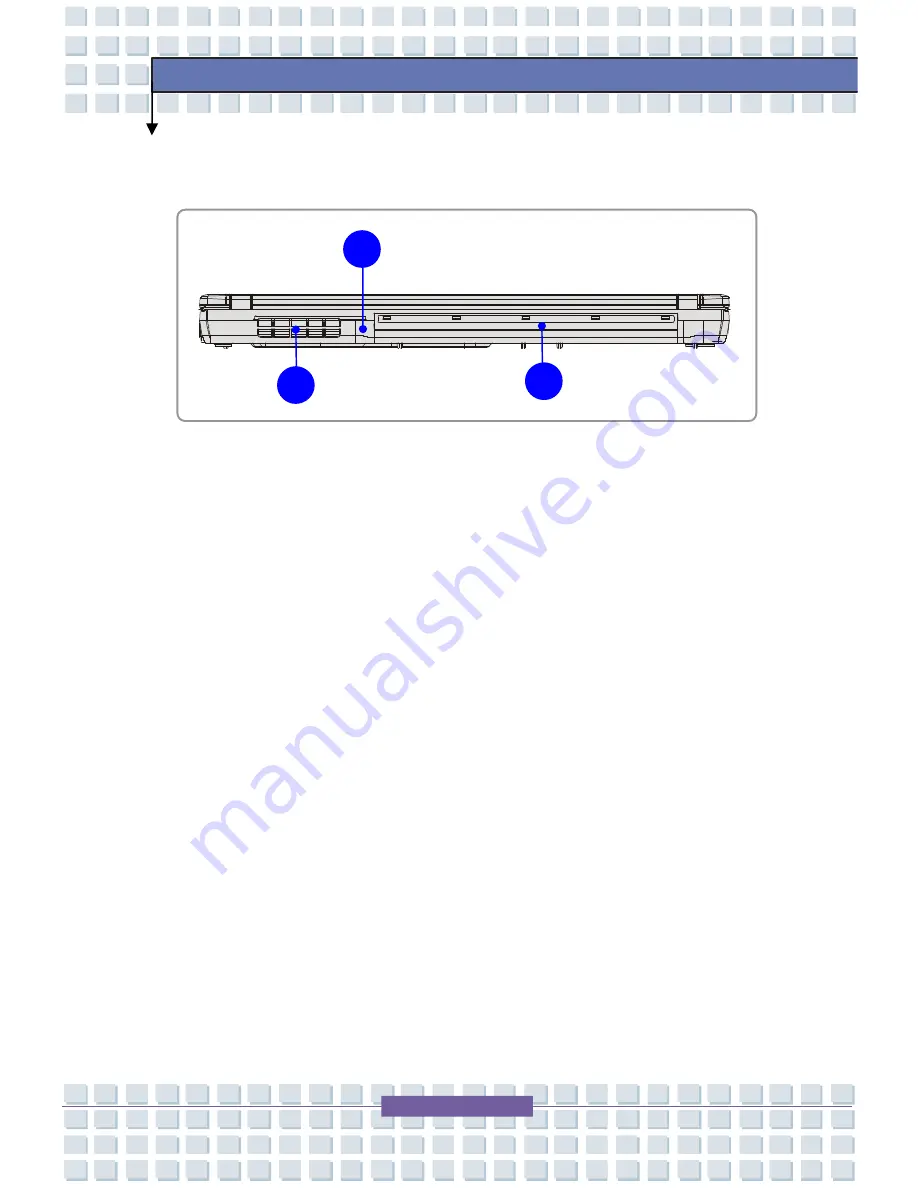
Rear View
1.
Kensington Lock
This port is used to lock the computer to location for security.
2.
Battery Pack (Rear View)
Supply power to your computer when the AC adapter is not connected.
3.
Ventilator
The ventilator is designed to cool the system. DO NOT block the ventilator
for air circulation.
1
2
3


