background image

Caution Symbol

Caution :

* Risk of electric shock !

Caution :

* Do not use fingers or any tool

to touch the Wire Terminals.

* Do not apply the relay contact load

current > 0.5 Amp.

* The instrument contains no user

serviceable parts and should not
be opened by the user.

* Repair or after service should be

done by a qualified technician only.

* Power supply should apply the

correct ACV power voltage 

* Cleaning - Only use the dry cloth to

clean the plastic case !

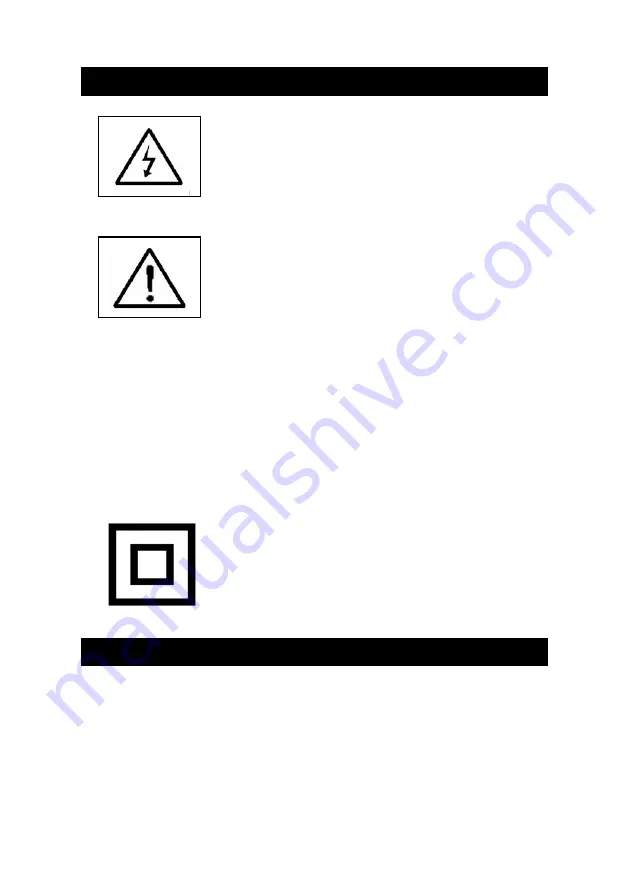
* Equipment protected throughout

by Double Insulation or Reinforced
Insulation.

Environmental Condition

* Comply with EN61010.

Transient overvoltage at Mains Supply 2500V.

* Pollution Degree 2.
* Altitude up to 2000 meters.
* Indoor use.
* Relative humidity 80% max.

Summary of Contents for PDT-2250

Page 1: ...plex and delicate instrument its durable structure developed Please read the following instructions carefully and always keep this manual within easy reach OPERATION MANUAL RPM CONTROLLER MONITOR Model PDT 2250 PLEASE READ THIS MANUAL CAREFULLY BEFORE OPERATION 3 Hagavish st Israel 58817 Tel 972 3 5595252 Fax 972 3 5594529 mrc mrclab com MRC 11 20 ...

Page 2: ...by the user Repair or after service should be done by a qualified technician only Power supply should apply the correct ACV power voltage Cleaning Only use the dry cloth to clean the plastic case Equipment protected throughout by Double Insulation or Reinforced Insulation Environmental Condition Comply with EN61010 Transient overvoltage at Mains Supply 2500V Pollution Degree 2 Altitude up to 2000 ...

Page 3: ... relay indicator 4 3 9 Alarm relay indicator 4 3 10 RPM indicator 4 3 11 ft min indicator 4 3 12 m min indicator 4 3 13 Wire terminals 4 3 14 Case holder 4 3 15 RS232 terminal 4 4 MEASURING PROCEDURE 5 4 1 Terminal connection 5 4 2 RPM measurement 6 4 3 Surface speed m min ft min measurement 6 4 4 1st layer setting procedures 8 4 5 2nd layer setting procedures 10 5 RS232 PC SERIAL INTERFACE 14 6 S...

Page 4: ...roller s diameter for the surface speed m min ft min function Can cooperate the optional proximity sensor or photo sensor Large red LED display high brightness and easy to read RS232 computer interface Microprocessor circuit ensures high accuracy and provides special functions and features Standard 96 X 48 mm DIN case Optional data acquisition software Optional GSM controller 2 SPECIFICATIONS 2 1 ...

Page 5: ...lue setting Alarm high limit value setting Alarm low limit value setting Pulse no of each round Roller diameter value setting Hysteresis value setting Setting for RPM m min ft min Input Signal Pulse Time base Quartz crystal External DC 12 V 50 mA max Power Supply Data Output RS 232 PC serial interface Operating 0 to 50 Temperature Operating Less than 80 R H Humidity Power Supply 90 to 260 ACV 50 6...

Page 6: ...5 Range Photo Tachometer 10 to 99 999 RPM Surface Speed m min 0 05 to 9 999 m min Surface Speed ft min 0 2 to 32 805 ft min Accuracy 0 1 1 digit Resolution RPM 0 1 RPM 1 000 RPM 1 RPM 1 000 to 9 999 RPM 10 RPM 10 000 to 99 999 RPM m min 0 01 m min 100 m min 0 1 m min 100 to 999 m min 1 m min 1 000 to 9 999 m min ft min 0 1 ft min 1000 ft min 1 ft min 1 000 to 9 999 ft min 10 ft min 10 000 to 32 80...

Page 7: ...ndicator 3 3 SV set value indicator 3 4 Set Button 3 5 Button 3 6 Button 3 7 Function Button 3 8 Control relay indicator 3 9 Alarm relay indicator 3 10 RPM indicator 3 11 ft min indicator 3 12 m min indicator 3 13 Wire terminals 3 14 Case holder 3 15 RS232 terminal 4 ...

Page 8: ...e to the AC input terminals 2 Connect the Control Relay output from T3 T4 Connect the Alarm Relay output from T5 T6 3 Connect the following optional sensor or similar sensor Proximity sensor PX 01 Photo sensor PI 06 to the input terminal T8 T9 T10 T8 is DC 12 V power supply terminal T9 is the ground terminal T10 is the pulse input terminal 5 ...

Page 9: ...e no per round is 1 the RPM value will be 5 124 1 5 124 The procedures that to set the Pulse no per round refer to the page 10 4 5 2nd layer setting procedures 4 3 Surface speed m min ft min measurement 1 Power on the meter the Display 3 1 Fig 1 2 Press the Function Button 3 7 Fig 1 once until the m min indicator 3 12 Fig 1 is lit The Display 3 1 Fig 1 will show the m min value Press the Function ...

Page 10: ...meter 100 cm For example If the total input signal pulse per minute is 501 the setting pulse no per round is 1 the roller diameter is 10 cm the m min value will be 501 1x10x3 14 100 157 3 The ft min value equal Total input signal pulse per min divide setting pulse no per round x multiple setting roller diameter cm x multiple 3 14 divide 30 48 1 ft 30 48 cm 7 ...

Page 11: ...ng procedures 4 4 1st layer setting procedures CtSP Control value setting LoLt Low limit value setting HILt High limit value setting Control Value Setting 1 Press the Set Button 3 4 Fig 1 once the Display will show CtSP now the meter is ready for the Control value setting 2 Use the Button 3 5 Fig 1 and the Button 3 6 Fig 1 to adjust the desiring Control value Remark When adjust the value the SV in...

Page 12: ... will light The function of Low limit value setting refer to page 13 Fig 4 High Limit Value Setting 1 After set the Low Limit value press the Set Button 3 4 Fig 1 twice the Display will show HILt now the meter is ready for the humidity High Limit value setting 2 Use the Button 3 5 Fig 1 and the Button 3 6 Fig 1 to adjust the desiring High limit value Remark When adjust the value the SV indicator 3...

Page 13: ...lay if the Function Button 3 7 Fig 1 select to ft min function the ft min indicator 3 11 Fig 1 light the 1st layer setting procedures will ready for ft min function 4 5 2nd layer setting procedures PULS Pulse no per round setting dIA Roller diameter value setting CtHy Control Hysteresis value setting ALHy Alarm Hysteresis value setting Pulse no per round setting 1 Press the Set Button 3 4 Fig 1 co...

Page 14: ...ter value in the unit of cm When adjust the value the SV indicator 3 3 Fig 1 will light The function of Roller diameter value setting refer to page 7 Control Hysteresis value setting 1 After set the Roller diameter value press the Set Button 3 4 Fig 1 twice the Display will show CtHy now the meter is ready for the Control Hysteresis value setting 2 Use the Button 3 5 Fig 1 and the Button 3 6 Fig 1...

Page 15: ... press the Set Button 3 4 Fig 1 twice the Display will show ALHy now the meter is ready for the the Alarm Hysteresis value setting 2 Use the Button 3 5 Fig 1 and the Button 3 6 Fig 1 to adjust the desiring Alarm Hysteresis value When adjust the Alarm Hysteresis value the SV indicator 3 3 Fig 1 will light Remark When adjust the Alarm Hysteresis value the SV indicator 3 3 Fig 1 will light The functi...

Page 16: ...Alarm Hysteresis value 5 a The alarm relay will On when measuring value up to 100 The alarm relay will Off again when measuring value down to 95 b The alarm relay will On when measuring value down to 20 The alarm relay will Off when measuring value up to 25 13 ...

Page 17: ... utilized for user s specific application A RS232 lead with the following connection will be required to link the instrument with the PC serial port Meter PC 3 5 mm jack plug 9W D Connector Center Pin Pin 4 Ground shield Pin 2 Pin 5 The 16 digits data stream will be displayed in the following format D15 D14 D13 D12 D11 D10 D9 D8 D7 D6 D5 D4 D3 D2 D1 D0 14 ...

Page 18: ... If the display reading is 1234 then D8 to D1 is 00001234 D0 End Word RS232 setting Baud rate 9600 Parity No parity Data bit no 8 Data bits Stop bit 1 Stop bit 6 SYSTEM RESET Power on the meter use the two fingers to press Set Button 3 4 Fig 1 and Function Button 3 7 Fig 1 continuously more than 5 seconds until the Display show the text rSt release the buttons After rSt text flashing 2 times will ...

Page 19: ...ion Vertical Sensing distance 4 mm Operating voltage 10 30 VDC Standard Sensing object Iron 18 x 18 x 1 mm Current consumption 8 mA no load Response frequency 600 Hz Output current 250 mA max Leakage current 1 1 mA Residual voltage 0 9 VDC Operating Temperature 20 to 70 Operating Humidity 35 to 95 RH Wire Dimension 4 7 mm Dia x 2 m x 3 cores Application Sensor for PDT 2250 DT 224OD Position Detect...

Reviews: