DA-683 Series
Hardware Installation
3.
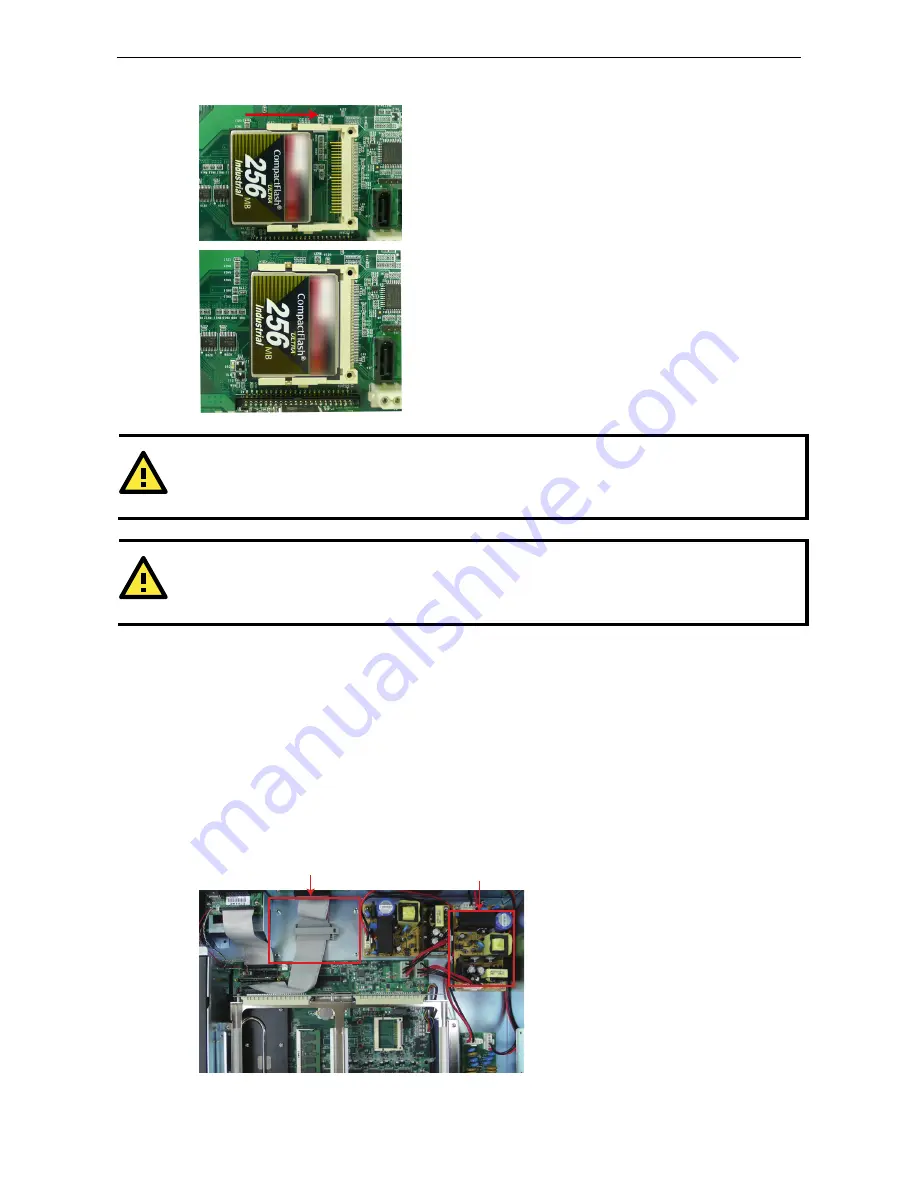
Insert the CompactFlash card into the socket. Push downwards to make sure that the card is firmly inserted.
ATTENTION
Make sure you insert the card in the right direction. The card cannot be inserted if you insert the card in the
wrong direction.
ATTENTION
The DA-683 embedded computer does not support the CompactFlash hot swap and PnP (Plug and Play)
functions. It is necessary to remove power source first before inserting or removing the CompactFlash card.
Installing a SATA Hard Disk
The DA-683 embedded computer has one or two SATA connectors for SATA hard disks. To install a 2.5-inch
SATA hard disk, follow these instructions.
4.
Disconnect the DA-683 from its power source.
5.
Open the top cover of the DA-683. Refer to the following figure for the specific location for hard disk
installation..
1st HDD or PCI 104
Installation Location
Power Input 2
(DPP-T Models only)
2nd HDD Installation
Location
(SP Models only)
or
2-15


