33
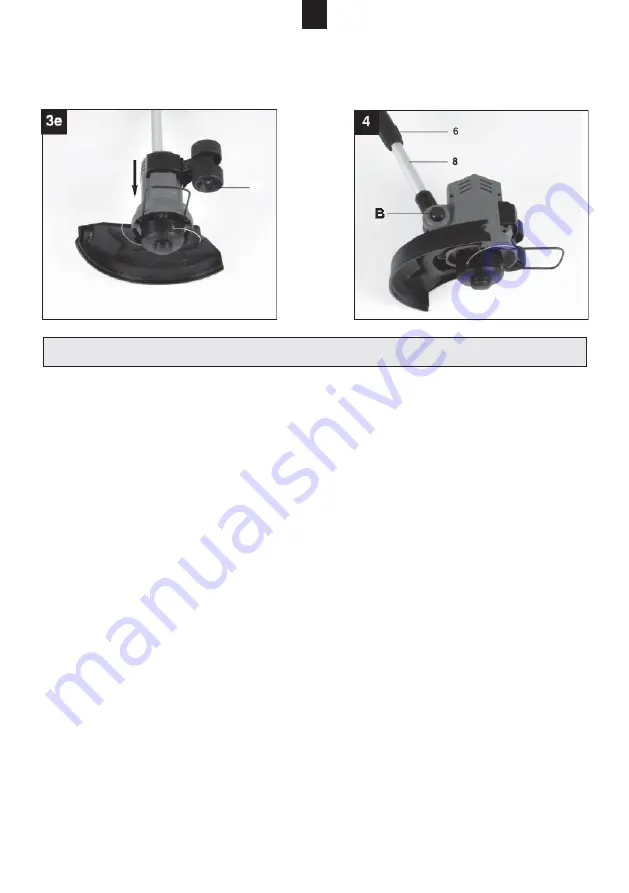
Wheels (Picture 3e)
Install the wheels (15) on the engine unit. When the wheels are installed and se-
cured correctly, you should hear an audible click.
Setup
Warning! Prior to making any setup adjustments, make sure
the plug is disconnected from the outlet!
You can achieve an optimal work position by setting up
a correct trimmer length (Picture 4).
Loosen the cap nut (6).
Slide the bottom pipe (8) out until you reach the required length.
Tighten the cap nut (6).
Front handle setup (Picture 3b)
Put the trimmer on a fi rm surface. Loosen the rose nut on the front handle (5) and
tilt it to an optimal position.
Fasten the front handle by tightening the rose nut.
Cutting head angle setup (Picture 4)
When you press the button (B), you can set the cutting head angle to 4 different
positions. Set the angle in a way that suits you the most. When adjusting the angle,
make sure that the cutting head audibly clicks when set to the required work posi-
tion.
Securing the extension cord (Picture 5)
Connection to the extension cord shall be secured in accordance with the picture,
thus making sure the plug does not get disconnected.
EN
15


