created by: Pro. Q.C. Systems Design Limited
8
9
3.2 User Account and Camera Setup:
Working with devices for Android
™
• Download and install the application “Monitor Everywhere”
from the Google Play
™
Store. Note: If you can’t find the
application, use your device browser to go to
www.monitoreverywhere.com for advice on how to install.
• Turn on the Wi-Fi
®
of your device for Android
™
and select
your wireless network.
• Switch on the camera (see
5. Procedure for resetting the
Camera
).
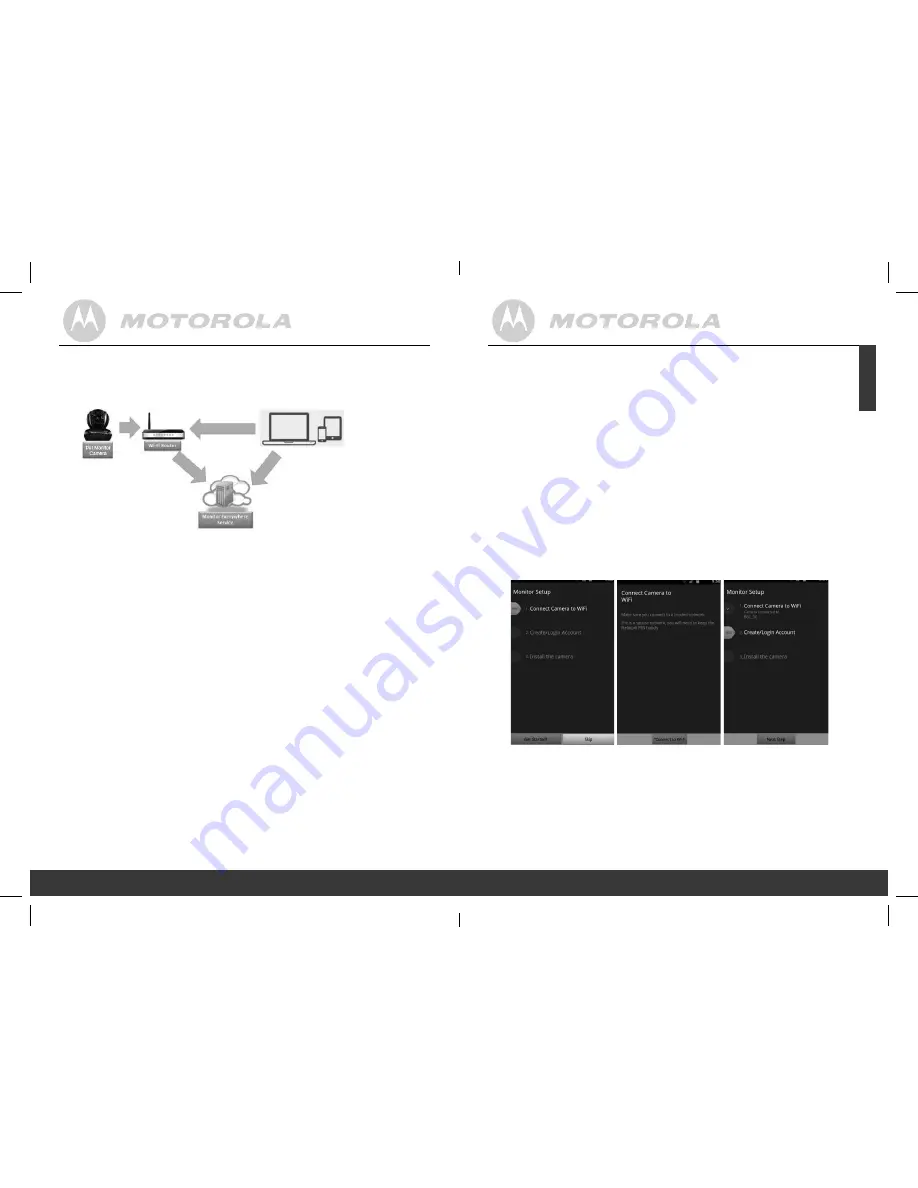
• Run the “Monitor Everywhere” application. After initialization,
the Monitor Setup wizard appears.
• Select CREATE ACCOUNT.
• Select GET STARTED.
• Follow the on-screen instructions and select the camera and
the Wi-Fi
®
connection that your camera will use. If necessary
enter a password.
• Tap CONNECT TO Wi-Fi.
Getting started
8
Getting started: Working with devices for Android
™
9
ENGLISH
3. Getting started - Connecting Devices
How does it work?
• The Monitor Everywhere Server keeps track of the cameras.
• When a user wants to access the camera, the server
authenticates the user and permits the user access to the
camera.
3.1 Setup
Connect the Camera to the power adapter and plug it into
a power socket. Wait until the camera LED changes to fast
blinking, meaning the camera is in reset/setup state and is ready
for “Camera Setup’ registration. The Camera must be within
range of the Wi-Fi
®
router.
Status of LED Indication:
- Reset / Setup state: fast blinking
- Unconnect state:
slow blinking
- Connect state:
always on
View your camera from
any device remotely
Access your
camera locally
P130082_Scout1_UG_US_EN_V5_2013_08_19.indd 8-9
19/08/2013 3:41 PM


