20
Note:
●
You can choose the function you want when you click the left button of your pointing icon in the Slide
scanning-operation
interface.
●
When entering the Advanced Settings, you can find similar
“Scan Area Editor”
window in the top
right corner. The top left corner icons, which should use the right mouse button click control, have
the same functions as above.
It provides essentially One-Click-Operation, but allows simple customization steps to operate Scanner.
The software provides basic default settings, but user can also manually set-up slide-tray storage path,
scanned magnification and scan mode if needed.
After clicking
"Scan"
button, the scanning will be performed based on interface settings. When scanning
is completed, a message will be displayed for next step operation. The digital slide image can be viewed
by double clicking the macro map or via
“Motic DSAssistant”
.
Followings are MoticEasyScaner software slide scanning characteristics
●
Using macro camera to get macro map of the slide (about 7-8 seconds per map)
If more details about the slide scanning are needed, please enter setting interface.
3.3.2 Slide Scanning — Advanced Setting Interface
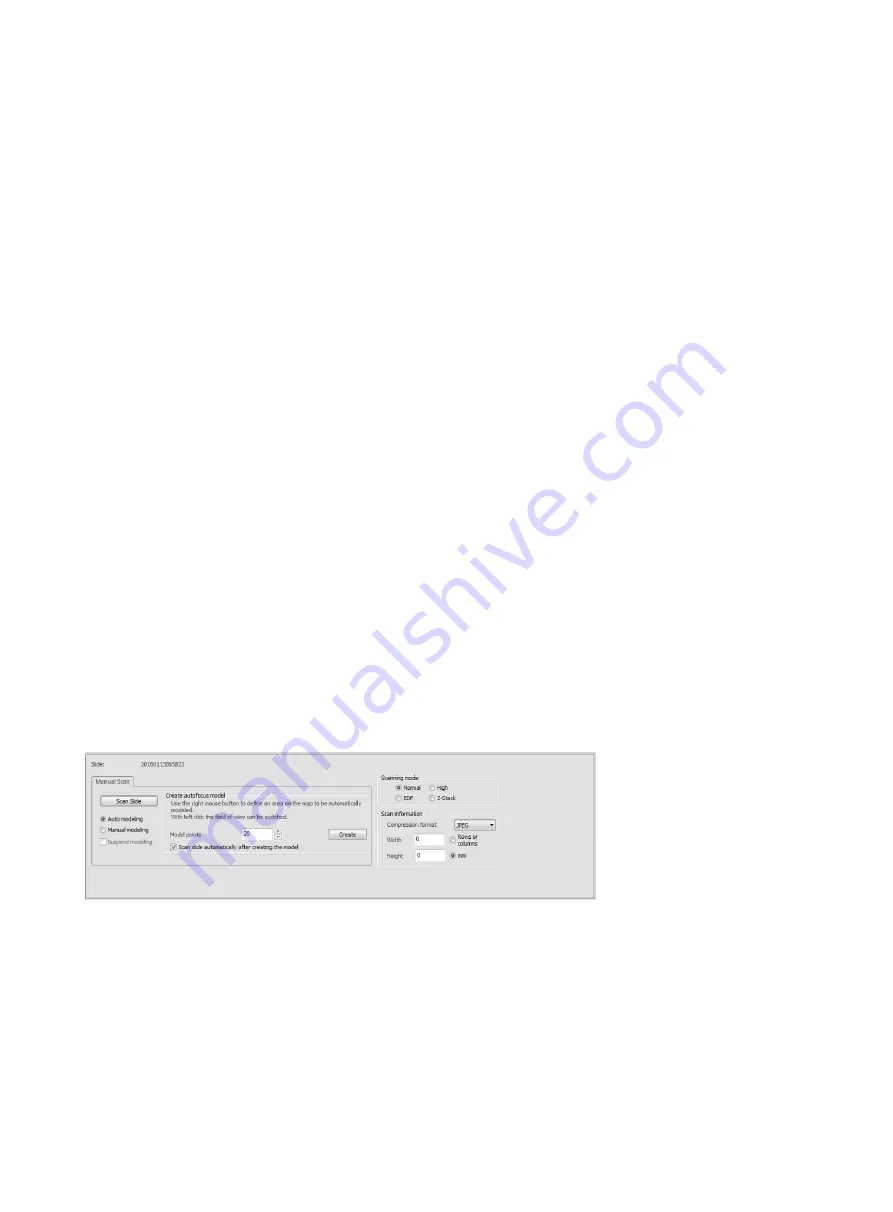
Manual scan selection page is in
“digital slide scan”
window.
User can obtain a sharp digital slide via scanning map, establishing focus model and scanning slide
Below shows full slide scanning acquisition process (slide macro image is obtained by loading the slide).


