background image

8

MOTHER-32 FIRMWARE UPDATE V2.0 


April 2020

SAVING A PATTERN (Continued)
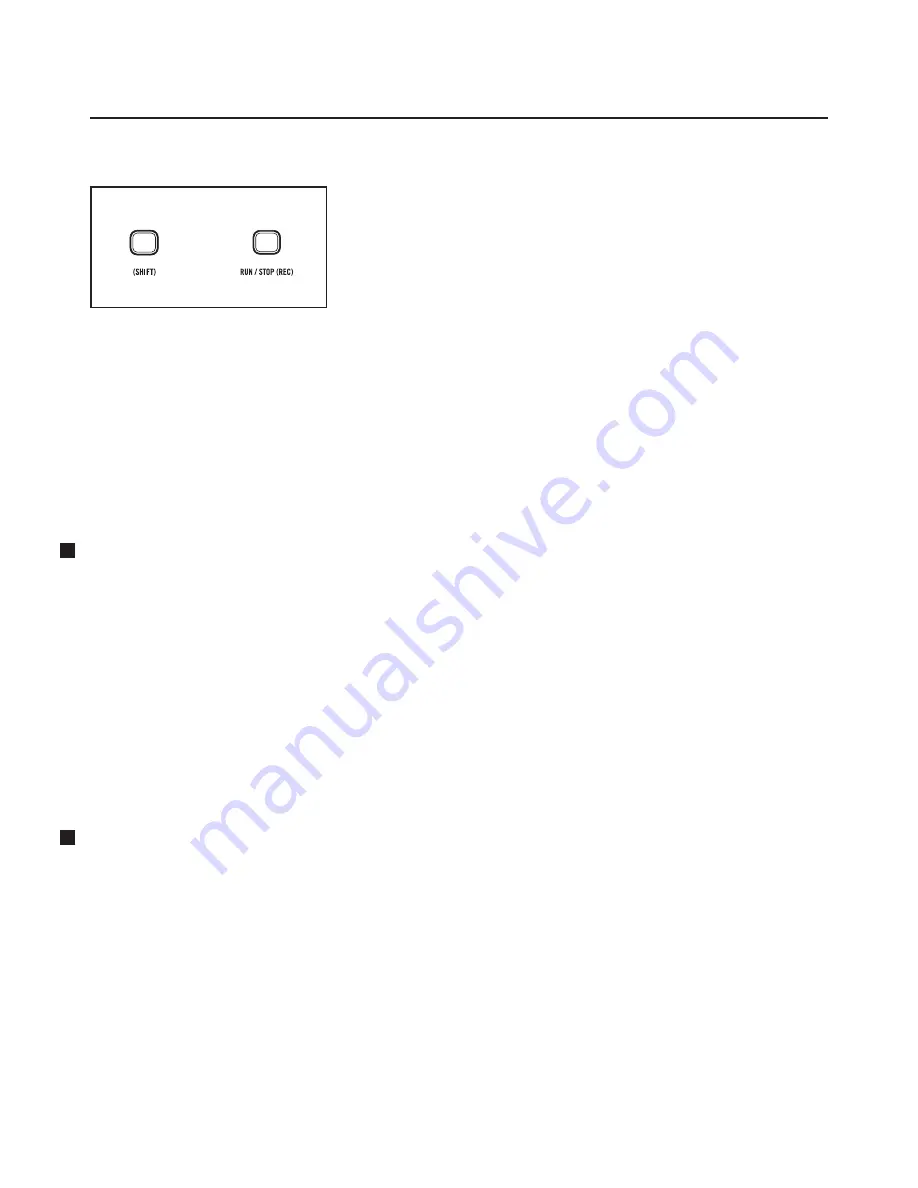
CANCEL / SAVE

To complete the saving process press

 (SHIFT)

 + 

RUN / STOP

.

To exit the saving process at any time, simply press 

RUN / STOP

.

AUTO SAVE MODE

In this mode, changes you make to the current pattern will automatically be saved. The original pattern 
remains unchanged and resides in a buffer. To restore the pattern to its original state (as first loaded before 
any editing began), hold the 

PATTERN

 button and press the 

RESET

 button. Otherwise, selecting a new 

pattern will cause the changes you have made to become permanent.

WRITE PROTECT MODE

In this mode, changes you make to the current pattern cannot be saved. The patterns can be tweaked and 
modified as part of a performance or sonic exploration, but the contents of the Mother-32 pattern memory 
will remain unaffected.

NEW VISUAL FEEDBACK ADDED

The OCTAVE / LOCATION LEDs now provide visual feedback during the initialization, saving (or not saving) 
of a pattern.

1. INITIALIZE PATTERN - 

When initializing the current pattern, the OCTAVE / LOCATION LEDs will sweep 

    from right to left, in red, to indicate that the pattern has been initialized.

2. PATTERN SAVE SUCCESSFUL - 

When saving the current pattern, the OCTAVE / LOCATION LEDs will 

    sweep to the center, in green, to verify that the pattern has been saved.

3. PATTERN SAVE CANCELED - 

When canceling the save operation, the OCTAVE / LOCATION LEDs will sweep 

    to the center, in red, to signify that the save operation was canceled, and that the pattern was not saved.

4. BANK NUMBER LED - 

When selecting a Bank Number, the Bank Number LED will now be shown in 

    yellow, to distinguish it from the Pattern Number LED which is shown in green.

NEW PATTERN CHANGE OPTIONS

DELAY PATTERN CHANGE

Normally, when a new pattern is selected as the sequencer is playing, the current pattern will finish playing 
before the new pattern will begin (Delay Pattern Change On). Beginning with Version 2.0, it is possible to 
have the newly selected pattern begin instantly, without waiting for the previous pattern to finish (Delay 
Pattern Change Off). This Delay Pattern Change parameter can be accessed can be found on Setup menu 
Page 8, option 6.

LOAD SAVED TIMING

By default, when a pattern is loaded from memory, it also restores the Clock Division, Swing Amount, and 
Swing Interval that were active when the sequence was saved (Load Saved Timing On). If Load Saved 
Timing is Off, then changing patterns will not change the timing settings which are currently active. Load 
Saved Timing can be adjusted on Setup Menu page 8, option 7.

+

Summary of Contents for MOD-MOTHER-32-01

Page 1: ...MOTHER 32 MANUAL ADDENDUM FIRMWARE UPDATE V2 0...

Page 2: ...a your MIDI enabled interface 2 Download the newest Mother 32 Firmware from https www moogmusic com products mother 32 3 Open the downloaded zip file 4 Open the folder Mother 32_Firmware_v2 0 5 Copy t...

Page 3: ...ncer to play in a random order PRE ARMING THE SEQUENCER FOR AN EXTERNAL CLOCK If the Tempo Input mode is set to Single Clock Advance or to Analog Clock see page 3 then holding down the KB and STEP but...

Page 4: ...CLOCK Prior to Version 2 0 this mode was fixed at 24 pulses per quarter note PPQN and was referred to as DIN Sync mode Beginning with Version 2 0 the Analog Clock Mode can be used to synchronize with...

Page 5: ...he clock division value Previously the TEMPO knob offered only eight clock divisions With Version 2 0 this has been increased to twenty four clock divisions These twenty four values are arranged in th...

Page 6: ...turning the TEMPO GATE LENGTH SWING knob With Swing Amount at 50 12 00 on the TEMPO knob timing is precisely aligned with the clock and there is no audible swing feel As Swing Amount is adjusted clock...

Page 7: ...plet straight 7 Thirty second note dotted triplet straight 8 Sixty fourth note dotted triplet straight HERE IS HOW TO ACCESS THE SWING INTERVAL VALUES DOTTED NOTES Hold down the KB button while turnin...

Page 8: ...hanges the changes will be lost To manually save the pattern press the SHIFT RUN STOP buttons simultaneously for about a second One of the OCTAVE LOCATION LEDs 1 8 will begin to blink rapidly indicati...

Page 9: ...ESSFUL When saving the current pattern the OCTAVE LOCATION LEDs will sweep to the center in green to verify that the pattern has been saved 3 PATTERN SAVE CANCELED When canceling the save operation th...

Page 10: ...selectable Yellow OCTAVE LOCATION LEDs indicate the current Setup mode page PAGE 1 ASSIGNABLE Output jack function new default is sequencer clock PAGE 2 MIDI channel selection PAGE 3 TEMPO Input jack...

Page 11: ...ound under the CLOCK TEMPO OVERVIEW TEMPO INPUT section of this manual 1 Accent 2 Sequencer Clock Default 3 Sequencer Clock 2 4 Sequencer Clock 4 5 Sequencer Step Ramp 6 Sequencer Step Saw 7 Sequencer...

Page 12: ...ode 2 Auto Save mode added in Version 2 0 3 Write Protect mode added in Version 2 0 1 Follow MIDI Clock On Off 2 Follow MIDI Start Stop On Off 3 Clock Output Swing On Off 4 Accent Out CV Only ON The i...

Page 13: ...IN VERSION 2 0 1 If starting resuming playback while synchronized to an external clock you must start playback on a swing onbeat in order to stay correctly aligned to the external clock Example If us...

Reviews: