


6
7
Customizing the ALL ON/OFF Feature
Unless you customize the behavior of the ALL ON/OFF feature, then by default, the remote will
attempt to turn on or off, all modules it finds on your Z-Wave network based on the current state
of toggle.
However, your REVOLUTION remote gives you the power to include or exclude specific modules
from All ON commands, All OFF commands, or both.
Described below are four possibilities: Exclude, Include, Exclude On, Exclude Off.
Exclude
Applying this choice to a specific node will exclude it from every All ON and All OFF command
issued from your remote.
To exclude a module from All ON and All OFF commands alike:
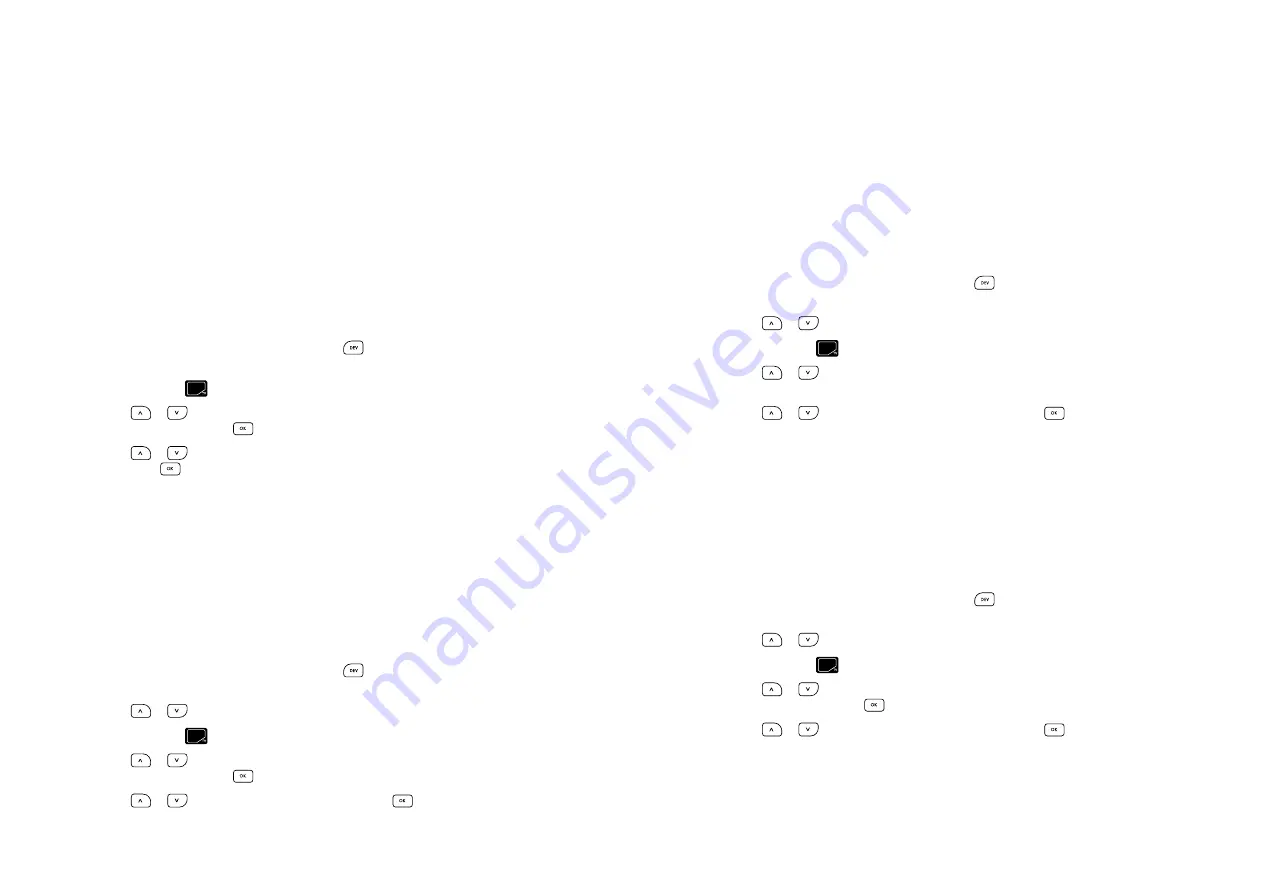
If you’re not already at the Home screen, press the
1.
button to move back one screen
at a time until ‘MONSTER’ is highlighted.
Press and hold the
2.
key
shift
button for 3 seconds. The menu changes and Nodes is highlighted.
Use the
3.
or
button to highlight All ON/OFF (a fifth menu choice not displayed among
the first three) and press the
button.
Use the
4.
or
button to highlight Exclude (if it is not already highlighted by default)
and press the
button.
The LCD screen displays, “Exclude from All ON/OFF” and awaits a signal from the module you
5.
wish to exclude. Hold the remote near the module and press the pairing button on the module.
When the remote receives the signal from the module, the remote’s LCD screen will briefly read,
“SUCCESS.” If the signal is not received within __ seconds, the screen will briefly read “FAIL.”
Include
Applying this choice to a specific node ensures it will be active when the All ON and All OFF
command is sent from your remote.
To include a module in every All ON and All OFF command alike:
If you’re not already at the Home screen, press the
1.
button to move back one screen
at a time until the only two choices appearing are Monster and Add Device.
Use the
2.
or
button to highlight Monster.
Press and hold the
3.
key
shift
button for 3 seconds. The menu changes and Nodes is highlighted.
Use the
4.
or
button to highlight All ON/OFF (a fifth menu choice not displayed among
the first three) and press the
button.
Use the
5.
or
button to highlight Include and press the
button.
The LCD screen displays, “Include in All ON/OFF” and awaits a signal from the module you
6.
wish to include. Hold the remote near the module and press the pairing button on the module.
When the remote receives the signal from the module, the remote’s LCD screen will briefly read,
“SUCCESS.” If the signal is not received within __ seconds, the screen will briefly read “FAIL.”
Exclude On
Applying this choice to a specific node will exclude it from every All ON command issued
from your remote.
To exclude a module from All ON commands:
If you’re not already at the Home screen, press the
1.
button to move back one screen
at a time until the only two choices appearing are Monster and Add Device.
Use the
2.
or
button to highlight Monster.
Press and hold the
3.
key
shift
button for 3 seconds. The menu changes and Nodes is highlighted.
Use the
4.
or
button to highlight All ON/OFF (a fifth menu choice not displayed among
the first three) and press the OK button.
Use the
5.
or
button to highlight Exclude ON and press the
button.
The LCD screen displays, “Exclude from All ON Only” and awaits a signal from the module you
6.
wish to exclude. Hold the remote near the module and press the pairing button on the module.
When the remote receives the signal from the module, the remote’s LCD screen will briefly read,
“SUCCESS.” If the signal is not received within __ seconds, the screen will briefly read “FAIL.”
Exclude Off
Applying this choice to a specific node excludes it from All OFF commands sent from your remote.
To exclude a module from All OFF commands:
If you’re not already at the Home screen, press the
1.
button to move back one screen
at a time until the only two choices appearing are Monster and Add Device.
Use the
2.
or
button to highlight Monster.
Press and hold the
3.
key
shift
button for 3 seconds. The menu changes and Nodes is highlighted.
Use the
4.
or
button to highlight All ON/OFF (a fifth menu choice not displayed among
the first three) and press the
button.
Use the
5.
or
button to highlight Exclude ON and press the
button.
The LCD screen displays, “Exclude from All OFF Only” and awaits a signal from the module you
6.
wish to exclude. Hold the remote near the module and press the pairing button on the module.
When the remote receives the signal from the module, the remote’s LCD screen will briefly read,
“SUCCESS.” If the signal is not received within __ seconds, the screen will briefly read “FAIL.”