24
LCD controls. Typically, only one display is used. MP Creation Workshop
can support two projectors, each with the same resolution and
projection size, either in a horizontal or vertical format.
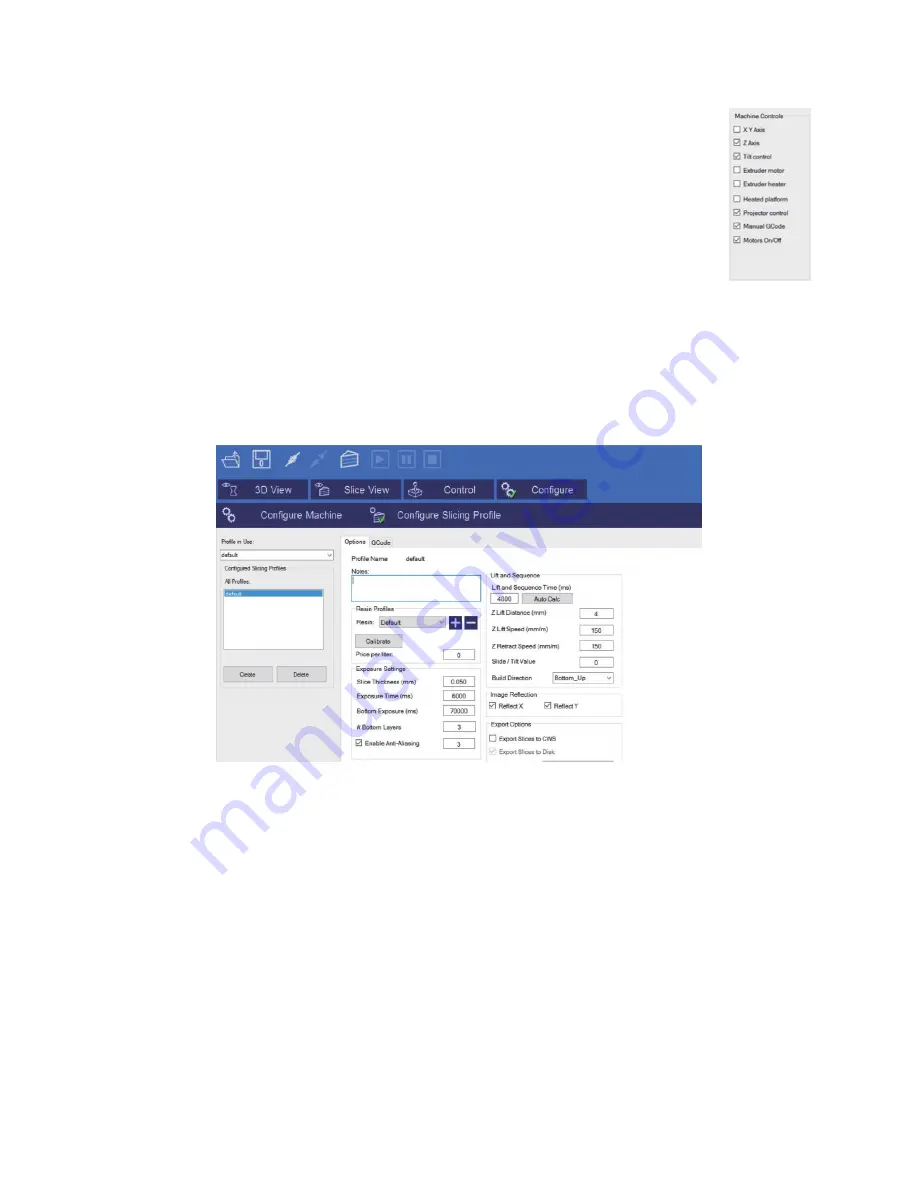
Machine Controls: The column of check boxes on the right side of the
screen allows you to customize the controls that appear on the Manual
Control screen.
Saving Changes: After you have finished configuring your machine profile, be sure
to click the Save Changes button to save and apply the changes.
Configure Slicing Profile
In order to slice a model into images, you must first set up a slicing profile. A default profile
is created the first time MP Creation Workshop is run. You can create new slicing profiles
and manage them in much the same way as you can manage machine profiles.
Profile in Use: Use this drop down list box to select a profile for use. The software
comes preloaded with a number of preset profiles based on different resins. We
recommend using the XY resolution of 100 µm. This profile allows you to perform
your first prints with the test models provided.
Configured Slicing Profiles: This section of the screen displays a list of all profiles
that are available. The program comes preloaded with several profiles created at


