


c) The upper scale for the brightness is selected
(displayed in green). Adjust the brightness
with the button
and
.
d) To adjust the colour saturation, select the
lower scale with the button
or
.
e) Exit the setting menu with the button MENU
and repeat the procedure for the other cam-
eras, if required.
3) To set the
picture resolution
, go to the next
menu item “Resolution” with the button
and
select VGA, QVGA or ZOOM with the button
or
.
VGA = high resolution, but jerky movements
QVGA = lower resolution, but more fluent move-
ments
ZOOM = enlargement of the camera picture; the
picture cutout shown on the monitor can be
moved with the buttons
,
,
and
(chap-
ter 7, step 4).
4) To set the
picture quality
, go to the next menu
item “Image quality” with the button
and select
High, Normal or Low with the button
or
.
Note:
At a lower picture quality, the video files and
photo files memorized are smaller so that more files
can be memorized on an SD card.
5)
To disable certain camera channels
, e. g.
when not all cameras are required, select the
next menu item “Camera enable” with the button
.
a) The first camera channel is selected. To select
another channel, press the button
or
.
b) Use the button ENTER to define if the
selected channel is shown continuously or
only when a camera sends pictures to this
channel. The corresponding symbol shows
the adjustment:
channel is always shown
channel is only shown when the corre-
sponding camera sends pictures
Note:
In the “Quad” mode only channels with the
adjustment
are shown.
6) Press the button
to activate the next menu
item “Pairing” for
assigning the cameras
. This
function is described in chapter 4.2.
7) To exit the menu, press the button MENU.
7 Live Surveillance
Intercom Function
1) As long as no menu is activated and no record-
ing is viewed, the screen shows a live picture
according to the adjustment in the menu item
“Preview mode” (chapter 6.1):
In the “Single” mode
the picture of a camera; the mode is marked
by the letter
M
for manual at the top left (b). To
select another camera, press the button
or
(10). The camera number is shown in the
camera symbol (c).
In the “Scan” mode
the picture of a camera; every 5 seconds the
picture of the next camera is selected. The
mode is marked by the letter
S
on the top left
(b). It is possible to select the modes “Single”
and “Quad” with the buttons
and
.
In the “Quad” mode
a 4-split screen with all cameras. The chan-
nels which do not receive any signal are
marked by a red camera symbol. It is possible
to switch to the picture of a single camera and
back to the quad display with the button
and
.
With the modes “Single” and “Scan” a bar graph
(a) shows the signal power of the camera signal
received. If a camera channel does not receive
any signal, the message “Out of Range” ap
-
pears.
Note:
If a video recording is started (manually, time-con-
trolled or motion-controlled) and
G
REC (j) is shown, all
buttons are locked, except for REC (13) and TALK (9). The
recording can be terminated with the button REC.
2) For the modes “Single” and “Scan” the signal
picked up by the microphone (19) of the selected
camera can be heard via the speaker on the rear
side of the monitor. To adjust the volume, press
the button
or
(12). Then two adjusting
scales are inserted:
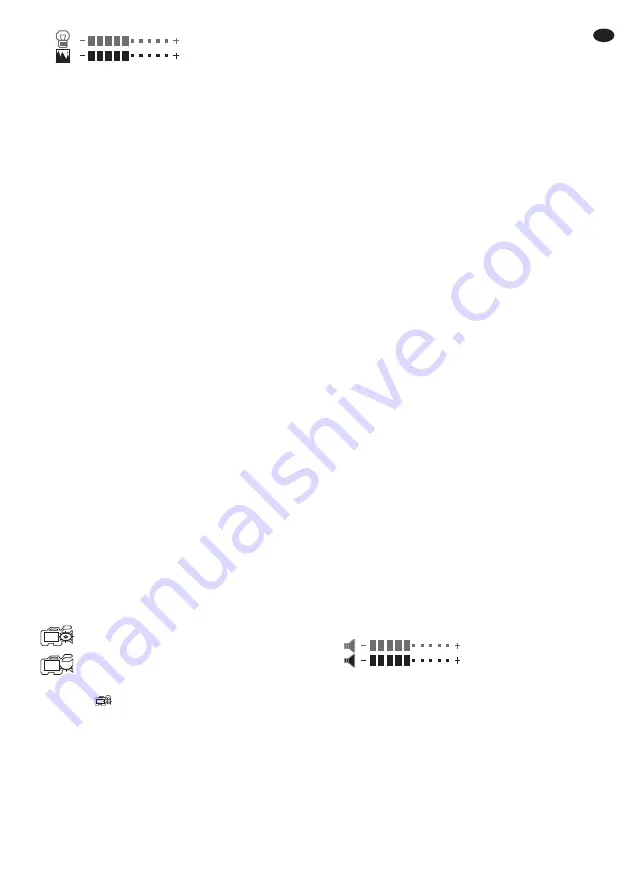
The upper scale RX is selected (displayed in
green), it shows the volume of the monitor
speaker. The lower scale TX shows the volume
of the camera speaker for an announcement. To
select this scale, press the button
or
. Then
the volume for the camera speaker can be
adjusted with the buttons
and
.
RX
TX
TX
1
1
1
19
GB


