Mitsubishi Mr.Slim PCA-RP125HAQ Service Manual Download Page 5

5

Cautions for units utilising refrigerant R410A

CAUTIONS RELATED TO NEW REFRIGERANT

Use new refrigerant pipes.

Store the piping to be used during installation

indoors, and keep both ends of the piping sealed 

until just before brazing. (Leave elbow joints, etc. 

in their packaging.)

In case of using the existing pipes for R22, be careful with

the followings.

· For RP71VHA3 and RP125  be sure to perform 

  replacement operation before  test run.

· Change flare nut to the one provided with this product. 

  Use a newly flared pipe. 

· Avoid using thin pipes.

Charge refrigerant from liquid phase of gas

cylinder.

If the refrigerant is charged from gas phase, composition 

change may occur in refrigerant and the efficiency will be 

lowered.

Do not use refrigerant other than R410A.

If other refrigerant (R22, etc.) is used, chlorine in refrige-

rant can cause deterioration of refrigerant oil, etc.

Use a vacuum pump with a reverse flow check 

valve.

Vacuum pump oil may flow back into refrigerant cycle and 

that can cause deterioration of refrigerant oil, etc.

Use the following tools specifically designed for 

use with R410A refrigerant.

The following tools are necessary to use R410A refrigerant.

Keep the tools with care.

If dirt, dust or moisture enter into refrigerant cycle, that can

cause deterioration of refrigerant oil or malfunction of com-

pressor.

Do not use a charging cylinder.

If a charging cylinder is used, the composition of refrigera-

nt will change and the efficiency will be lowered.
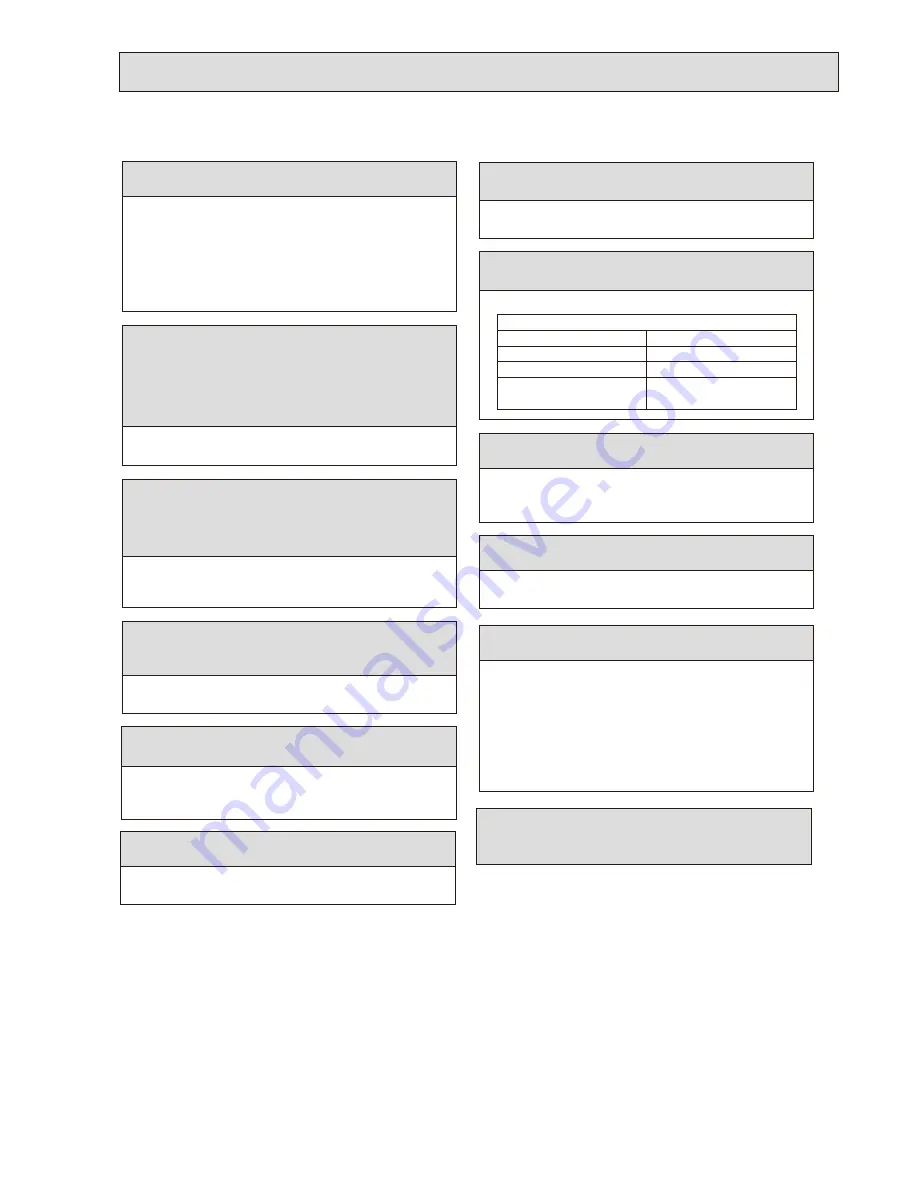
Flare tool

Electronic refrigerant 

charging scale

Vacuum pump adaptor

Size adjustment gauge

Gauge manifold

Torque wrench

Gas leak detector

Charge hose

Tools for R410A

Contamination inside refrigerant piping can cause deterio-

ration of refrigerant oil, etc.

If dirt, dust or moisture enter into refrigerant cycle, that can 

cause deterioration of refrigerant oil or malfunction of com-

pressor.

If large amount of mineral oil enter, that can cause deterio-

ration of refrigerant oil, etc.

The refrigerant oil applied to flare and flange

connections must be ester oil, ether oil or 

alkylbenzene oil in a small amount.

Make sure that the inside and outside of refrige-

rant piping is clean and it has no contaminants

such as sulfur, oxides, dirt, shaving particles, etc,

which are hazards to refrigerant cycle.

In addition, use pipes with specified thickness.

Ventilate the room if refrigerant leaks during 

operation. If refrigerant comes into contact with

a flame, poisonous gases will be released.

Never use any refrigerant other than that specified.

Doing so may cause a burst, an explosion, or fire when the 

unit is being used, serviced, or disposed of.

Correct refrigerant is specified in the manuals and on the 

spec labels provided with our products.

We will not be held responsible for mechanical failure, 

system malfunction, unit breakdown or accidents caused 

by failure to follow the instructions.

Use the specified refrigerant only.

[1] Cautions for service

(1) Perform service after collecting the refrigerant left in unit completely.

(2) Do not release refrigerant in the air.

(3) After completing service, charge the cycle with specified amount of refrigerant.

(4) When performing service, install a filter drier simultaneously.

Be sure to use a filter drier for new refrigerant.

[2] Additional refrigerant charge

When charging directly from cylinder

· Check that cylinder for R410A on the market is syphon type.

· Charging should be performed with the cylinder of syphon stood vertically. (Refrigerant is charged from liquid phase.)

OCH492A

Summary of Contents for Mr.Slim PCA-RP125HAQ

Page 1: ...REFRIGERANT SYSTEM DIAGRAM 15 9 TROUBLESHOOTING 16 10 SPECIAL FUNCTION 27 11 DISASSEMBLY PROCEDURE 32 ON OFF TEMP July 2014 Model name indication Indoor unit Model Name PCA RP71HAQ PCA RP125HAQ PARTS...

Page 2: ...140 250YKA OCH451 OCB451 PU H P71VHAR3 PU H P71 125 140YHAR3 PU H P71VHAR3 UK PU H P71 125 140YHAR3 UK OC379 PUHZ P125 140VHA3R2 PUHZ P125 140YHAR1 PUHZ P125 140VHA3R2 UK PUHZ P125 140YHAR1 UK OCH415...

Page 3: ...se a refrigerant other than R407C If another refrigerant R22 etc is used the chlorine in the refrigerant may cause the lubricant deterioration Use a vacuum pump with a reverse flow check valve The vac...

Page 4: ...erant Gravimeter Unit 1 Cautions for service After recovering the all refrigerant in the unit proceed to working Do not release refrigerant in the air After completing the repair service recharge the...

Page 5: ...ntamination inside refrigerant piping can cause deterio ration of refrigerant oil etc If dirt dust or moisture enter into refrigerant cycle that can cause deterioration of refrigerant oil or malfuncti...

Page 6: ...ls for R410A refrigerant Gravimeter Unit No Tool name Specifications 1 Gauge manifold Only for R410A Use the existing fitting specifications UNF1 2 Use high tension side pressure of 5 3MPa G or over 2...

Page 7: ...he Installation Manual All icons are displayed for explanation 5 6 1 2 3 4 Press to turn ON OFF the indoor unit 1 ON OFF button This lamp lights up in green while the unit is in operation It blinks wh...

Page 8: ...gistered in advance to be displayed Maintenance Auto descending panel Auto descending panel Optional parts Up Down you can do Manual vane angle Use to set the vane angle for each vane to a fixed posit...

Page 9: ...et If the simple or Auto Off timer is set the time to be switched off is shown Sensor indication Displays when the remote controller sensor is used Locked indicator Indicates that remote controller bu...

Page 10: ...8 1 060 1 350 0 direct blow Remote controller built in 44 50 26 1 1 520 59 7 8 650 25 5 8 280 11 56 124 Cooling 0 09 0 43 0 86 Heating 0 09 0 43 0 86 Single phase 50Hz 230V Stainless steel Plate fin c...

Page 11: ...QUENCIES Hz PCA RP71HAQ PCA RP71HAQ ER NOTCH High Low SPL dB 38 34 LINE 90 80 70 60 50 40 30 20 10 63 125 250 500 1000 2000 4000 8000 APPROXIMATE THRESHOLD OF HEARING FOR CONTINUOUS NOISE NC 60 NC 50...

Page 12: ...owing clearances gas liquid Suspension bolt 130 210 45 165 120 1224 1180 75 1136 986 1098 70 243 254 175 197 110 21 130 15 258 110 102 320 80 90 140 18 75 70 90 650 13 289 75 280 495 43 295 2 2 2 2 0...

Page 13: ...90 650 300 100 1520 100 Electrical box 500 250 2 3 gas liquid Suspension bolt 70 243 254 175 197 110 21 130 15 258 1482 110 102 1370 75 1608 320 80 1564 1520 90 120 140 18 75 70 90 650 13 289 75 280 4...

Page 14: ...For power supply system of this unit refer to the caution label located near this diagram 7 1 3 5 LED3 LED2 LED1 t t t The black square indicates a switch position S1 S2 S3 S1 S2 S3 S1 S2 S3 S1 S2 1 2...

Page 15: ...rainer 50 Condenser evaporator temperature thermistor TH5 Room temperature thermistor TH1 Refrigerant flow in cooling Refrigerant flow in heating Strainer 50 Strainer 50 Heat exchanger Refrigerant GAS...

Page 16: ...t troubleshooting and ascertain the cause of the trouble according to 9 3 TROUBLESHOOTING BY INFERIOR PHENOMENA The trouble is not reoccurring Logged Not logged 1Consider the temporary defects such as...

Page 17: ...rmal if the unit does not reset normally after 3 min utes The unit returns to normal opera tion if it has been reset normally 2 Constantly detected during cooling drying and heating operation Short 90...

Page 18: ...otor is defective Indoor controller board is defec tive 5 Defective outdoor fan control 6 Overcharge of refrigerant 7 Defective refrigerant circuit clogs 8 Bypass circuit of outdoor unit is defective...

Page 19: ...g remote control ler max 2 units When it is not the above mentioned problem of 1 3 4 Diagnose remote controllers a When RC OK is displayed Remote controllers have no problem Turn the power off and on...

Page 20: ...short circuit or miswiring converse wiring of indoor outdoor unit connecting wire 2 Defective transmitting receiving circuit of indoor controller board 3 Defective transmitting receiving circuit of i...

Page 21: ...tion between indoor controller board and indoor power board Check the fuse on indoor controller board If no problems are found indoor controller board is defective When LED1 on indoor controller board...

Page 22: ...izontal regardless of remote control 2 Check 2 left Check the vane motor Refer to How to check the parts Check for breaking of wire or connec tion failure of connector Check Up down vane setting Unit...

Page 23: ...with a tester At the ambient temperature 10 to 30 Refer to the Thermistor Characteristic Graph below Room temperature thermistor TH1 Pipe temperature thermistor liquid TH2 Condenser evaporator temper...

Page 24: ...9 6 1 Power board PCA RP71HAQ PCA RP125HAQ PCA RP71HAQ ER CNSK Connect to the indoor controller board CNDK Between 1 to 3 220 240 V AC CN2S Connect to the indoor controller board CN2D Between 1 to 3 1...

Page 25: ...al 13 V pulse input 1 3 4 Operation indicator 13 V DC 3 3 5 Malfunction indicator 13 V DC 3 CN6V Vane motor output MV CN105 CN90 Connect to the wire less remote controller board CNB CN31 Drain sensor...

Page 26: ...ft in the table indicates the jumper line is disco nnected There is no jumper JP1 because these models have the cond eva temperature thermistor TH5 Marks in the table below Jumper wire Short Open With...

Page 27: ...ding to the interval of rotation setting Main and sub unit should be set by refrigerant address Outdoor DIP switch setting Refrigerant address 00 Main unit Refrigerant address 01 Sub unit When an erro...

Page 28: ...val 1day and back up function No 5 314 Rotation ON Alternating interval 3day and back up function No 6 315 Rotation ON Alternating interval 5day and back up function No 7 316 Rotation ON Alternating i...

Page 29: ...en D when Maintenance monitor is activated The display D now allows you to set a request code No 4 Press the TEMP and buttons 4 to select the desired refrigerant address 5 Press the CLOCK and buttons...

Page 30: ...button and press the button Set the Refrigerant address and Request code Select the item to be changed with the F1 or F2 button Select the required setting with the F3 or F4 button Select the required...

Page 31: ...tton Select the required setting with the F3 or F4 button Press the F3 or F4 button to set the Refrigerant address 0 Press the F3 or F4 button to set the desired request code No Rotation Back up opera...

Page 32: ...sen the screw for control box cover to remove the control box cover See Photo 2 3 Remove the lead wire from the 2 clips 4 Remove the 2 white cord heater relay connectors 1P o 2 and 2 fan motor relay c...

Page 33: ...connectors 6P in the control box See Photo 3 4 Remove the 3 filter rails See Photo 1 4 5 Remove the fan guard See Photo 5 6 Remove the lower casing See Photo 6 7 Remove the green earth wire from the...

Page 34: ...n and remove the drain pan Note Remove the drain pan carefully since the drain could remain in it 7 Removing the under panel 1 Remove the oil filter See Figure 1 2 Remove the 3 filter rails See Photo...

Page 35: ...der panel See Photo 11 4 Remove the drain pan See Photo 12 5 Remove the 2 screws 4 10 for pipe cover and remove the pipe cover See Photo 15 6 Remove the 3 screws 4 10 left 2 right 1 for heat exchanger...

Page 36: ...KYO 100 8310 JAPAN CCopyright 2010 MITSUBISHI ELECTRIC CORPORATION Distributed in Jul 2014 No OCH492 REVISED EDITION A Distributed in Dec 2010 No OCH492 Made in Japan New publication effective Jul 201...

Reviews: