6
P5EE
5
10
P-E: 2~600mm
E-E: 3~100mm
Φ
20mm
×
3.0mm
Normal Measurement
3.2 Condition and Preparation of Surfaces
In any ultrasonic measurement scenario, the shape and roughness of the test surface are of paramount
importance. Rough, uneven surfaces may limit the penetration of ultrasound through the material, and
result in unstable, and therefore unreliable, measurements. The surface being measured should be
clean, and free of any small particulate matter, rust, or scale. The presence of such obstructions will
prevent the transducer from seating properly against the surface. Often, a wire brush or scraper will be
helpful in cleaning surfaces. In more extreme cases, rotary sanders or grinding wheels may be used,
though care must be taken to prevent surface gouging, which will inhibit proper transducer coupling.
Extremely rough surfaces, such as the pebble-like finish of some cast iron, will prove most difficult to
measure. These kinds of surfaces act on the sound beam like frosted glass on light, the beam becomes
diffused and scattered in all directions.
In addition to posing obstacles to measurement, rough surfaces contribute to excessive wear of the
transducer, particularly in situations where the transducer is “scrubbed” along the surface. Transducers
should be inspected on a regular basis, for signs of uneven wear of the wearface. If the wearface is worn
on one side more than another, the sound beam penetrating the test material may no longer be
perpendicular to the material surface. In this case, it will be difficult to exactly locate tiny irregularities in
the material being measured, as the focus of the sound beam no longer lies directly beneath the
transducer.
4 Operation
4.1 Power On/Off
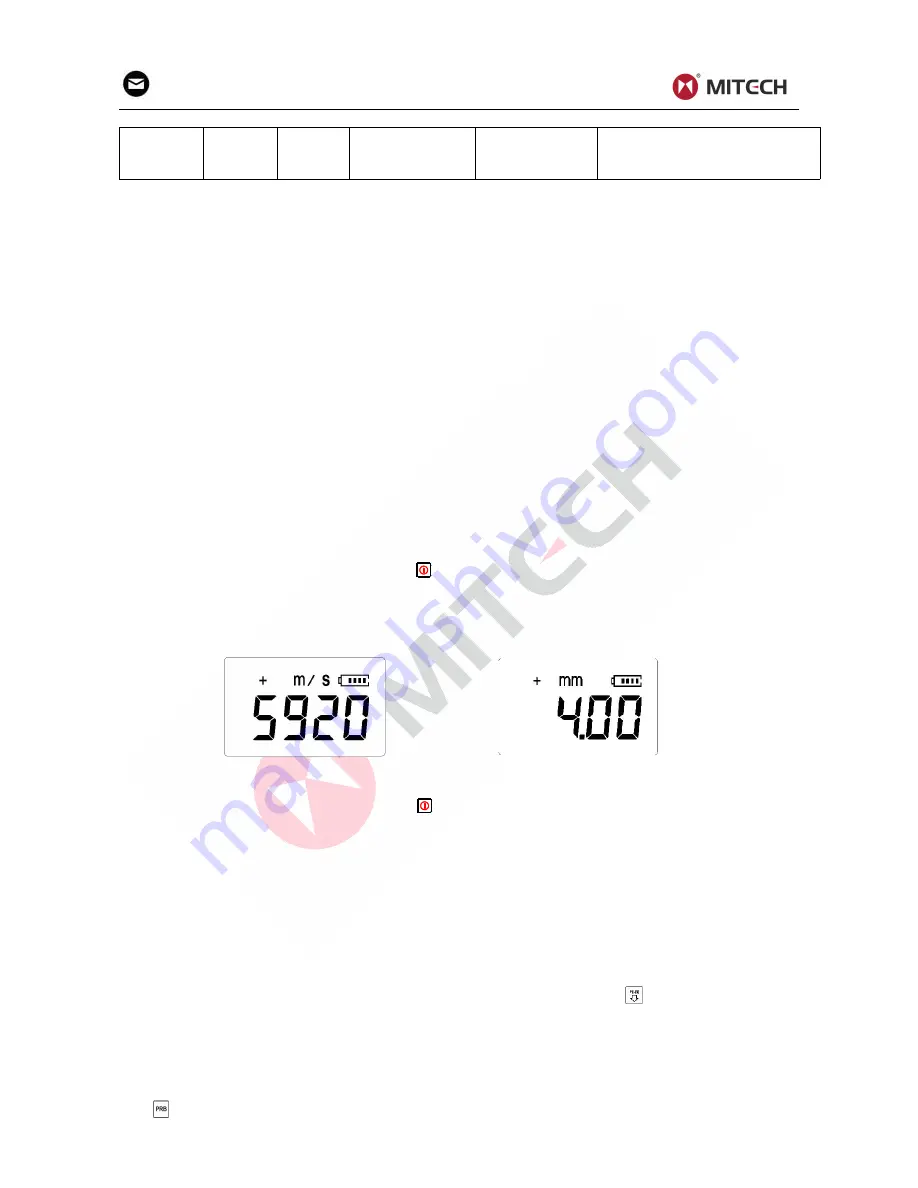
The instrument is turned on by pressing the
key. When the gauge is turned on, it will first perform a
brief display test by illuminating all of the segments in the display. After one second, the gauge will
display the sound velocity now used, indicating the gauge is ready for use.
The gauge can be turned off by pressing the
key. The tool has a special memory that retains all of its
settings even when the power is off. The gauge also features an auto-powerdown mode designed to
conserve battery life. If the gauge is idle for 5 minutes, it will turn itself off.
4.2 Setting the Measurement Mode
Often times users and inspectors in the field are faced with coated materials such as pipes and tanks.
Typically inspectors will need to remove the paint or coating prior to measuring, or allow for some fixed
amount of error introduced by the paint or coating thickness and velocity.
The error can be eliminated with this gauge by using a special echo-echo mode to perform
measurements for applications such as this. The gauge gives you this feature in a simple way, one
button toggle, eliminating the need to remove the paint or coating.
To switch between pulse-echo mode and echo-echo mode, simply press the
key.
4.3 Perform Probe Zero
Notes:
Probe Zero operation apply only to Pulse-Echo mode. Do not perform Probe Zero in Echo-Echo
mode.
The
key is used to “zero” the instrument in much the same way that a mechanical micrometer is


