8.1 Programming the 957745 Charger
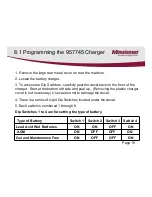
1. Remove the large rear metal cover on rear the machine.
2. Locate the battery charger.
3. To access the Dip Switches, carefully peal the decal back on the front of the
charger. Start at the bottom left side and peal up. (Removing the plastic charger
cover is not necessary.) Use caution not to damage the decal.
4. There is a series of eight Dip Switches located under the decal.
5. Each switch is numbered 1 through 8.
Dip Switches 1 to 4 are for setting the type of battery.
Type of Battery
Switch 1 Switch 2
Switch 3 Switch 4
Lead Acid Wet Batteries
ON
ON
OFF
ON
AGM
ON
OFF
OFF
ON
Gel and Maintenance Free
ON
OFF
OFF
ON
Page 19
Summary of Contents for E17BD
Page 6: ...2 Technical Specifications E17BD E20 Page 6 ...
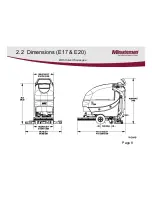
Page 7: ...2 1 Dimensions E17BD E20 BD With a Straight Squeegee Page 7 ...
Page 8: ...2 2 Dimensions E17 E20 With Curved Squeegee Page 8 ...
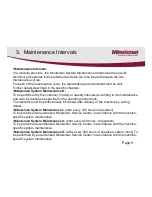
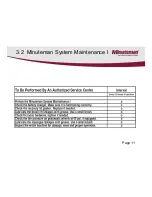
Page 11: ...3 2 Minuteman System Maintenance I Page 11 ...
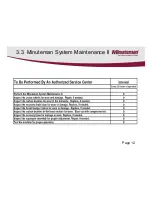
Page 12: ...3 3 Minuteman System Maintenance II Page 12 ...
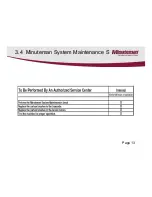
Page 13: ...3 4 Minuteman System Maintenance S Page 13 ...
Page 39: ...11 Squeegee Curved 11 Page 39 ...
Page 40: ...11 Squeegee Curved 11 1 Page 40 ...
Page 52: ...17 1 Solution Filter Version 1 17 1 Page 52 ...
Page 64: ...20 Notes Page 64 ...

