background image


miniDSP Ltd – Hong Kong / Email : 

[email protected]

 / Features and Specifications are subject to change without prior notice 

P 8 


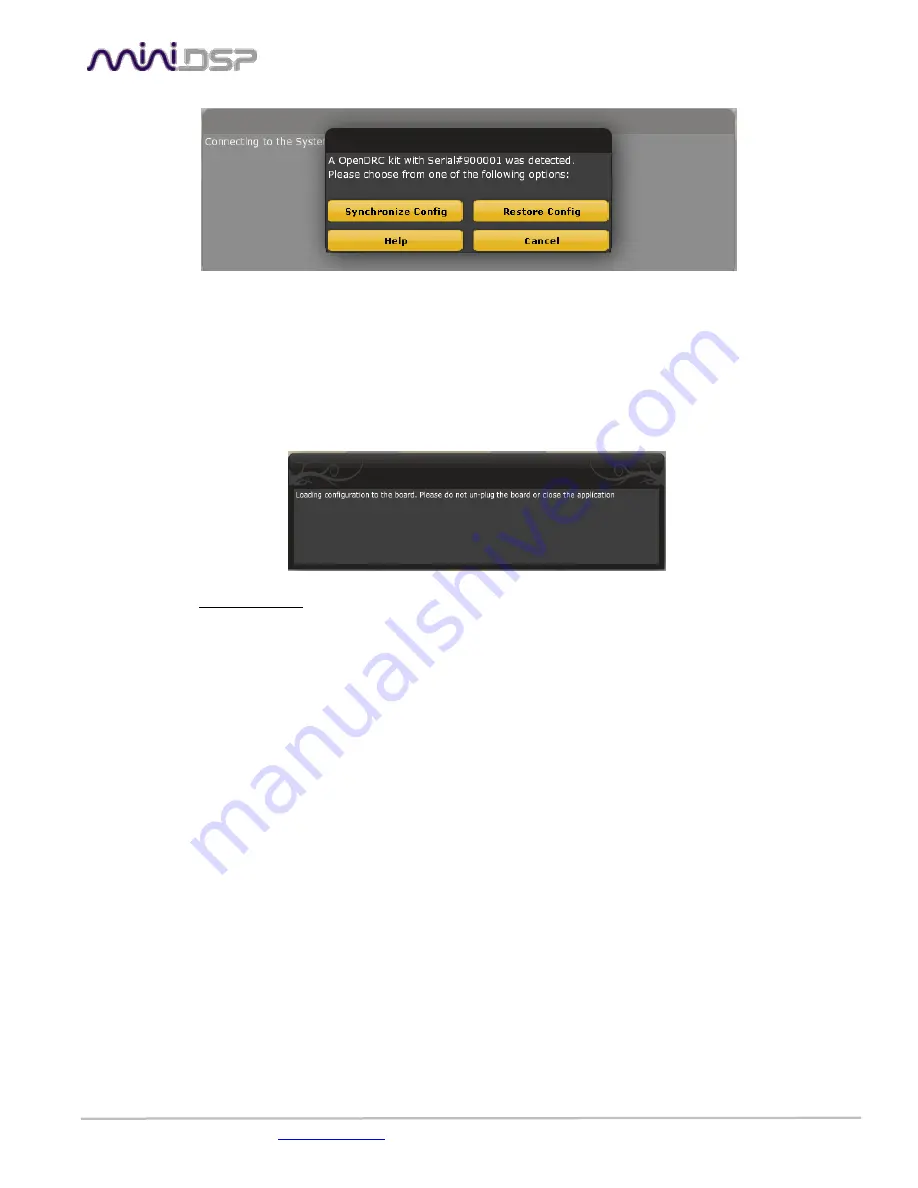
a) Synchronize

: With this option, the current plug-in configuration will be loaded/flashed to the OpenDRC and your plug-in turned to 

“On-line” mode. Warning that it will overwrite whatever configuration was previously loaded on the board. If you’d like to load a 
different configuration, click cancel and go to the settings tab to load one of your previously saved configurations. 
If you previously installed a different firmware version on your unit, this button will display: Synchronize & Upgrade. Meaning, the 

OpenDRC firmware will be upgraded to the current plug-in firmware along with the current settings you have. 
 

b) 

Restore to Default: 


With this option, the software application resets all settings back to factory default and reload the firmware. 

Warning that all current settings will be lost and there are no ways to be able to recover them. 

 
In either synchronization steps, the following dialog box will pop-up. It’s very important that you do not un-plug the board in the 
middle of a configuration upgrade or you may corrupt the configuration. 


Once the board fully synchronized, a “Successful connection to the board” message pops up. From this point on, all changes to the 
configuration will be real time and live, therefore giving you the chance to hear the effect of your equalization, filtering, tuning… 

 
Let’s move on to the architecture of the software to understand how to setup your system.  
 

Summary of Contents for OpenDRC-DA

Page 1: ...Hong Kong Email info minidsp com Features and Specifications are subject to change without prior notice P 1 OpenDRC DA USER MANUAL Manual revision Description Date V1 0 Initial revision 18 03 2015 www...

Page 2: ...re Setup 7 4 Plug in Architecture OpenDRC 2x2 9 4 1 1 Main Page 9 4 1 2 Preset Memory selection 9 4 1 3 Main Tab 9 4 1 4 Input channel mode 10 4 1 5 Parametric Equalizer 10 4 1 6 FIR Finite Impulse Re...

Page 3: ...aved to both the DSP and the Flash for long term memory Once happy with your configuration you can disconnect the board from your computer since from this point on the audio configuration will run as...

Page 4: ...hat you have the software correctly configured and won t cause any damage to your system Finally this unit is a very flexible board and 99 of typical questions we receive at the tech support departmen...

Page 5: ...l connectivity diagram for a basic setup with analog inputs analog outputs To prevent any damage make sure the board is turned OFF before doing any connection modifications Note that the computer is o...

Page 6: ...n on Neutrik 3pin XLR connector S Cable Shield Positive cable Return cable 2 2 3 Analog Audio outputs connectivity The OpenDRC DA will output balanced or unbalanced signals If you do not wish to build...

Page 7: ...p under Windows Once the configuration finalized the plug in will automatically boot up 4 You can now connect the OpenDRC board to one of the USB 2 0 port of your PC The device will be recognized as a...

Page 8: ...ded to the current plug in firmware along with the current settings you have b Restore to Default With this option the software application resets all settings back to factory default and reload the f...

Page 9: ...memories for a quick reconfiguration of the processor Under each configuration all settings of the platform are saved Placed at the top of the user interface simply toggle between configurations by cl...

Page 10: ...r EQ band selection Select one of the 6 x Parametric Equalizers Filter type Select between Peak Low Shelf High Shelf Bypass Disables the equalization but doesn t reset the settings A handy tool to che...

Page 11: ...atted binary bin file is being loaded into the software Such file is using IEEE754 single floating point format and typically comes from one of our software partners In a manual input the FIR coeffici...

Page 12: ...n will pop up to announce how many taps were loaded 4 1 6 2 Manual input mode If your 3rd party software provides the filter taps in a text format you can copy and paste them to the dialog box providi...

Page 13: ...sover IIR Controls for the Low High pass filters are available when clicking on the Xover crossover button The log scale graph gives you the equivalent response of the applied filter By pointing the m...

Page 14: ...his plug in For complexity reasons inter plug in compatibility is not supported 4 2 2 Save configuration Use this feature to save your audio settings configuration The following dialog box allows you...

Page 15: ...alog box will confirm a successful learning and a green arrow appears once the command learned In case the platform fails to learn the remote command you most likely do not have a Philips RC6 Sony Nec...

Page 16: ...up Step 4 Click on Open Hex file to browse to the firmware file and browse to the following folder Program Files MiniDSP OpenDRC 2x2 firmware_tools Windows Step 5 Once the Hex file selected click on P...

Page 17: ...clear all memory and overwrite the DSP configuration Step 8 With the unit now running both a CPU DSP new firmware you can reload your setting configuration Just go to the backed up files you saved pr...

Page 18: ...ate Converter for compatibility with most common sample rate 20 216kHz Analog Audio outputs Fully balanced audio on Balanced Neutrik XLR connector ESS DAC 9023 with 112dB SNR Max output 2Vrms Sample r...

Page 19: ...ick Restore to Factory default while connected to the unit to reset its configuration We first recommend that you unplug your amplifier to reconfigure your audio path 2 2 Cannot reload configuration C...

Reviews: