miniDSP Ltd, Hong Kong /
www.minidsp.com
/ Features and specifications subject to change without prior notice
10
2.1.4
Ethernet
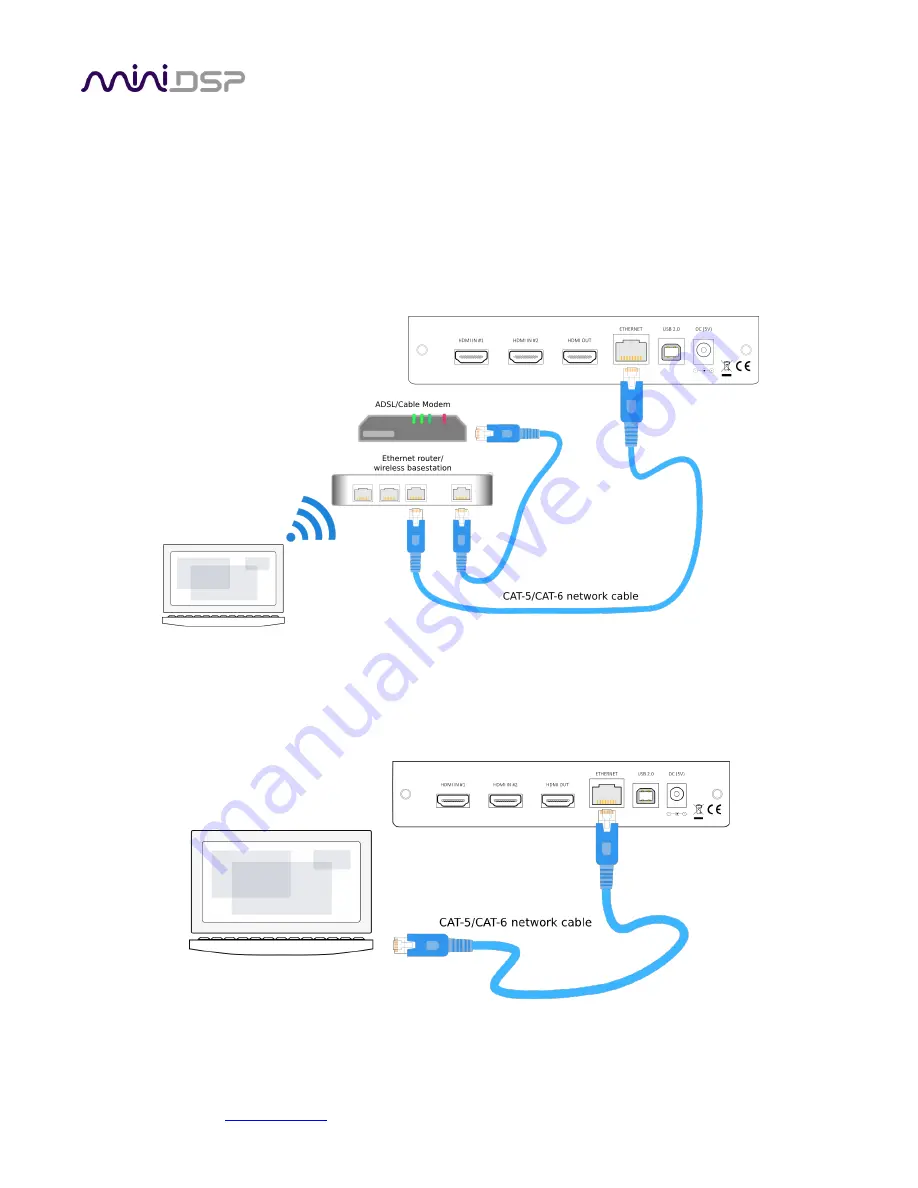
To configure the nanoAVR over Ethernet, connect an Ethernet cable from the nanoAVR’s Ethernet port to a free
port on your Ethernet router or switch. The diagram below illustrates a typical case where the Ethernet router
also acts as a wireless base station, and is in turn connected to an ADSL/cable modem. It is also common for the
ADSL/cable modem, Ethernet router, and wireless base station to be combined into a single unit.
In the setup illustrated, the nanoAVR is connected via an Ethernet cable to the Ethernet router, while the
computer is connected to the LAN over Wi-Fi. The network must be capable of DHCP so that the nanoAVR will
be given an IP (network) address.
If a local area network is not available, or the network does not support DHCP, it is still possible to communicate
with the nanoAVR over Ethernet by connecting the two devices directly with an Ethernet cable. In this case,
auto-IP (link-local) addresses will be assigned. For this to work correctly, your PC must be set to allow automatic
IP addresses (that is, it must not be set to a static IP address).


