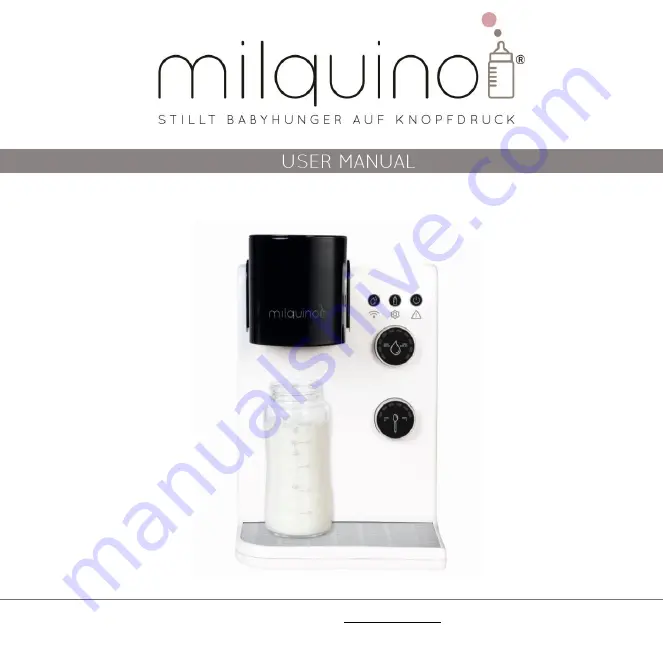
background image

jcr-electronic GmbH 

| 89407 Dillingen [email protected] | www.milquino.com

EN 

USER MANUAL AVAILABLE AT www.milquino.com/kundenbetreuung/downloads/

Summary of Contents for Black & White

Page 1: ...jcr electronic GmbH 89407 Dillingen info milquino com www milquino com EN USER MANUAL AVAILABLE AT www milquino com kundenbetreuung downloads...

Page 2: ...Notes...

Page 3: ...the Powdertype 06 Adjustment of the Waterhardness 07 Adjustment of the Waterdispensing 08 Adjustment of the Watertemperature 09 Download Milquino App Activation WLAN Function 10 11 Production of Milk...

Page 4: ...hich are intended for removal are easy and intuitive to remove Do not open the device by your self There is a risk to life and any claim to warranty expires Clean the device externally with a slightly...

Page 5: ...ner Dosing system Adjustment for Water and Powder Dispensing Raiser for short bottle Stainless Steel Grid Drip tray Cover Water Container and Water Container Powder Container Water and Powderoutlet 03...

Page 6: ...ong Press switch off Short Press Serve renewed Press Cancel Serve Device switched on Short Press Cancel Serve reset Long Press Factorysetting Device switched off Long Press Start Descaling Dispensing...

Page 7: ...table jar below the Water outlet and press button for rinsing the water system Repeat 3 times While now you have the possibility to check the dispensed water amount and correct if neccessary Use descr...

Page 8: ...may be small deviations For adjusting the amount of powder dispensing proceed as follows 01 Ensure the device is switched on For switching on push shortly ON OFF button 02 Press and hold down key 2 wi...

Page 9: ...the milquino on it The displayed Values 1 6 correspond to the following values of water hardness To change the setting proceed as follows 01 Switch the machine on by pushing the button 1 02 Keep the b...

Page 10: ...of LEDs on the rotary control You have to keep button 2 pressed during the complete calibration 02 Now also briefly press button 3 The device jumps to the 2nd submenu 03 Now turn rotary control A in...

Page 11: ...mber of LEDs on the rotary control You have to keep button 2 pressed during the complete calibration 02 Now also briefly press button 3 The device jumps to the 2nd submenu 03 Now turn rotary control A...

Page 12: ...Net Your Smartphone will automatically connect to your WIFI Home Net Your milquino is now ready for operation via mobile device MILQUINO APP Please download the milquino App from your App Store to yo...

Page 13: ...tion eg MAC address filter Establish connection Switch on the machine Push the button 3 WIFI for approx 6 seconds until the LED starts to blink Activate within 1 Minute the WPS Function at your router...

Page 14: ...a small bottle up to 150ml please use the drip tray elevation Remove the stainless steel drip tray cover and use the drip tray elevation instead 04 Set the required amount of water 60 240ml with the...

Page 15: ...the water outlet 05 Push the button 3 for at least 3 seconds The LED is now illuminated constantly The machine starts the descaling procedure 06 After the descaling the blue LED starts flashing or il...

Page 16: ...he water supply at the bottom 06 Rinse all parts of the formula container with warm water Do not use sharp items or cleaning products 07 The assembly is done in reverse order ATTENTION Ensure that all...

Page 17: ...ot assembled correct Dosing screw is pinched disassemble the formula container again and reassemble ensure the dosing screw is moving and rotation easily Button 3 flashes in 2 time rhythm WIFI connect...

Page 18: ...uarantee does not apply to any defect resulting form accident misuse improper Maintenance or normal wear and tear Except to the extent allowed by applicable law the terms of this limited guarantee do...

Page 19: ...NOTES...

Page 20: ...If you have any questions write an Mail to info milquino com or call Phonenumber 49 9071 2703 Black White...

Reviews: