4
Scanning Basics
NOTE
: The scanning procedures outlined here make use of the Standard Control Panel in ScanWizard
5. To use the Advanced Control Panel, refer to the Supplement.
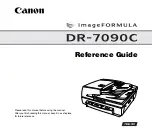
1. Place the scan material
A.
To scan photos, place the photo to be scanned on the
scanner bed. The top end of the original should be
positioned towards the
right
of the scanner, with the
surface to be scanned facing down.
B.
To scan film, use the LightLid 35 Plus II. See “Using
the LightLid 35 Plus II” for more details.
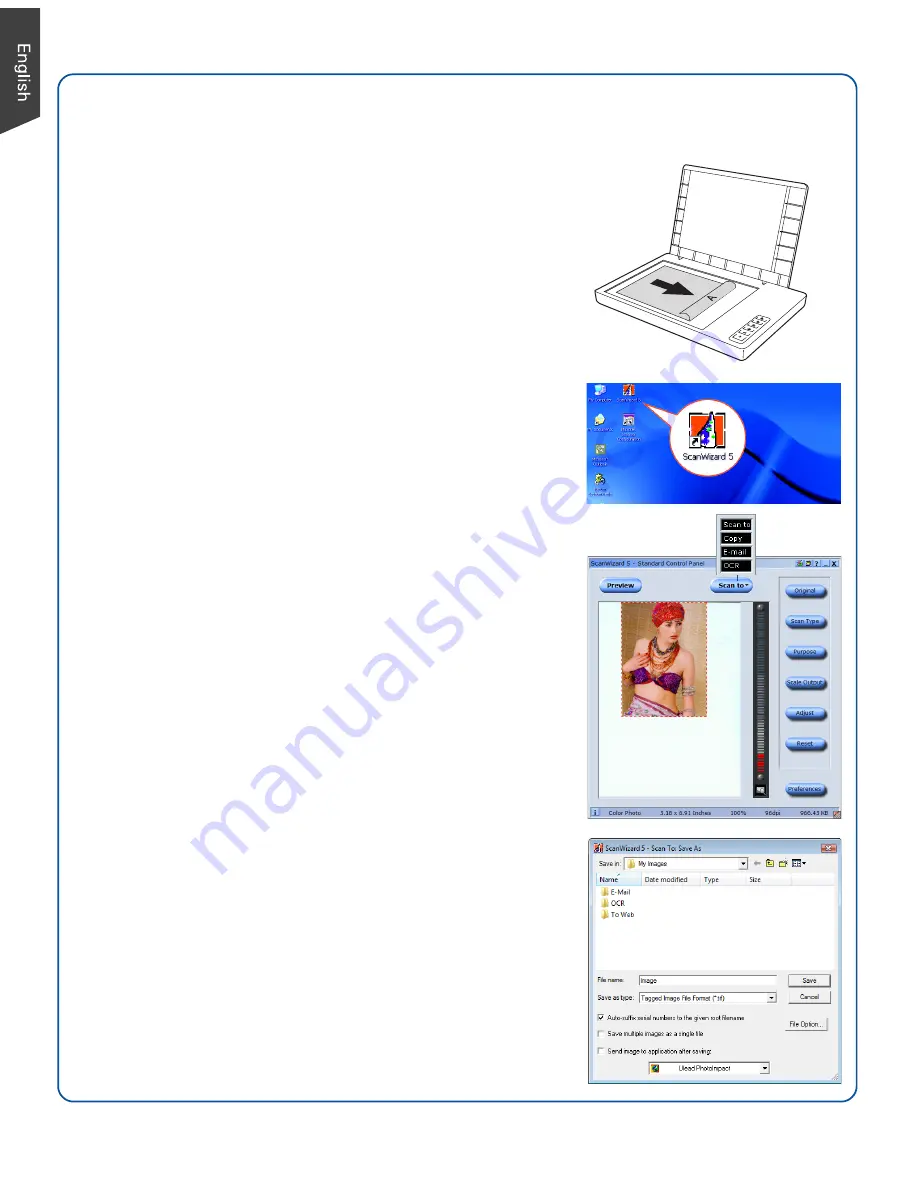
2. Launch ScanWizard 5
To launch ScanWizard 5 as a stand-alone program, double-
click the
ScanWizard 5
icon on your desktop. The scanner
will automatically perform a “fast preview” of your image,
based on settings specified under the Original, Scan Type,
and Purpose categories (buttons).
3. Specify your preferences
Use the following toolbar buttons to change the settings
according to your preferences.
Original
– Defines the category of the media (scan
material).
Scan Type
– Selects the output image type (color, gray, or
B&W).
Purpose
– Sets the image resolution to match your target
application.
NOTE
: Click the
Scale Output
,
Adjust
, and
Reset
buttons if you
need to make further adjustments.
4. Scan your material
A.
Click the
Scan to
button from the
ScanWizard 5
Control Panel.
B.
When the
Save As
dialog box appears, specify the folder
location, a file name, and the format for the output
image, then click
Save
. The image is scanned and
saved to the specified location.
Send image to application after saving file:
If this option is checked, the scanned image is saved first
and then automatically delivered to an image editing
software, a web browser, as the Adobe Acrobat software,
as indicated in the destination box.