20 LS-4600 User's Manual
Using Optional ScanWizard Cubi Software
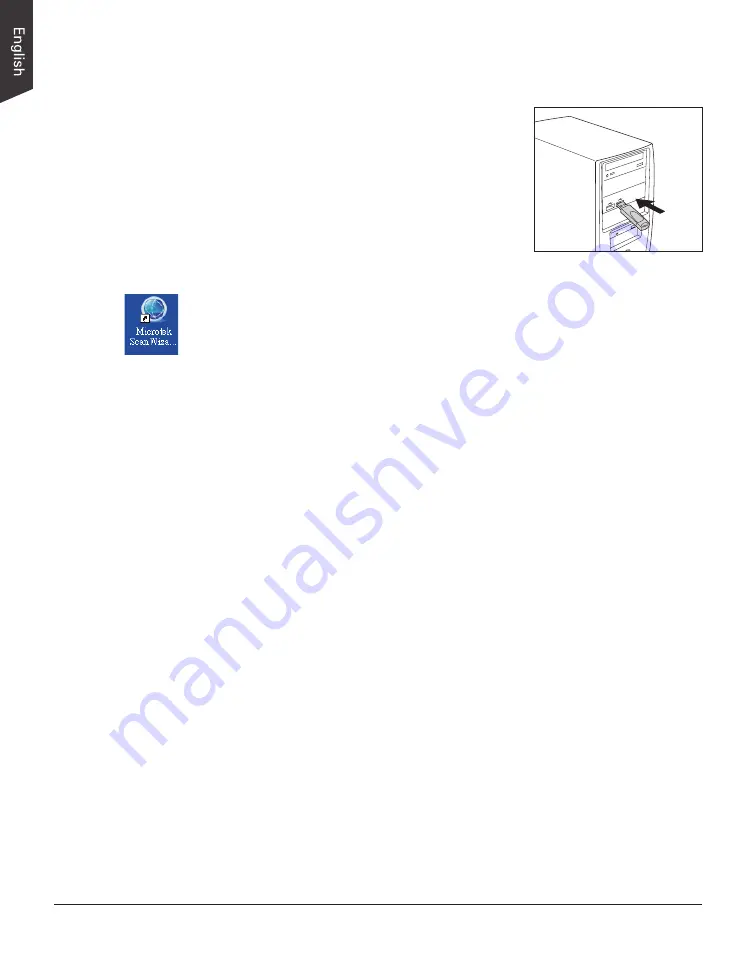
Before using the ScanWizard Cubi software, you
have to plug the USB Dongle come with your
ScanWizard Cubi software package into your
computer's USB port; otherwise, the ScanWizard
Cubi cannot be activated.
When done, follow the steps below to scan your
target.
1. Refer to the descriptions in “Positioning the
Materials” to place the material to be scanned
on the scan bed.
2. Launch
ScanWizard Cubi
as a stand-alone by clicking on the program icon on
the desktop.
If ScanWizard Cubi is launched, you will see the ScanWizard Cubi (AP)
interface on the screen on the screen.
3. If necessary, click the
Lamp Settings
button to set the direction of the light
projecting (Left, Right, or All) or select a given distance between your target
and the scan bed (scanner glass surface).
4. If necessary, click the
Scan Setting
button
to bring up the ScanWizard Cubi
(TWAIN) interface. By there, you can customize your scanning settings.
a) Follow the procedure (steps 4 through 9) for “Using ScanWizard Graph
Software” section to specify your scanning requirements.
b) Click the OK button in the Preview window to close the ScanWizard
Cubi (TWAIN) interface and return to the ScanWizard Cubi (AP)
interface.
5. Click the
Scan
button to start scanning.
The ScanWizard Cubi will perform the final scan of the image with the
default or customized scanning settings you specified in the ScanWizard
Cubi (TWAIN) interface.
When the scan is done, the scanned image will be displayed in the
Thumbnail view window on the left column of the interface.
6. If necessary, adjust and optimize image by using the
Image Adjustment
controls.
a) Select a scanned image to be optimized from the Thumbnail view
window.
When done, the selected image will be displayed in the
Navigation
window and
Index Preview
window.
b) If necessary, click an area of the image in the Navigation window to
display that area in the Index Preview Area .


