14
T
ROUBLESHOOTING
If you meet any trouble during installation or normal use of your drive, please refer to the
following information.
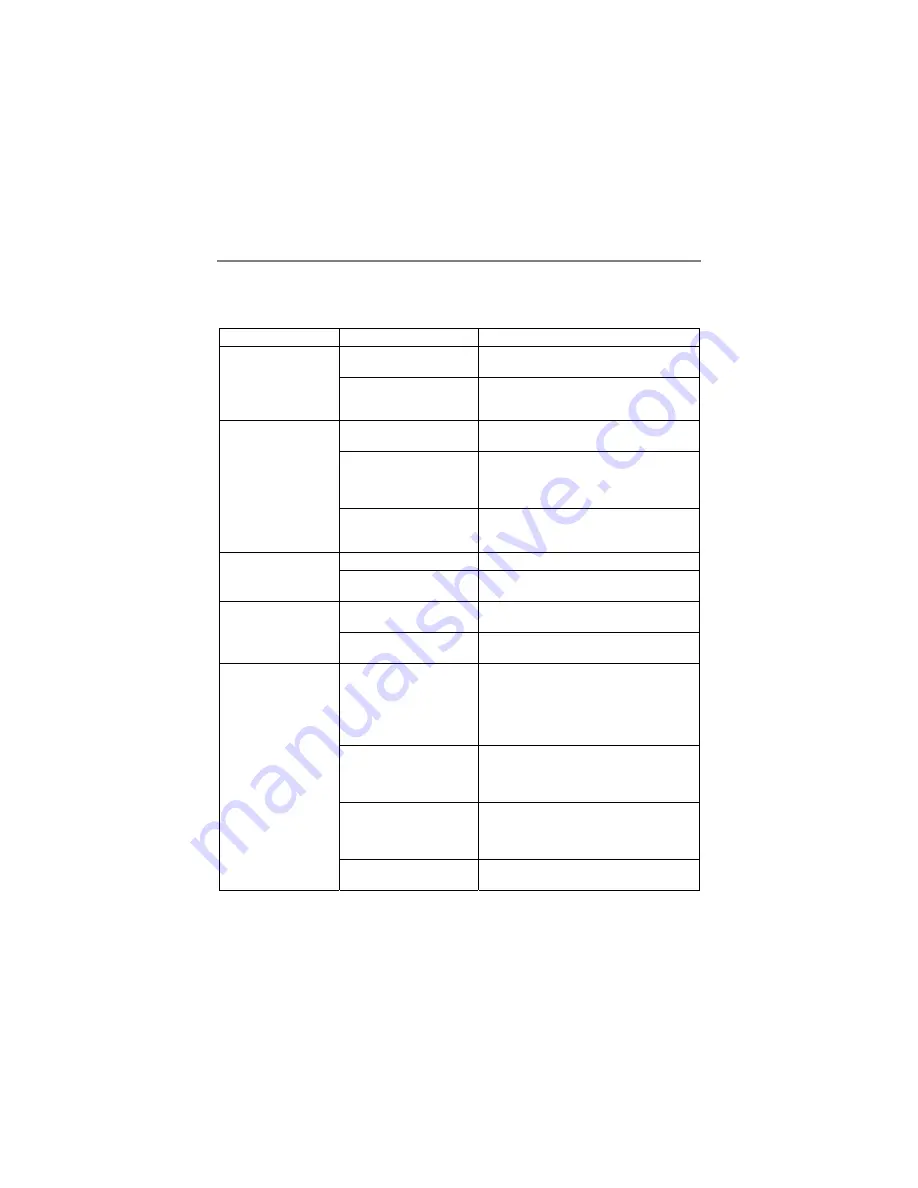
Read Problems
Symptom Possible
Causes
Solutions
No power.
y
Check if the power cord is connected
securely to the connector.
No operation.
USB cable isn't connected
properly.
y
Ensure that the USB cable and connectors
are not damaged, bent or dented. Check
especially the pins.
Power is not switched on.
y
Check if LED of your drive is lit. If not,
there is no power.
USB cable is not connected
properly between the
computer USB port and the
drive.
y
Ensure that both connectors of the USB
cable is properly connected to the USB
ports on the computer and the drive.
No drive recognition.
USB drive is not recognized
by the Windows Operating
System.
y
Please refer to the USB 2.0 Users chapter
and check if the USB driver is installed
properly.
Eccentric disc loaded.
y
Replace it with another one.
Excessive noise when
reading.
Seal attached on the surface
y
Detach the seal very carefully. Don't
make any scratches.
Eject locked by software.
y
Stop the applying software and try the
eject button to open the tray.
Cannot open the tray
(Eject).
CD set incorrectly.
y
Insert a small stick or paper clip into this
hole to eject the tray.
"Load Contents" or "Import
Session" was NOT clicked
on the Software.
y
If recorded without checked "Load
Contents" or "Import Session", it is
impossible to read. But when using
utility software such as "Session
Selection" from Adaptec, the former
session can be read.
Defective disc.
y
Deep scratches, fingerprints or other
contaminants on the discs surface can
disable the drive from reading data.
Always keep it clean.
Music CD inserted.
y
Because audio compact discs do not have
computer data, typing computer
commands while an audio CD is in your
drive will result in an error message.
y
Cannot read the
former session of
the CD-RW disc
which has been
written at least
twice.
y
Read error
occurs.
Disc inserted upside down.
y
Remove the disc from tray and reinsert it
with the label side up.
Summary of Contents for MG8EDVDRWA
Page 10: ...9 CONNECTION...


