C
hapter
4 – o
peration
C
aptUring
e
Vent
r
eCorDS
to
a
pC f
iLe
47
M
icro
‑A
ide
4
CSV i
npUt
n
UMberS
The Input Number listed in a CSV record does not include the normal single‑letter prefix (i.e., D, A, V, T
and S). Instead they are assigned purely numerical values in sequential order.
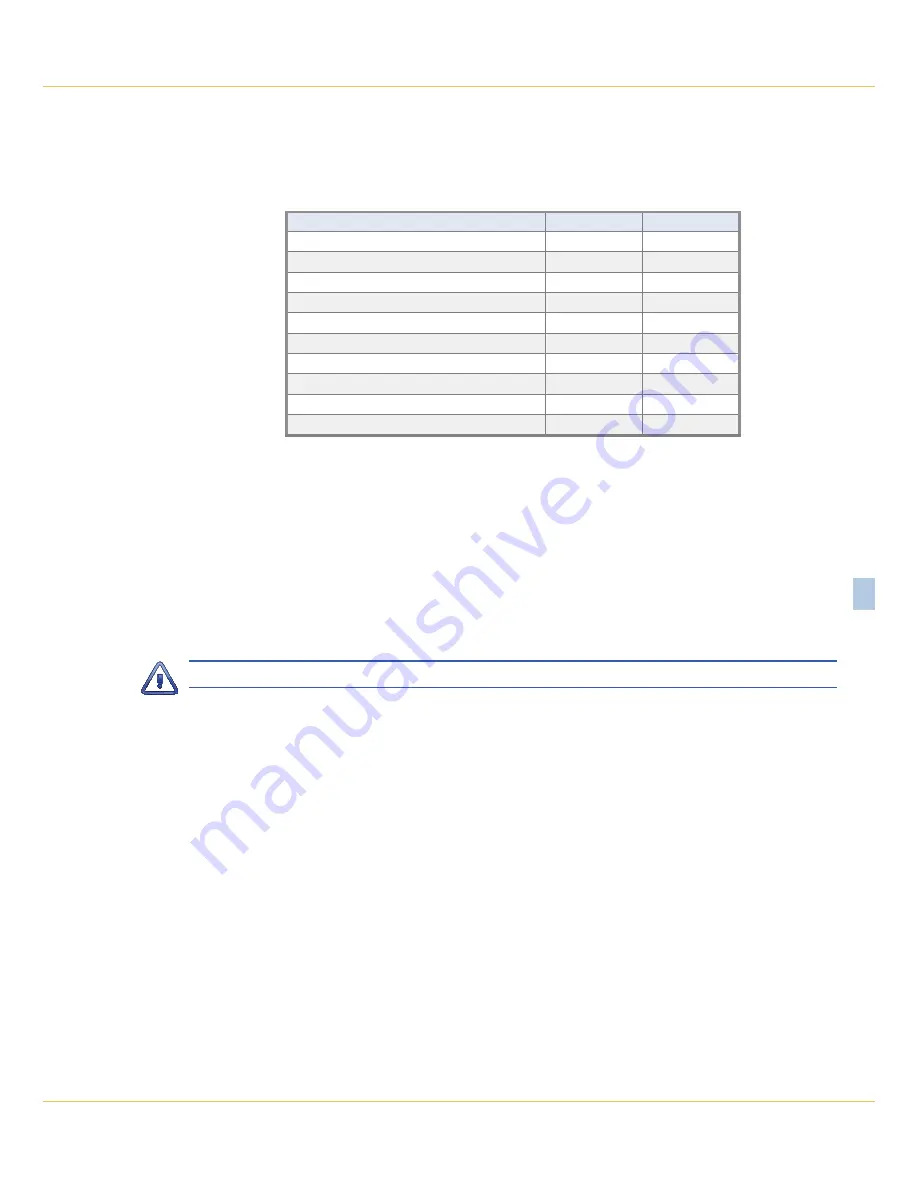
Table 8 on page 47
cross
references Input Numbers and CSV inputs. The S‑prefix is used to refer to System Events. They are de
‑
scribed in the section entitled
“System Events” on page 79
.
Event Record Category
Input Number
CSV Input
Digital
D1 ‑ D999
1 ‑ 999
Analog
A1 ‑ A4
1000 ‑1003
Virtual
V1 ‑ V8
1004 ‑ 1011
Timer
T1 ‑ T16
1012 ‑ 1027
System Power
S1
1028
High Temperature
S2
1029
Low Temperature
S3
1030
SNTP Clock Sync
S4
1031
GPS Clock Sync ‑ correction > 5 seconds
S5
1032
GPS Clock Sync ‑ periodic interval
S6
1033
Table 8: CSV Input Numbers
C
aptUring
e
Vent
r
eCorDS
to
a
pC f
iLe
The Query (with the Report Type set to Dump or Comma) and View commands will automatically stream
Event Records to the active user port. A PC running HyperTerminal can be used to capture these records
as a text file. The .txt file that is created can then be read using any commonly available word process
‑
ing application (e.g., Notepad
®
or Word
®
). The steps necessary to capture the Event Records as a .txt file
are listed in the following. HyperTerminal and Windows 7
®
were used in the following procedure. Later
versions of these programs may be slightly different. However, the fundamental approach will remain
valid.
1.
Configure the various fields of the Query or View command as desired.
Perform steps 2 through 5 IMMEDIATELY BEFORE pressing the
F1
function key.
2. With the mouse, click on the Transfers command, then the Capture Text... command. The Capture
Text dialog box will open.
3. Click the Browse button. The Select Capture File dialog box will be displayed.
4.
Navigate to or create the desired folder that will contain the .txt file. Enter a filename (e.g., 02‑20‑14
0915AM). The three‑character .txt file extension will be appended automatically. Click the Save but
‑
ton. The user will be returned to the Capture Text dialog box.
5.
Verify that the file specification box lists the correct folder and filename. Click the Start button to
open the .txt file.
6. Press the
F1
function key to initiate the data transfer. The logger will proceed to stream Event Records
to the newly created .txt file.
7. In the case of the Query command the record stream will cease automatically when the last record
is displayed. A record count and checksum will note the end of the data. Refer to the sample data
entitled
“Record Count and Checksum” on page 41
. In the case of the View command the record
stream will cease only when the user presses the
Esc
key.
8. With the mouse, click on the Transfers command, then the Capture Text... command. Click the Stop
option that is displayed.
Summary of Contents for CWR-24E
Page 2: ......
Page 14: ...VDL S7 300 User Manual 6 Micro Aide 1 User Notes ...
Page 22: ...VDL S7 300 User Manual 14 Micro Aide 2 User Notes ...
Page 96: ...VDL S7 300 User Manual 88 Micro Aide A User Notes ...
Page 98: ...VDL S7 300 User Manual 90 Micro Aide B User Notes ...
Page 106: ...VDL S7 300 User Manual 98 Micro Aide C User Notes ...


