36. Mapping a course
When mapping a course it is ideal to map all the hazards as well as the greens. Good mapping
involves taking account of relevant hazards and all greens in sequence. There is no need to map
tee off areas as your Navigator G800 will always tell you how far you [the Tracker G600] are to
those hazards and greens that you have mapped:
•
Turn on your Navigator G800. Y
ou will need to wait up to five minutes for the Sureshotgps™ to
lock in to the available satellites
Press the Menu key
Select Map Course using the down arrow
Select Start Mapping and enter the full course name, for example, Commonwealth Golf
Club. Select the desired letters using the up/down and left/right arrow keys. Press Save once
complete.
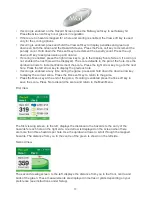
Press the Map soft key to map the course or the Back soft key to return to the previous display
Using the up/down arrow keys select the hazard type of the first hazard which appears on the
first hole. Press the Select soft key.
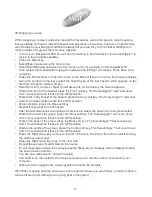
Select from Left, Centre or Right to indicate where on the fairway the hazard appears
Walk to the front of the hazard, press the Front soft key.
The Sureshotgps™ will count down
from 10 seconds while it locks in the GPS position
Walk to the Carry (back) of the hazard, press the Carry soft key.
The Sureshotgps™ will count
down from 10sec while it locks in the GPS position
Once complete, press the Done soft key
Repeat this process for each hazard
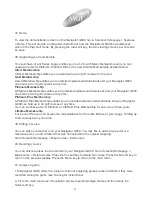
After the last hazard use the up/down arrow keys to select the Green icon and press Select
Walk to the front of the green, press the Front soft key.
The Sureshotgps™ will count down
from 10 seconds while it locks in the GPS position.
Walk to the back of the green, press the Back soft key.
The Sureshotgps™ will count down
from 10 seconds while it locks in the GPS position
Walk to the centre of the green, press the Centre soft key.
The Sureshotgps™ will count down
from 10 seconds while it locks in the GPS position
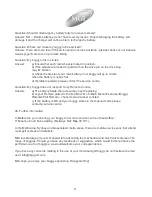
Press the Right arrow key to move to the par of the hole. The Par of the hole is selected using
the Up/Down arrow keys
Press the Right arrow key to go to the next hole
Repeat these steps for each hole on the course
To exit mapping and save the course press the Menu key. A message will be displayed noting
the saved course number.
You can now upload your course for saving
You need to be connected to the internet and have your remote control connected to your
computer
When you have logged onto www.mgi-golf.com follow the prompts
•
•
•
•
•
•
•
•
•
•
•
•
•
•
•
•
•
•
•
•
•
Hint: When mapping hazards ensure you have regard to where you would have come from [that is
the tee off area] and where you are going [that is the green].
20

