background image

11

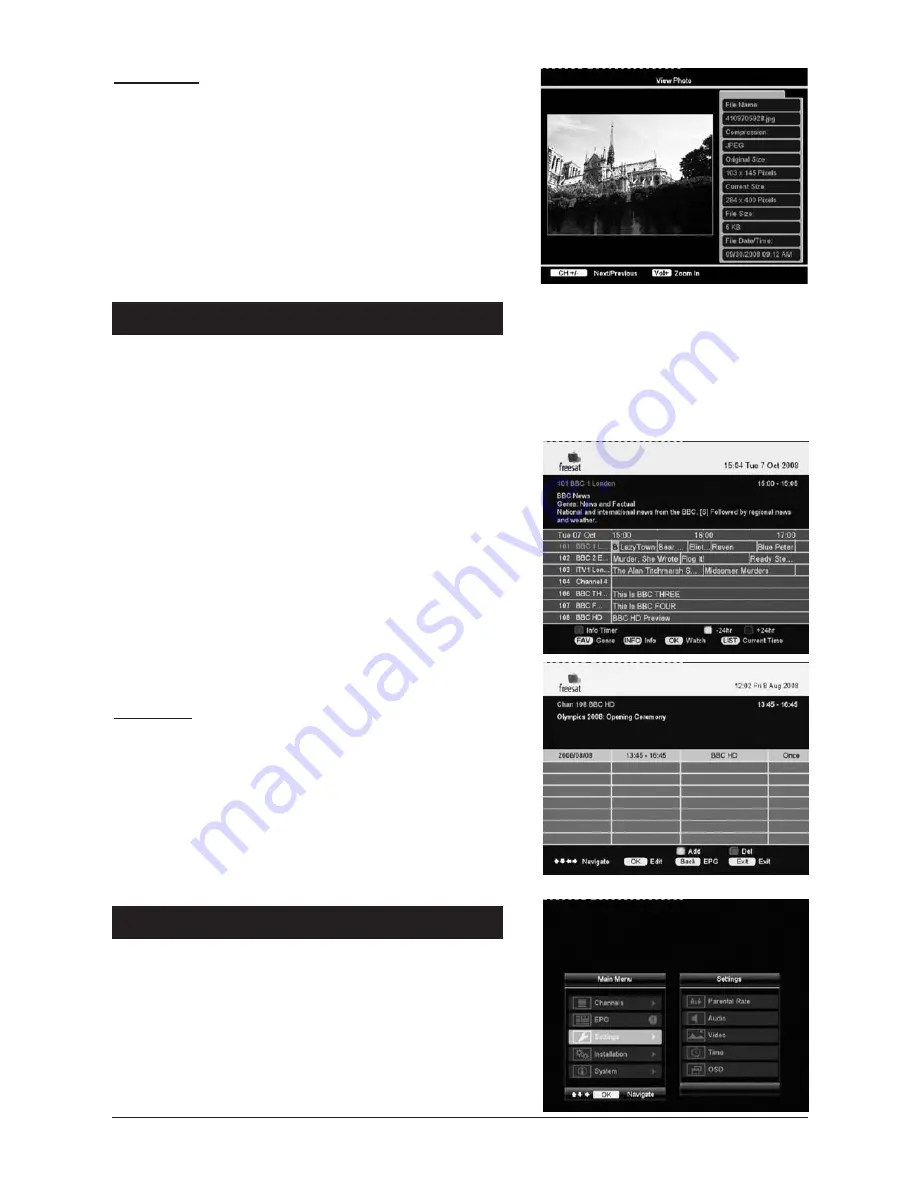
View Photo:

• 

CH+/ CH-

: Previous and next picture.

• 

Vol+/ Vol-

: Zoom in and Zoom out.

• 

5634

: Scroll on the viewing area. The blue square 

shows the current viewing frame

• 

Menu

 button: Return to previous menu.

Select 

EPG

 on the 

Main Menu

 or press the 

Guide

 button on the remote control to start the 

Electronic Program guide. Select the genre you want to view details.

In the detail program guide information:

Use the cursor keys to navigate through programs.

• 

Press the 

• 

OK 

button to select the program. 

Press  the  red  button  to  view  timer  reservations.  If 

• 

you  highlight  a  future  program,  you  may  use 

OK


button to reserve a program.

Use the yellow/blue button to switch to previous 24 

• 

hour / next 24 hour information.

Use 

• 

FAV

 button to classify program genre.

Use  the 

• 

INFO

  to  view  extended  program  informa-

tion.

Use

• 

 List button Switch

 to highlight current viewing 

program. 

Timer List:

You may view and edit the timer you added after selec-

ting 

Info Timer

. Press 

OK

 to modify its details. 

When a specific timer starts, the receiver will automati-

cally tune to the channel. If you wish to cancel the timer, 

press 

Exit

 key to stop a timer.

6 - Electronic Program guide

7 - Settings

In the 

Settings menu

, you may conduct the following functions:

Parental Rate

• 

Audio

• 

Video

• 

Time

• 

OSD

• 

Summary of Contents for 441827

Page 1: ...contract no subscription just a one off payment A wide range of digital channels HD programmes all for free This unit comes with a 2 year manufacturer warranty Ref 441827 Digital HD Satellite Receiver Sat HD 100 ...

Page 2: ......

Page 3: ... do not use any solvent or detergent Use only a dry cloth or slightly dampen it with water for the front panel Always carry out this operation after having disconnected the receiver from the mains For your own safety Never open the device It contains no item that can be serviced by the user If you open it make some changes on circuits or connections of non compliant equipment it will cancel the gu...

Page 4: ...4 ...

Page 5: ...e control description page 08 4 Main Menu page 09 5 Channels page 09 6 Electronic Program Guide page 11 7 Settings page 11 8 Installation page 13 9 System page 14 10 Trouble Shooting page 15 11 Error message page 16 12 Technical specifications page 17 TABLE OF CONTENTS ...

Page 6: ...ress the key of the remote control to switch the receiver on The TV screen should display the screenshot below 01 if this is not the case check that your HDMI lead is connected see the user manual of the TV if necessary For a standard Freesat installation press the 6 arrow of the remote control to select START SCAN Press OK to go to the second screen 02 You now have to enter your postcode Press th...

Page 7: ...nnect another satellite receiver if necessary Input Output VCR scart Connect to the VCR or DVD using a scart cable not supplied TV scart socket Connects to the TV using a TV scart cable note you will only view programmes in standard definition SD HDMI output SPDIF Optical audio output USB in Ethernet port for future use A A B D E F H I G C B C D E F G H I ...

Page 8: ... access to the Electronic Program Guide V FORMAT Press this key to change the format of the video on the HDMI output MUTE A first press mutes the receiver A second press returns in normal mode FAV To access your favorite channels INFO Display information about the channel you are currently watching A RATIO Allows to change the aspect ratio of the screen to adjust the picture to your TV screen TV R...

Page 9: ...menu you may carry out the following functions Channel Edit FavChannel Edit File Menu Channel Edit Channel Edit allows you to Lock Unlock a highlighted channel by using the red button Favourite Edit You may assign channels to edit favourite groups Use numeric keys to conduct the management Select the favourite list Sorting the list by different genres Add channels to the favourite group Once a cha...

Page 10: ...to dis play and view all files in the device File Management In this menu you may browse your file information If you want to preview or play them use the cursor 65 keys and OK to play the wanted file Disk Usage bar shows the current capacity of your disk storage device Use the yellow key to return to the previous menu Video Audio You may use the cursor 34 keys and OK or the playback buttons on th...

Page 11: ...reservations If you highlight a future program you may use OK button to reserve a program Use the yellow blue button to switch to previous 24 hour next 24 hour information Use FAV button to classify program genre Use the INFO to view extended program informa tion Use List button Switch to highlight current viewing program Timer List You may view and edit the timer you added after selec ting Info T...

Page 12: ...with restricted sight to explain the actions scene changes gestures and other visual information This function can only be used where a broadcaster is transmitting the appropriate signal Video The Video menu allows you to setup the following format Video Format You may choose between video resolutions in progressive or interlaced format for video output Screen Ratio You may choose between 4 3 or 1...

Page 13: ...aired Turn on to activate for those of hard of hearing Menu Timeout Timeout interval for OSD menus Preference Language To select a preferred language In the Installation menu you may carry out either Freesat Tuning or Manual Tuning Freesat Tuning In Freesat Tuning postcode is required before conducting scanning Enter your post code by either your RCU numeric keys or by selecting the on screen virt...

Page 14: ...ation The System Information menu shows the current H W version S W version related to the receiver You may conduct a software uprade by using a USB stick in this menu by selecting USB Upgrades or SSU Upgrade which is for over the air software upgrade Copy the software file to the root folder of a USB stick Only USB hard disks or USB sticks drives are supported NO USB multi cardreaders Insert the ...

Page 15: ...ption systems are correctly installed and connected correctly to the receiver Make sure the postcode is correctly entered Make sure that the antenna setting in the menu is correct No video Make sure that the product is powered on and in operation mode Make sure that the AV cable is firmly connected to the TV Make sure that the antenna cable is properly connected to the product Make sure that the a...

Page 16: ...he batteries in the remote control for a new set 11 Error message Message Possible causes Solutions No Signal The satellite dish is not pointing at the satellite Adjust dish alignment Signal is too weak Increase the LNB voltage or connect a signal amplifier Satellite dish is too small Change to a larger dish Wrong antenna setting Set the antenna correctly Service is unavailable or No Such Service ...

Page 17: ...M 256MB Video 4 Format MPEG 4 10 H 264 MP L4 1 MPEG 4 10 H 264 HP L4 1 WMV9 VC 1 MP HL VC 1 AP L3 VC 1 SP HD MPEG 2 and SD MPEG 2 Picture Resolution up to 1920x1080i30 1920x1080i25 1280x720p60 1280x720p50 Output System PAL NTSC Video Signal Connector TV SCART x1 CVBS RGB S VIDEO VCR SCART x1 CVBS S VIDEO HDMI x1 1 2 Audio 5 Formats MPEG Layer I II Sample Rate 32 44 1 48 KHz Audio Signal Connector ...

Page 18: ...ot place the product on or near flamable objects such as lit candles The device may not be exposed to dripping or splashing and no object filled with liquid such as vases must be put on the device If the mains power supply is used as the on off control it must be easily accessible Please respect the environment and the law do not throw batteries with the household rubbish take them back to your re...

Page 19: ......

Page 20: ...Product made in Asia Metronic Ltd Park House 15 23 Greenhill Crescent Watford Herts WD18 8PH UK www metronic com ...

Reviews: