COPYRIGHT © 2008 MERIT ENTERTAINMENT
AMI Music Setup
In order to set up your Entertainer to play
music directly or to set up your Wallette or
Entertainer to link to an AMI jukebox (allow-
ing customers to view and select jukebox
selections from the game) follow the in-
structions below.
To enable this feature, you will need a
broadband Internet connection, a router
(The Linksys 802.11B router is recom-
mended) and Ethernet cable(s) (if you aren’t
using wireless). It is recommended that
you set up and configure your router prior
to connecting the unit. Once the router is
set up, follow the instructions below.
Entertainer Units Only: In order to continue
with music setup, your Operator Agreement
must be filled out and received by Merit.
Hardware:
1.
Wired connections: Turn off and
unplug the unit and connect an Ethernet
cable to the Ethernet coupler inside
the cash door (see Figure 5). Connect
the other end of the cable to the exter-
nal router. Plug in and turn on the unit.
If you are linking the unit to an AMI
jukebox, turn off the jukebox and con-
nect an additional Ethernet cable from
the jukebox’s interior router to the ex-
ternal router.
2.
Wireless connections: Plug in and
turn on the unit.
NOTE: When you first turn on an En-
tertainer unit, it will display a mes-
sage indicating it is out of service.
Your game must call into the server in
order for it to function.
Software:
3.
Press the SETUP button.
4.
Touch the System button, and then
touch AMI Setup, followed by Op-
tions.
NOTE: A pop up box may appear informing
you that a broadband Internet connection
is required. If it does, press, Okay.
5.
If you want to play music on the Enter-
tainer, make sure that the box next to
Function as Entertainer is checked.
If you want to link the unit to an AMI
jukebox, make sure that there is not a
check in the box next to the option.
Touch the MAIN MENU button to re-
turn to the Main Menu.
6.
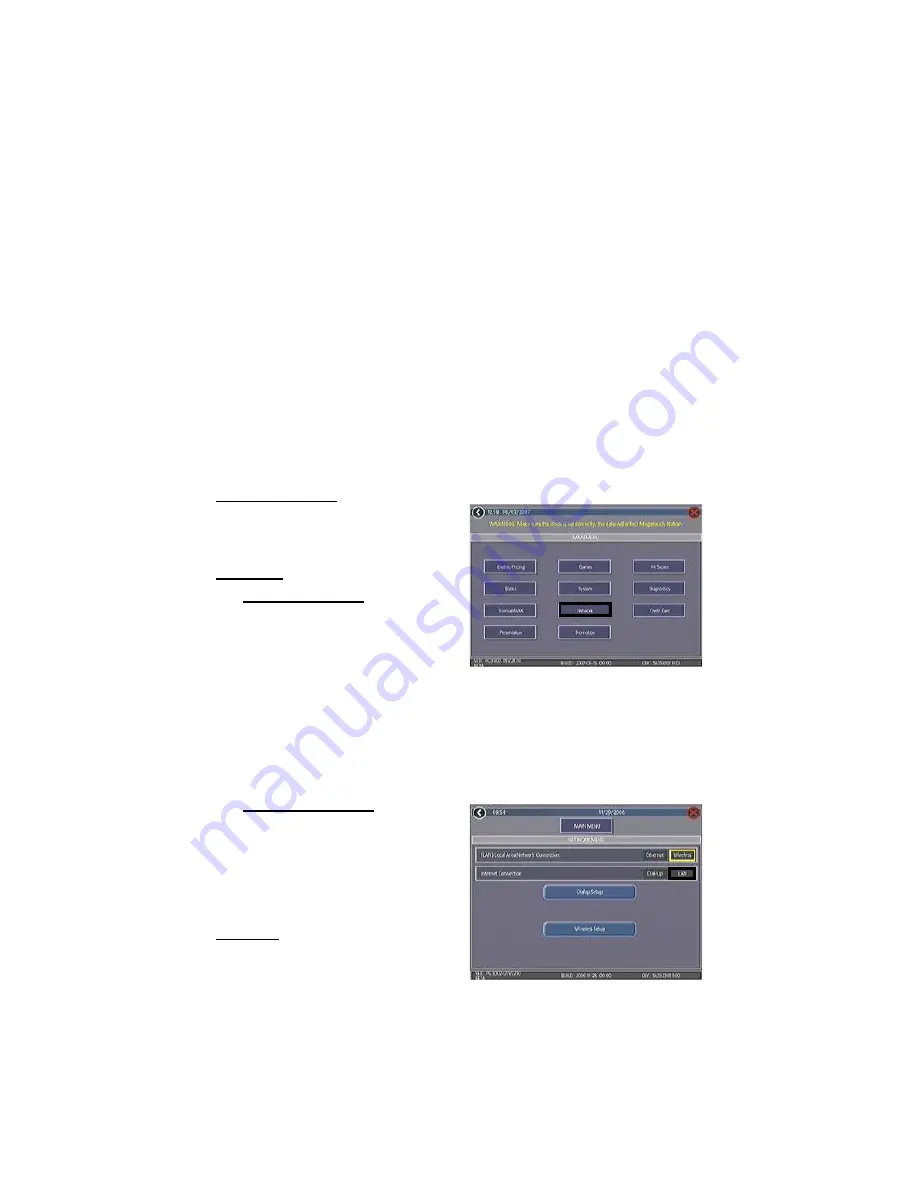
Touch the Network button on the Main
Menu. See Figure 6.
9 MEGATOUCH WALLETTE/ENTERTAINER INSTALLATION AND OWNER’S MANUAL PM0673-03
FIGURE 6 - MAIN MENU SCREEN
7.
Next to Internet Connection, select
the LAN option. See Figure 7. For
wired connections, continue with step
8, for wireless, continue with step 11.
FIGURE 7 - NETWORK MENU SCREEN


