


X
To set the date: slide
ZV
Æ
or turn
cVd
the controller and press
W
to confirm.
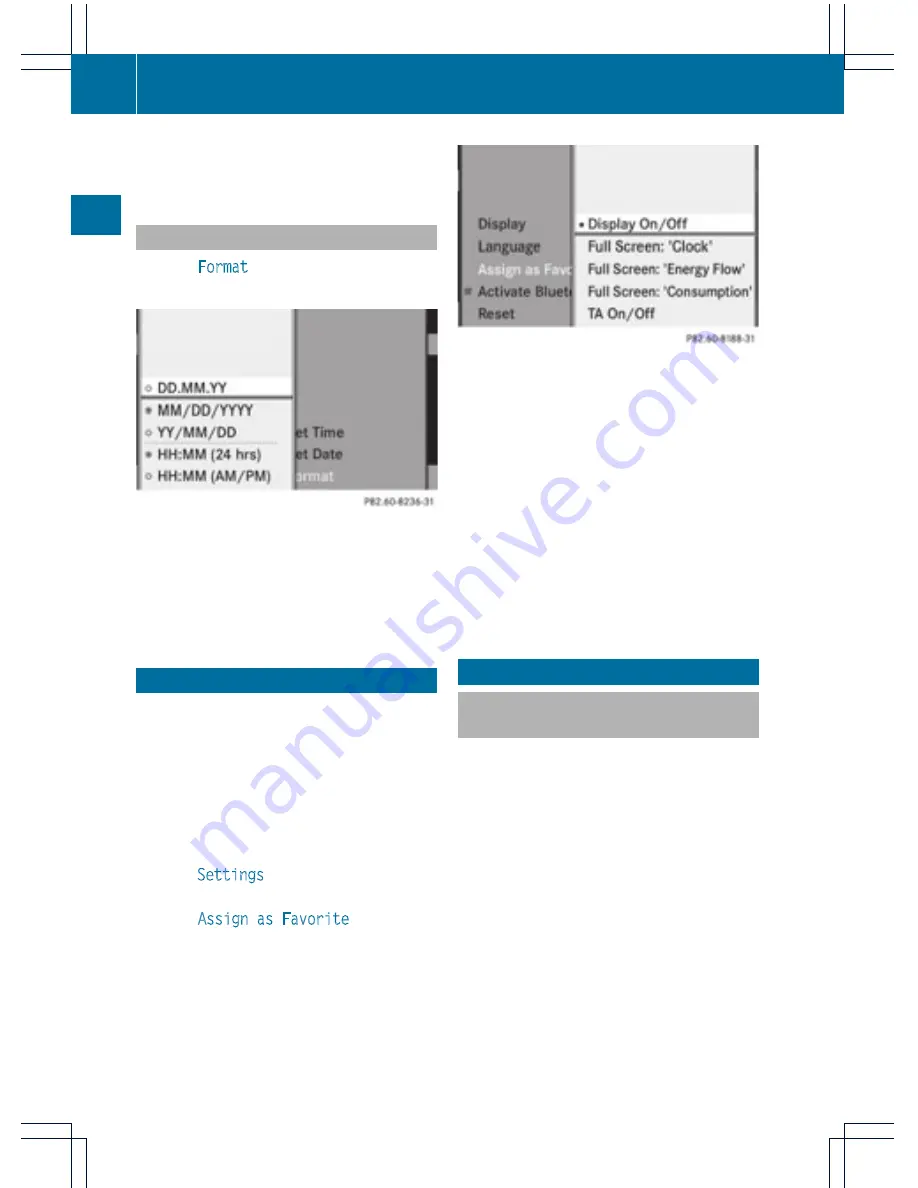
Setting the format
X
Select
Format
using the controller (slide
VZ
or turn
cVd
) and press
W
to confirm.
i
You can set the format for the date and
time separately.
X
To set the date/time format: slide
ZV
Æ
or turn
cVd
the controller and press
W
to
confirm.
Favorites button (asterisk key)
i
You can assign a function from the
favorites menu to the favorites button (star
button) on the controller.
X
To call up the basic menu: press the
W
button.
X
Switch to the submenu bar by sliding
V
Æ
the controller.
X
Select
Settings
using the controller (slide
XV
or turn
cVd
) and press
W
to confirm.
X
Select
Assign as Favorite
by sliding
ZV
Æ
the controller and press
W
to
confirm.
Favorites menu (example: vehicle with a favorites
button)
X
Select the desired function by sliding
ZV
Æ
the controller and press
W
to
confirm.
The selected function is assigned to the
favorites button.
i
If your vehicle has two favorites buttons,
you can assign a function to each favorites
button. The favorites menu will then have
an additional submenu where you can
choose the favorites button to which you
want to assign a function.
Bluetooth
®
settings
General information about
Bluetooth
®
Bluetooth
®
technology is a standard for
short-range wireless data transmissions up to
approximately 10 meters. To call using the
hands-free mode and to receive electronic
business cards (vCards) via Audio 20, the
Bluetooth
®
function must be activated.
Further information on telephone mode
(
Y
page 37).
Bluetooth
®
is a registered trademark of
Bluetooth Special Interest Group (SIG) Inc.
32
Bluetooth
®
settings
System
settings