18
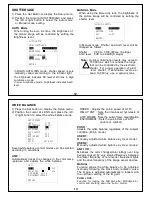
AUTO Mode :
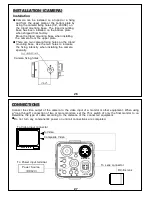
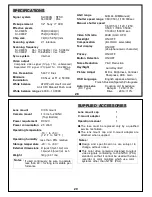
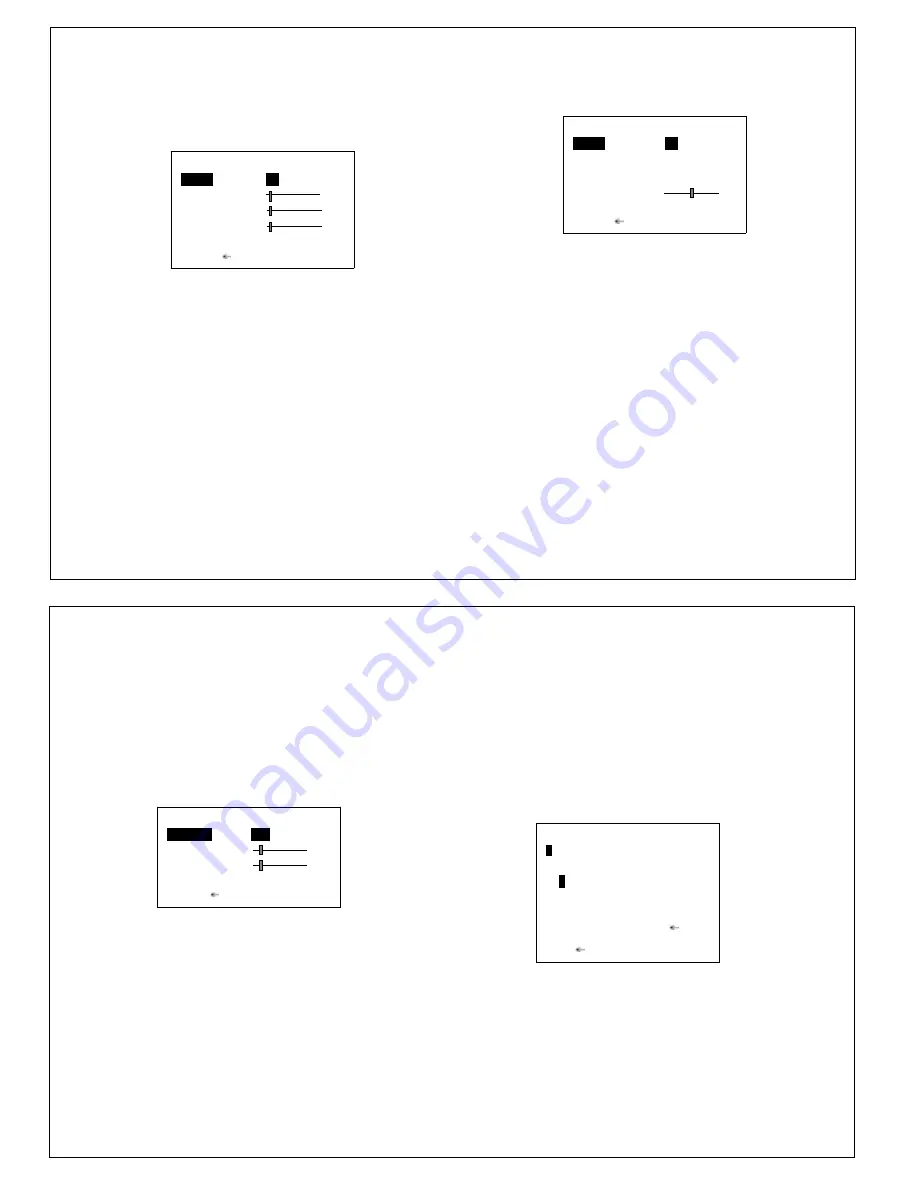
1) Position the cursor at Day/Night and press the left
or right button to change the Day/Night mode.
2) Press the Set button only when position the cursor
at Auto to adjust the Day/Night function control.
BURST : Selects whether to output the burst signal
when the night status has been identified.
DELAY CNT : Sets the Night/Day identification
transfer time.
DAY->NIGHT : Sets the threshold for identifying the
Night status from the Day status.
NIGHT->DAY : Sets the threshold for identifying the
Day status from the Night status.
DAY/NIGHT
BURST
ON
DELAY CNT
010
DAY->NIGHT
003
NIGHT->DAY
005
RETURN
BW Mode :
1) Press the Set button only when position the cursor
at BW to adjust the BW mode control.
2) Press the left / right / up / down button to select a
BW mode control.
BURST
: Selects whether to output the burst
signal when the BW status has been
identified.
IR Optimizer Function :
If, when the Night operation mode of the Day/Night
function is established, the mode is used together
with an external infrared LED light source, excessive
front lighting may occur, resulting in over exposure.
The IR Optimizer function makes it possible to
minimize this overexposure by optimizing the ex
-posure control during Night operations.
BW
BURST
ON
IR OPTIMIZER ON
MODE
AUTO
LEVEL
015
RETURN
19
NOISE REDUCTION
Noise reduction is a function that reduces the image
noise in order to improve the image quality of the
camera.
In particular, it reduces the noise whichis generated
under low-brightness shooting conditions and other
high-gain states.
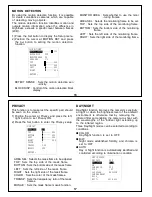
1) Position the cursor at NR and press the Set
button to setting the noise reduction function.
2) Press the cursor at NR MODE and press the left
or right button to change the NR mode.
Y/C : Y and C filter ON.
Y
: Y filter ON.
C
: C filter ON.
Y LEVEL : Sets the Y filter strength.
C LEVEL : Sets the C filter strength.
NR
NR MODE
Y/C
Y LEVEL
004
C LEVEL
004
RETURN
CAMERA ID
When the internal OSD menu display is hidden in the
internal mode, it is possible to display the Camera
ID on-screen.
Any character string consisting of two rows(vertical)
of up to 26 characters(horizontal) on each row can
be used for the Camera ID, and it can be displayed
at any position on the screen.
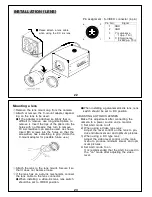
1) Position the cursor at
CAMERA ID
and press the
Set button to setting the Camera ID.
2) Press the left / right / up / down button to select a
character and press the Set button to camera ID
generation
.
3) Press the Set button to camera ID position set
when position the cursor at POS.
4) Press the left/ right/ up/ down button to move the
camera ID position.
CAMERA ID
A
BCDEFGHIJKLMNOPQRSTUV
WXYZ0123456789-!"#$%&'
()_
‘
,
¥
:;<=>?@
\
^
*.x+/
←→↑↓
CLR POS
EXIT
Summary of Contents for SI-C600N
Page 16: ...30 MEMO ...


