-9-
3. Operation
MT-50
Series
3-1
Set Illumination
1. Put through the power and turn on the main
power switch to“—”.
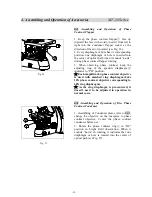
2. Adjust the light adjustment knob
①
until the
illumination is comfortable for observation.
Rotate the light adjustment knob clockwise to
raise the voltage and brightness. Rotate the light
adjustment knob counterclockwise to lower the
voltage and brightness (see Fig. 9).
★
Use of bulbs in the low-voltage state can
extend the bulb life.
3-2
Place the Specimen Slide
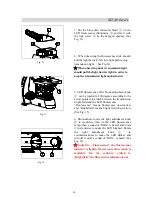
1. Push the wrench
①
of the specimen holder
backwards.
2. Loosen the wrench
①
, and clamp the slide
②
by the clips while the cover glass faces up (see
Fig. 10).
3. Rotate the X and Y-axis knob
③
. Move the
specimen to the center (alignment with the center
of the objective).
3-3
Adjust the Focus
1. Move the objective 4X to the optical path.
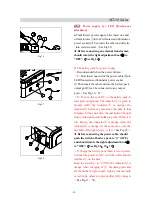
2. Rotate the position screw
②
to top, observe the
right eyepiece with right eye. Rotate the coarse
focusing knob
①
until the image appears (see Fig.
11).
3. Rotate the fine focusing knob
③
for clear
details and lock the position screw
②
.
★
The position screw can stop the objective
touching the clips.
Fig. 9
Fig. 10
Fig. 11


