


- 14 -
6.2 Data Management
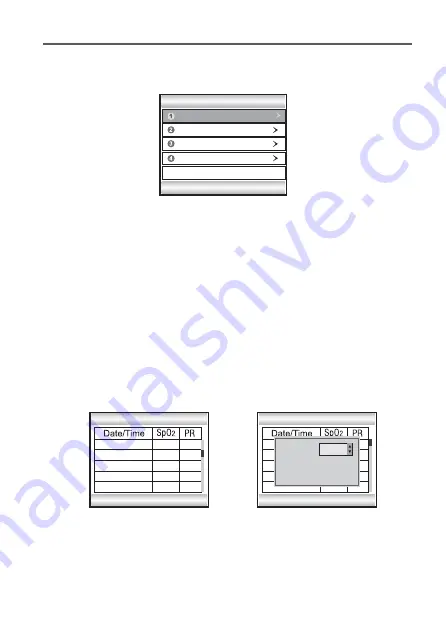
From the main menu screen, select and enter the “Data Manage” screen, refer to Fig.6-3.
Press the Up or Down button to select the sub-item to set, and then press the Select button
to con
fi
rm or Return button to return to the previous screen.
Notes:
●
The user may get the prompt information saying that “No records” when entering the data
manage interface if there is no stored record in the device.
●
The device does not support cycle storage, when the memory is full, a prompt window of
“Space Expire!” appears. To record the newest measurements, you should delete the old
ones for free space when no measurement is being taken.
Fig.6-3
SpO
2
Trend
PR Trend
Clear Data
Data Manage
Select
Return
Data Review
6.2.1 Data Review
Pick ”Data Review” sub-item and enter by pressing the Select button. The screen as in
Fig.6-4 will appear.
Pressing the Select button again, a dialog box will pop up, refer to Fig.6-5. After selecting an
ID number, press the Up or Down button to select “Delete” or “Review” and then press the
Select button to con
fi
rm. You can delete or review all the records saved under the ID.
Fig.6-4
Fig.6-5
Data Review
03/17 17:42:43
072
098
098
098
098
098
072
071
076
072
03/17 17:42:39
03/17 17:42:35
03/17 17:42:31
03/17 17:42:27
Select
Return
Data Review
03/
72
098
72
72
69
069
03/
03/
03/
03/17 17:42:27
Select
Return
User ID
Review
006
Delete
PULSE OXIMETER


