


Initial System Configuration
50
03-11-24
1004en01
Make sure that the printer is connected and put on-line.
2.
Scroll to line 2.
3.
Press [Print]
A list is printed with several options. In case an automatic printout after each sam-
ple is required including the size histograms:
4.
Select 2
5.
Press [Enter]
Setting “0” will disable the auto-print of the instrument.
6.
Scroll to line 3.
This entry selects what and where to print the parameter results if the [Print] key
is pressed.
7.
Press [Print] again, an equal list is printed.
8.
Select 2
9.
Press [Enter] to activate the [Print] key function to print all parameters in-
cluding the histograms.
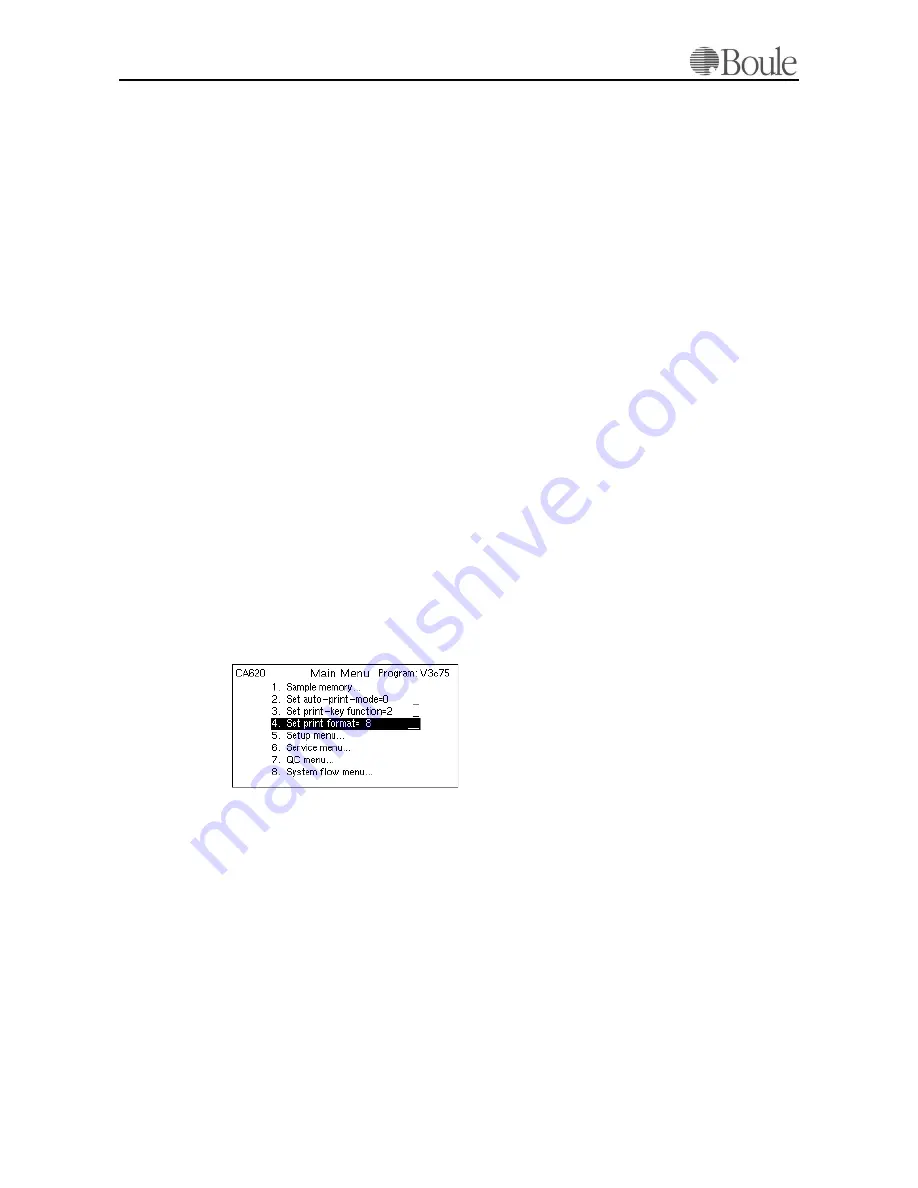
10. Scroll to line 4.
11. Press [Print]
A list is printed with available pre-programmed formats. In case a DPU411-type
II/DPU414 printer is connected (recommended) only formats can be chosen
which are indicated as 'DPU411'.
The print format function describes the order of parameters on the printout as
well as the font style. As default, format 8 is set (DPU).
Note:
If no external computer is connected to the instrument, do not select settings 3-
8 on the Main Menu.
For detailed information regarding printers and printing options, please refer to
section
Printer setup menu CA620
on page 73 and
Printer and Serial Output
on page 93. For advanced printer options, refer to appendix 530-30-205 available
from your distributor (in English only).
1046en.gif
Summary of Contents for CA530
Page 2: ......
Page 6: ...6 03 11 24 ...
Page 24: ...Specifications 24 03 11 24 1001en01 ...
Page 38: ...Parameter Flags 38 03 11 24 1002en01 ...
Page 80: ...Warning Displays 80 03 11 24 1008en01 ...
Page 92: ...QC and Blood Controls 92 03 11 24 1156en01 ...
Page 98: ...Maintenance Shut Down Transport 98 03 11 24 1011en01 ...
Page 107: ......


