6
PowerBook G4
Step 4: Using the Phillips end of the
MCE mini screwdriver, remove
the eight screws from the base of
the computer.
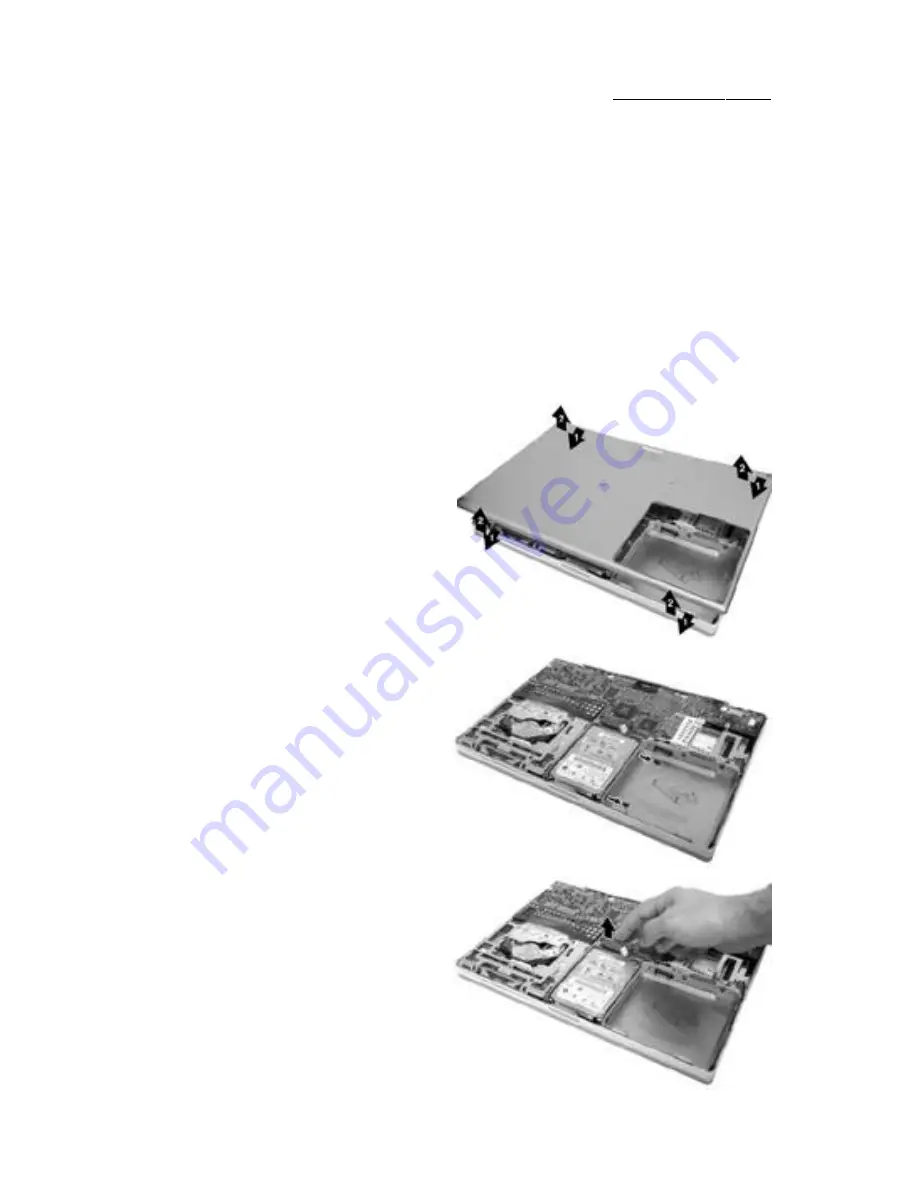
Step 5: Remove the base plate by
sliding it towards the front of the
computer about a half inch,
releasing its inner latches, and
then up and away from the main
chassis.
Step 6: Using the Torx T8 screw-
driver, remove the two screws
which secure the hard drive in
place, located on the side wall of
the battery bay.
Step 7: Disconnect the hard
drive connector from the logic
board.


