9
User Guide
McAfee Family Protection
McAfee Family Protection | Instant Alerts
Instant Alerts
Perhaps the only thing better than deciding to purchase a filtering software program is the first time
that program actually communicates to you personally when a user attempts to access any inappropriate
content. Fast and efficient, Family Protection will send you instant notifications via email and/or text message.
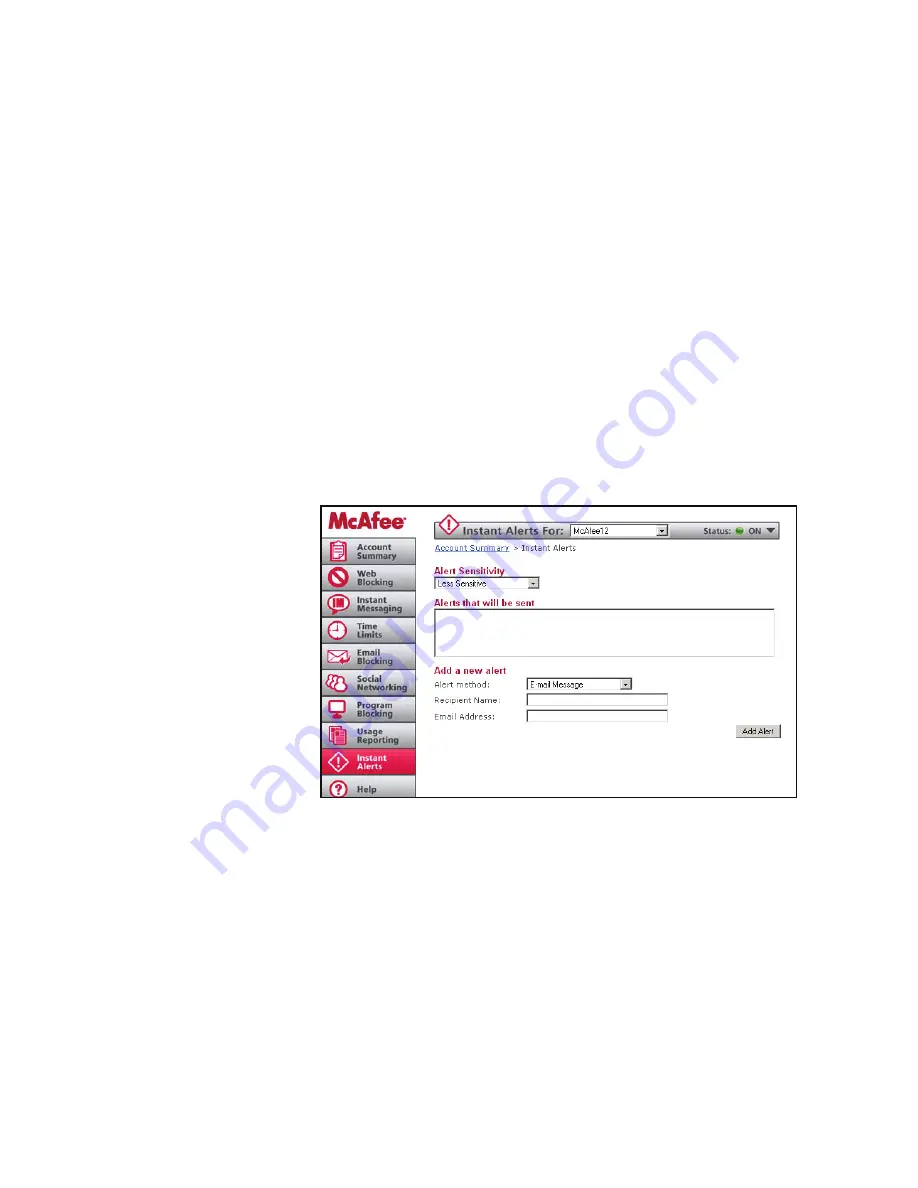
To choose the user you want alerts for, use the top pull down bar “instant alerts for” and highlight the user.
To turn Instant Alerts on or off, run your cursor over the “status” button at the top of the page and
choose “on” or “off.” If status is turned to “off,” no alerts will be sent.
Alert Sensitivity
Family Protection allows you to choose the sensitivity of the monitoring that you want. The higher the sensitivity,
the more alerts you will receive based upon the amount of restricted content a user accesses within a set period of time.
Simply go to the “Alert Sensitivity” pull down bar and choose your level of sensitivity:
Less Sensitive, Normal, Very Sensitive. If you find you are being alerted too often or not enough, you can change the
setting.
Alert Types
The alert types available are
Email Message and/or Text
Message. You can choose your
alert method by using the pull
down menu “alert method” in
the lower part of the page. You
can schedule alerts to be
delivered during certain time
periods and, you can setup
multiple alerts to go to multiple
locations at the same time.
Email Message:
Enter the
recipient’s “Email Address” and
the “Recipient Name” then click
the “Add Alert” button. The
email address will appear in the
“Alerts that will be sent” box.
Text Message: Text messages
can be sent to text message
capable cell phones (contact your carrier to verify your phones capabilities) and text pagers. Choose your carrier from the
list included on the pull down menu “Carrier,” then enter your “Phone Number.” You can also specify a “Recipient
Name.” If your carrier is not listed, choose “Other” and enter the entire email address (contact your carrier for more
information) to send the alert to. When you are finished, click the “Add Alert” button.
How To Schedule Alerts
To schedule an alert, click the clock icon next to the specific alert in the “Alerts To Send” box. A new screen will be
displayed with the schedule. On the green matrix, choose the day of the week and the time of day and click on the boxes
of time (1/2 hour increments) you do not want to be alerted. You can also click, hold and drag your mouse to block out
several hours at a time.
To release time increments, re-click on the red blocks of time and they will return to green. Green blocks represent times
when an alert will be sent and red indicates times when the alert will not be sent. Once you have specified a schedule, click
“Save Settings” to save the schedule.


