


28
Configuration Software and Utilities
Creating a Striped Set (RAID 0)
NOTE
If the drives are not identical in size, the total size of the striped set will be twice the size of the
smallest drive.
Automatic Configuration
The Auto Configuration option will choose a 16KB stripe size (also referred to as chunk size) and
assign the first drive, the drive on the primary SATA channel, as “0”. It will assign the second drive,
the drive on the secondary SATA channel, as “1”. If you want to use a different stripe size and/or
change the drive assignments, choose the Manual Configuration option.
To automatically configure a striped set, use the up and down arrow keys to highlight Auto Confi-
guration. Press <Enter>.
Manual Configuration
To manually configure a striped set:
1. Use the up and down arrow keys to highlight Manual Configuration. Press <Enter>.
2. Highlight 0 PM or 1 SM as the first drive. Press <Enter>.
3. Press <Enter> again to confirm the second drive.
4. Highlight 4K, 8K, 16K, 32K, 64K, or 128K to choose the chunk size and press <Enter>.
NOTE
The chunk size affects how the SATA RAID controller sends and receives blocks of data for the
hard disk drives. Users should perform their own testing to determine the optimal chunk size for the
applications they intend to use. Generally, larger chunk sizes are better when managing larger data
transfers with applications such as audio/video editing or graphics design. Smaller chunk sizes are
better when dealing with office applications such as e-mail.
5. Confirm the striped set by pressing <Y> or select <N> to cancel the action. If you select
<Y> the striped set is created.
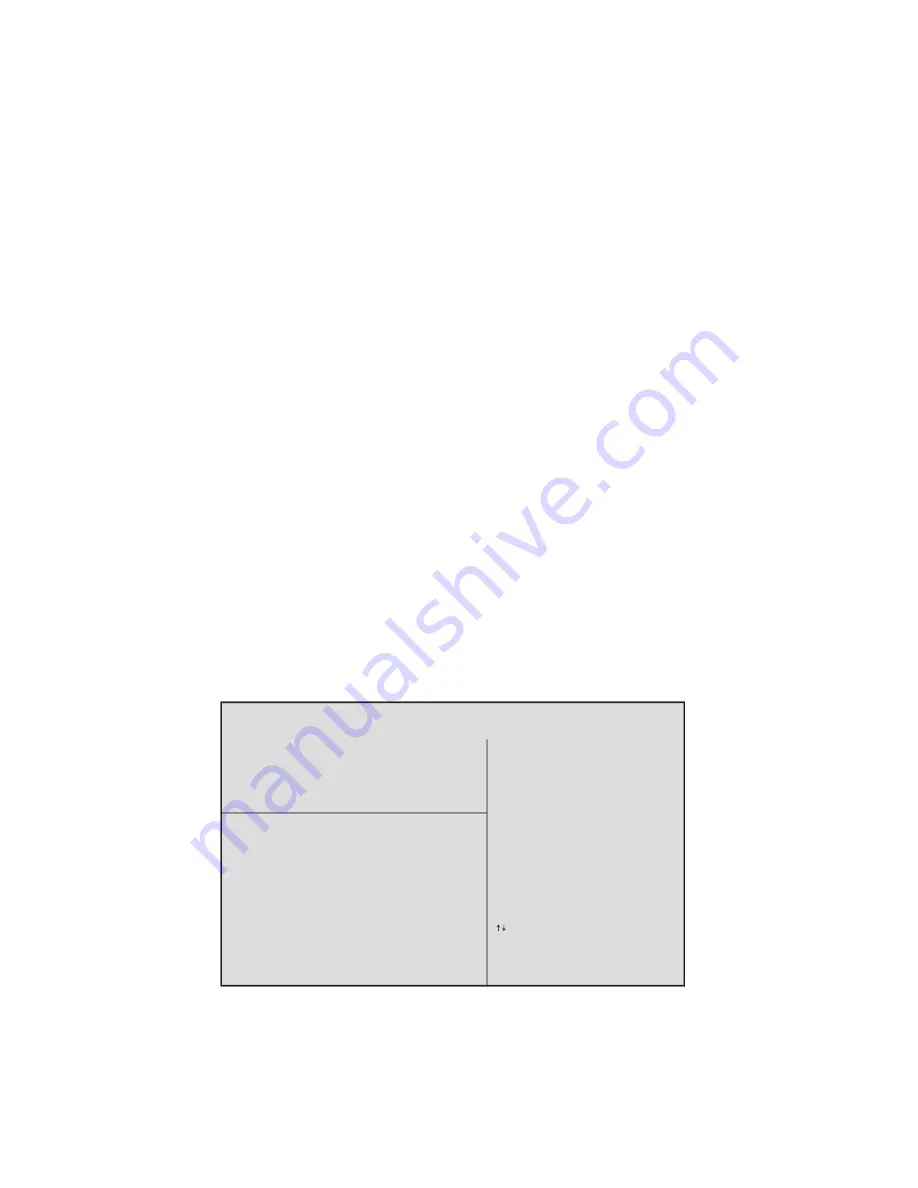
6. After confirming the striped set, a summary similar to the following is displayed.
7. Press <Ctrl-E> to exit the RAID Configuration Utility.
8. Press <Y> to confirm exit and proceed with operating system setup.
RAID Configuration Utility - Silicon Image Inc. Copyright 2002
©
���������������
���������������
��������������������
�����������������
���
���
�������������������
�������
���
���
�������������������
�������
�����������������������������
���
�
�����������
����
�������������
������
������
������� ����
��
���������
�������������������������
�������
�� ���������������������������������
�� ���������������������������������
Summary of Contents for Workstation Fusion 7000
Page 1: ...User s Manual MAXDATA Workstation Fusion 7000 ...
Page 2: ...2 Contents ...
Page 6: ...6 Contents ...
Page 22: ...22 Features ...
Page 42: ...42 Solving Problems ...


