


26 Chapter 2: Hardware installation
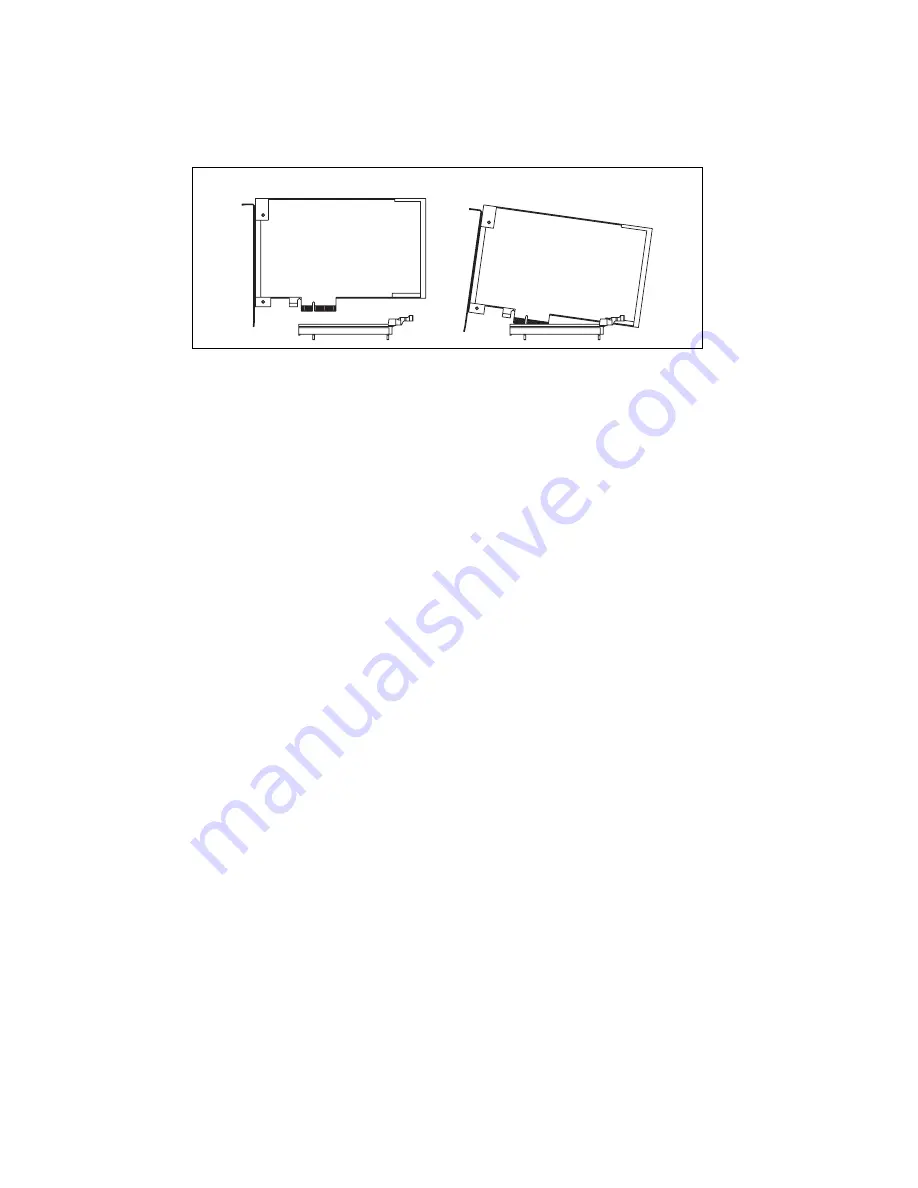
board backwards or rotate it when installing it; otherwise the board can touch the
latch and get damaged. Note that the same is true when removing the board.
Alternatively, you can remove the latch from the retainer.
5. Anchor the board using the screw that you removed in step 3.
6. If required, install the cable adapter bracket of your Matrox Solios eV-CL board,
as described in the section
Installing the cable adapter bracket
, later in this chapter.
7. Attach your video sources, as described in the section
later in this chapter.
8. Turn on your computer.
❖
When you boot your computer under Windows, Windows’ Plug-and-Play system
will detect a new Multimedia Video Device and you will be asked to assign it a
driver. At this point, you should click on
Cancel
. Under Windows and Linux, the
driver will be installed during the installation of Matrox Solios eV-CL software.
9. Disable active state power management (ASPM) for PCIe devices, to maximize
the performance of Matrox Solios eV-CL. In the BIOS, disable all ASPM (or
equivalent) settings (typically accessible from the
Power management
submenu
of the
Advanced Configurations
menu). In addition, if the operating system has
an
ASPM for PCIe devices
option, disable this option as well. For example, in
Microsoft Windows 7, open the
Power Options
dialog box from the Windows
Control Panel. For the currently selected power plan, click on
Change Plan
Settings
and then click on
Change Advanced Power Settings
. In the presented
dialog, expand
PCI Express
, and then expand
Link State Power Management
and set it to
Off
.
Incorrect
Correct
Summary of Contents for Solios eV-CL
Page 1: ...Matrox Solios eV Installation and Hardware Reference Manual no Y11113 101 0300 January 15 2014...
Page 22: ...22 Chapter 1 Introduction...
Page 66: ...66 Chapter 4 Matrox Solios eV CL hardware reference...
Page 119: ...Limited Warranty Refer to the warranty statement that came with your product...
Page 120: ......


