Matrox Xenia Series – User Guide
5
Hardware installation
This section describes how to install your Matrox card. If your Matrox card is already installed in your
computer, skip to
. For information specific to your computer, like how to
remove its cover, see your system manual.
1
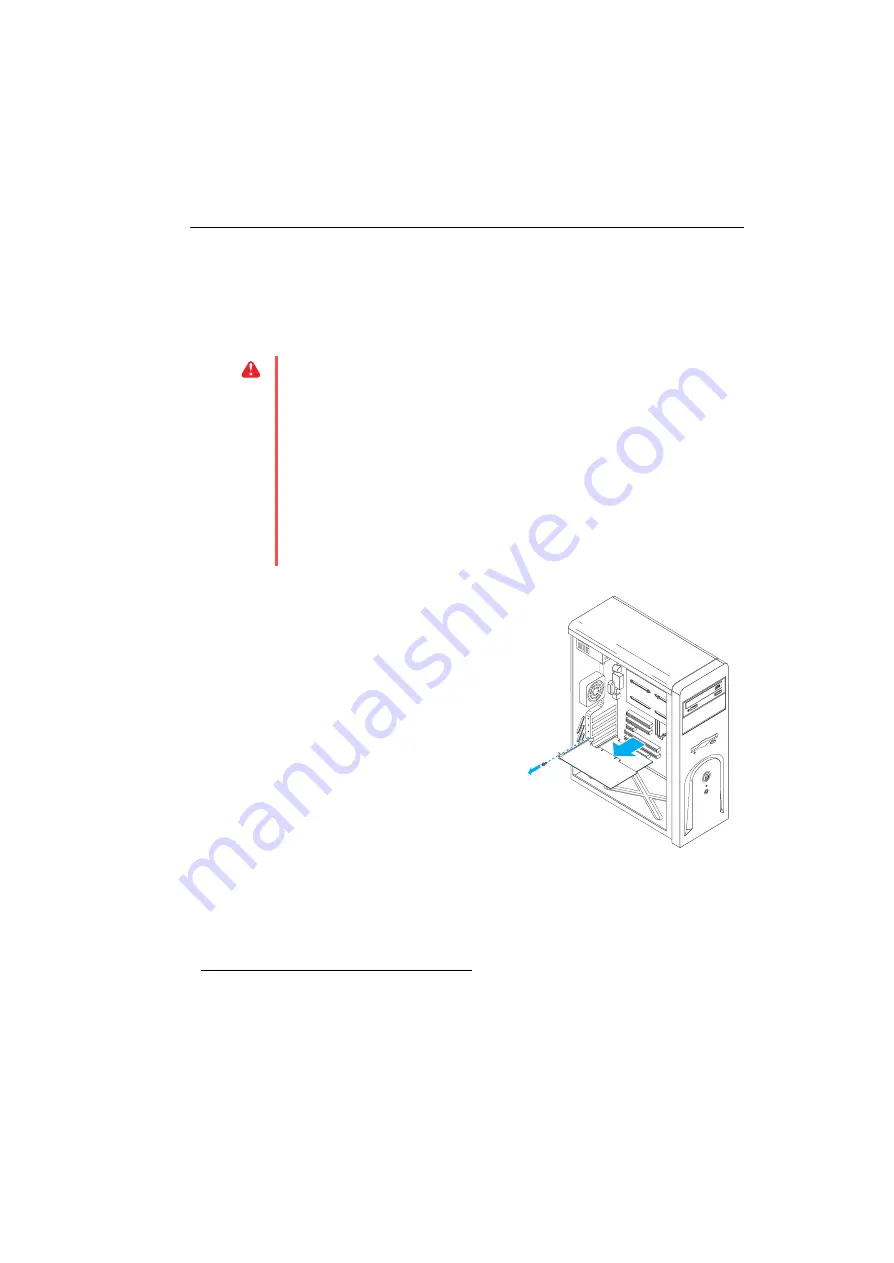
Open your computer and
remove your existing graphics
card
*
If a graphics card
isn’t
already installed in
a
Using
Programs and Features
(Windows 7/Vista) or
Add/Remove
Programs
(Windows XP) in the
Windows
Control Panel
, remove any
currently installed display drivers.
Restart your computer for the changes
to take effect.
After your computer restarts, you’re
prompted to install drivers for the new
graphics hardware detected. Click
Cancel
.
b
Turn off your computer and all peripherals such as your monitor or printer.
WARNING:
To avoid personal injury and to prevent damage to your computer or Matrox
hardware, turn off your computer, unplug it, and then wait for it to cool before you install
your Matrox product and touch any of the internal parts of your computer.
While your computer is turned off but still plugged in, some electrical current is supplied
to the motherboard. This current may prevent newly installed hardware from working
properly.
Also, static electricity can severely damage electronic parts. Before touching any electronic
parts, drain static electricity from your body (for example, by touching the metal frame of
your computer). When handling a card, carefully hold it by its edges and avoid touching
its circuitry.
* With multi-display mode, you may be able to use your existing graphics card. For Windows XP, see Windows online help under
“Install additional monitors”. For Windows Vista, see Windows online help under “Add a second monitor”.


